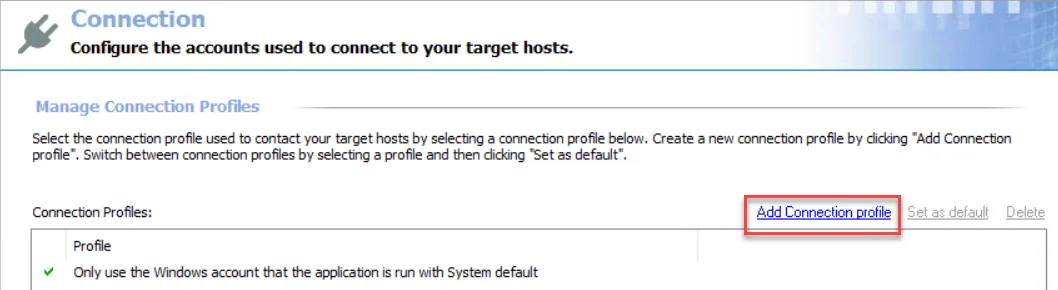
Add Connection Profile
Follow the steps to add a connection profile to the console. See the Connection Profiles Page topic for detailed descriptions of the fields.
Step 1 – Navigate to the Policy > Access Policies > Connection Profiles page.
Step 2 – In the Connection Profiles list, click the Plus icon.
Step 3 – Enter the desired information to configure a new connection profile.
-
Provide a unique name
-
Provide an optional Description to indicate the purpose of connection profile
-
Configure the Proxy settings, which control what proxy server will be used to start the session. When customizing to use a specific proxy RDP (port 4489) and SSH (port 4422) proxy server, only one server can be listed.
-
NOTE: If you want to use more than one proxy server, a load balancer must be used in front of the servers.
-
Configure the Session Control settings to set up session duration and user logons parameters for a connection profile.
NOTE: On this step, you will need to also select a default Activity Token Complexity policy for the connection profile.
-
Configure the Credential Management settings, which control parameters for the password used for this connection profile.
-
Configure the Website settings which control cleaning of the website data and allow recording the computer audio, if needed.
-
Configure the Approval Workflow settings.
Step 4 – Click Save to create the new connection profile.
Step 5 – The new connection profile is created. NOTE: To configure a Request Approval workflow, click the Configure Approval Workflow button in the left sidebar. See the Add Approval Workflow topic for additional information.
Step 6 – Click Create to save the new connection profile.
The new connection profile is added to the Connection Profiles list.