Add New Service Account Window
Follow the steps to add a new Service Account to a host resource:
Step 1 – Navigate to the Resources page.
Step 2 – Select a Host resource you want to modify.
Step 3 – Click the Green Plus Button to add a new Service Account.
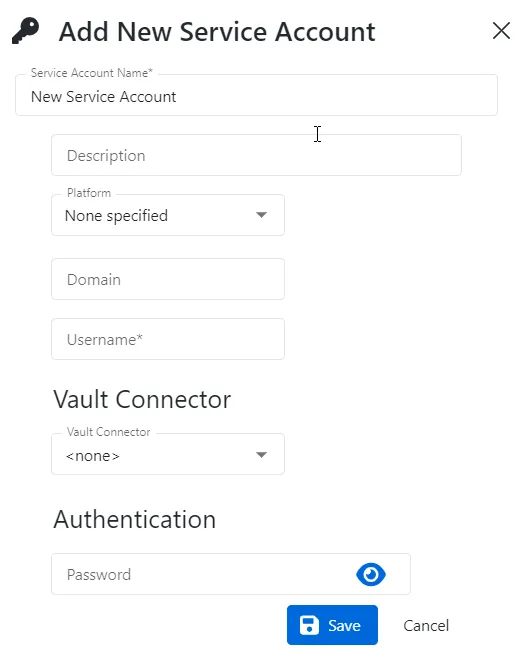
Step 4 – Complete the following fields:
-
Service Account Name – Provide the name of the new Service Account
-
Description – Description of the policy
-
Platform – Displays the type of platform, which defines the resource
-
Complete the fields depending on the platform you specified (domain, username, etc.)
-
Vault Connector – select the Vault Connector type
-
Authentication – Provide a password for a new service account
The new Service Account has been added to the selected host resource.
Change Service Account Window
Follow the steps to change the service account for a host resource.
Step 1 – Navigate to the Resources page.
Step 2 – Select the resource(s) to modify.
Step 3 – Click Change Service Account to open the Change Service Account window.

Step 4 – In the Service Account drop-down menu, select a previously added service account with credentials for the resource.
- To add a service account, see the Service Accounts Page topic for additional information.
Step 5 – When a service account is entered, the Okay button is enabled. Click Okay to use this service account for the selected resource(s).
CAUTION: The resources remain selected. Before proceeding, make sure that only the correct resources are selected to avoid accidentally changing the settings.
Step 6 – Deselect the resources to avoid accidentally changing the settings.
The selected resources are updated to use the specified service account.