Add Administrators Window
The Add Administrators window provides a list of users that have been onboarded. Users are onboarded in the Users & Groups Page.
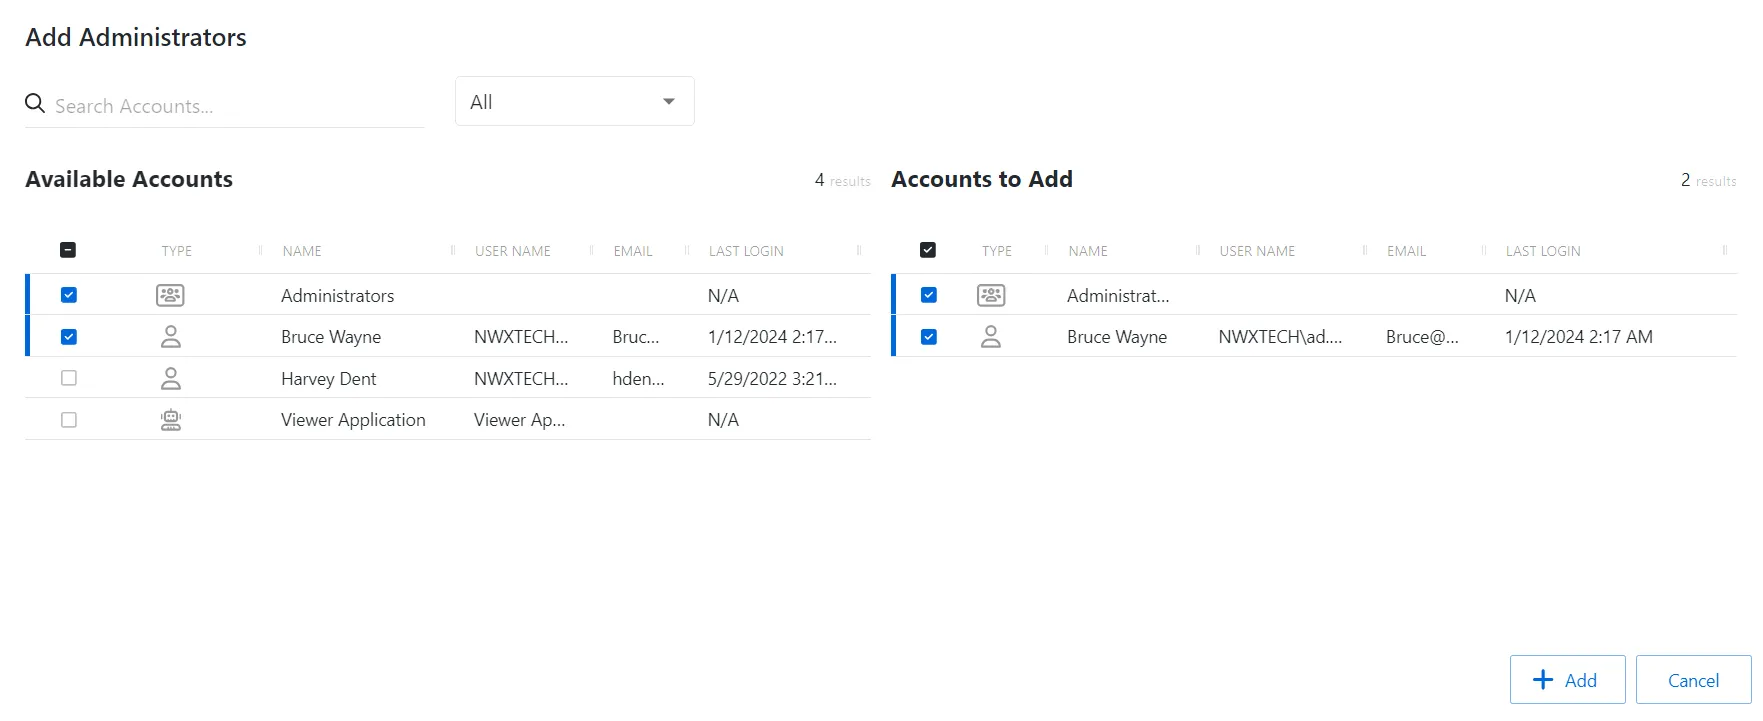
The window has the following features:
- Search — Searches the table or list for matches to the search string. When matches are found, the table or list is filtered to the matching results.
- Filter — Provides options to filter results based on a chosen criterion:User, Group, Application, Collection, and Local User
- Available Accounts — Shows all available users, groups, applications, collections, and local users that have been onboarded
- Accounts to Add — Shows selected users, groups, applications, collections, and local users
- Add button — Adds modifications and closes window
- Cancel — Closes the window
The tables in both sections have the following columns:
- Checkbox — Check to select one or more items
- Type — Icon indicates the type of object
- Name — Displays the name of the account
- User Name — Displays the sAMAccountName for the account
- Email — Displays the associated email address, if available
- Last Login — Date timestamp for the last time the user logged into the application
Select Users
Follow the steps to grant users the Administrator role. See the Role Management Page section for a list of roles and their functions.
Step 1 – Navigate to the Users & Groups > Role Management page.
Step 2 – In the Role list, select the Administrators role.
Step 3 – Click Add User to open the Add Administrators window.
Step 4 – Select the checkbox for the desired accounts in the Available Accounts table..
Step 5 – Click Add to add the accounts to the role.
The selected users are now Privilege Secure Administrators.