Dell R430/R440 iDrac 9 LOM Network Configuration via Reboot
Dell R430/R440 iDrac 9 LOM Network Configuration via Reboot
Dell R430/R440 iDrac 9 LOM Network Configuration via Reboot
This document will guide the reader through the process of accessing the iDRAC 9 configuration
settings via a reboot, using the Boot Menu > System Setup method.
The steps below start from a successful Virtual Console (VC) for a single node.
Step 1 – Within the VC will want to confirm/notate the below items from the command line of the connected node. VC’s doesn’t allow copying and pasting of command/output. Commands will have to be manually typed and screenshots taken to notate information.
- The status of the swarm nodes via command
s1 nodes - The replica status for the services, which for the PROD environment all should be showing a 1/1
status with “Desired State” of “RUNNING” via command
s1 status - The Privilege Secure services that are running on the node that is connected via the VC via
command
sudo docker ps
Step 2 – Once the above information is gathered/confirmed, a reboot of a single node can be
completed to load the Boot menu. For a non-impactful process to Privilege Secure, this process
should be completed on a single node at a time. To reboot the node use the command sudo reboot.
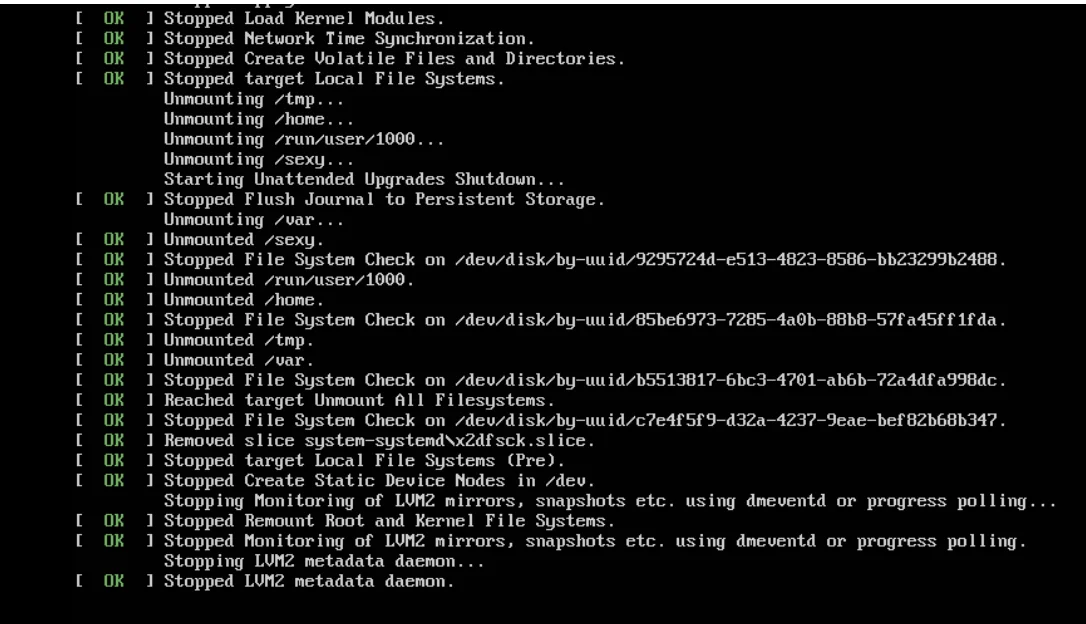
After the reboot command runs, the next screen will either show the “STOPPED” processes and then the “No Signal” screen, or will jump directly to the “No Signal” screen before loading the "Dell" trademarked screen.

After the shutdown is completed, the boot up process will start with the below “Dell” trademarked screen. This screen will show with a “loading bar” at the bottom as it loads the different system configurations.
NOTE: The IP address for the iDrac will likely be different or not display at all in reference to the screenshot below.

Step 3 – After the above “Dell” screen is cycled through twice, the next screen should show the boot menu with the options below through the “F” keys. At this screen choose the F2 = System Setup option.
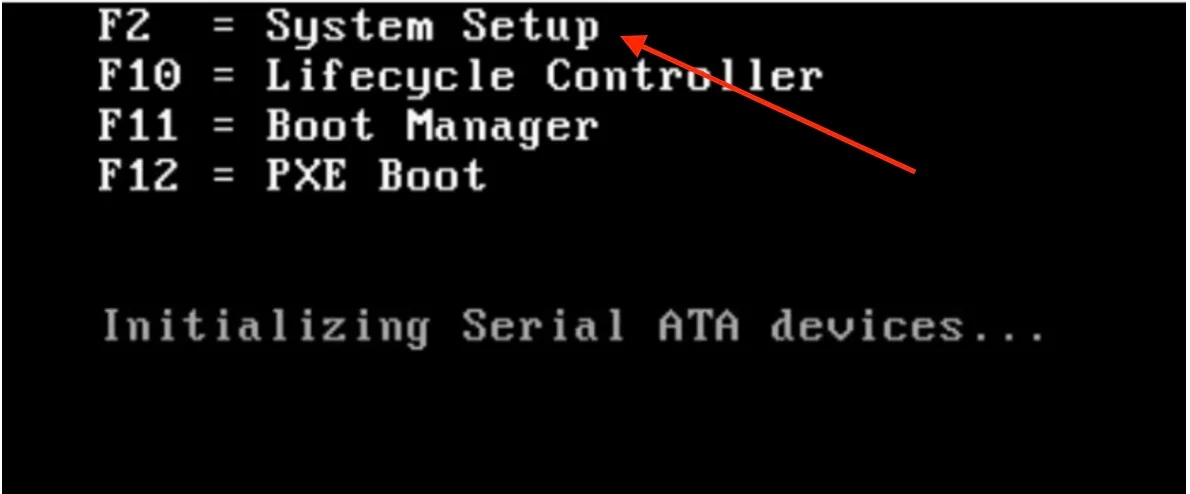
The next screen will show the highlighted text below of “Entering System Setup”.

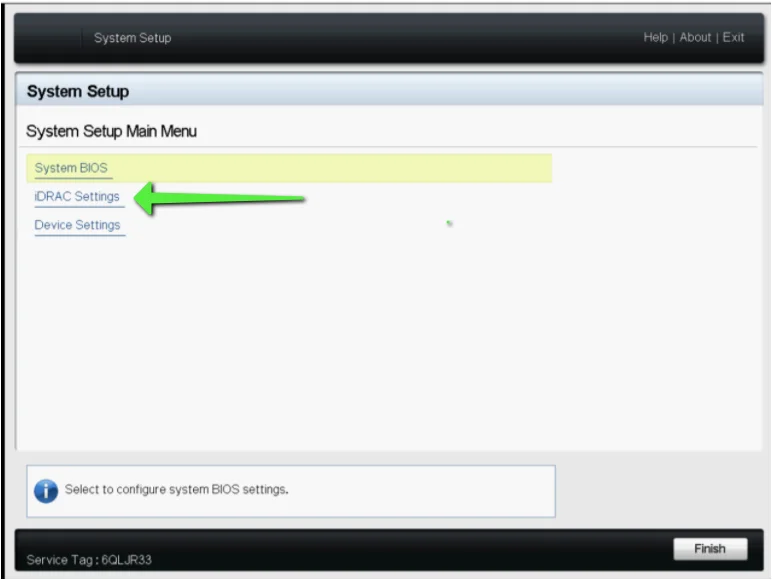
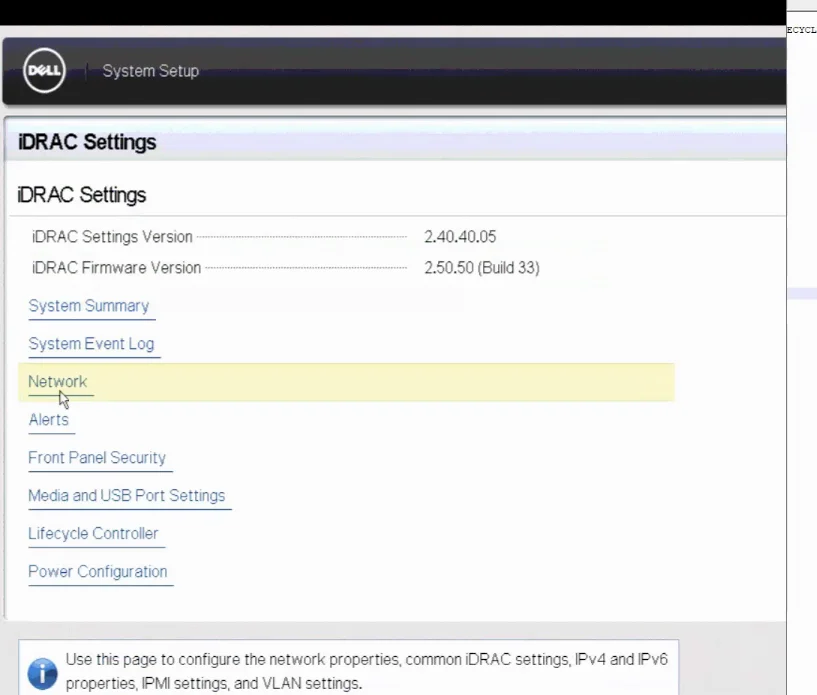
Step 4 – Select the “iDRAC Settings” option on the System Setup page.
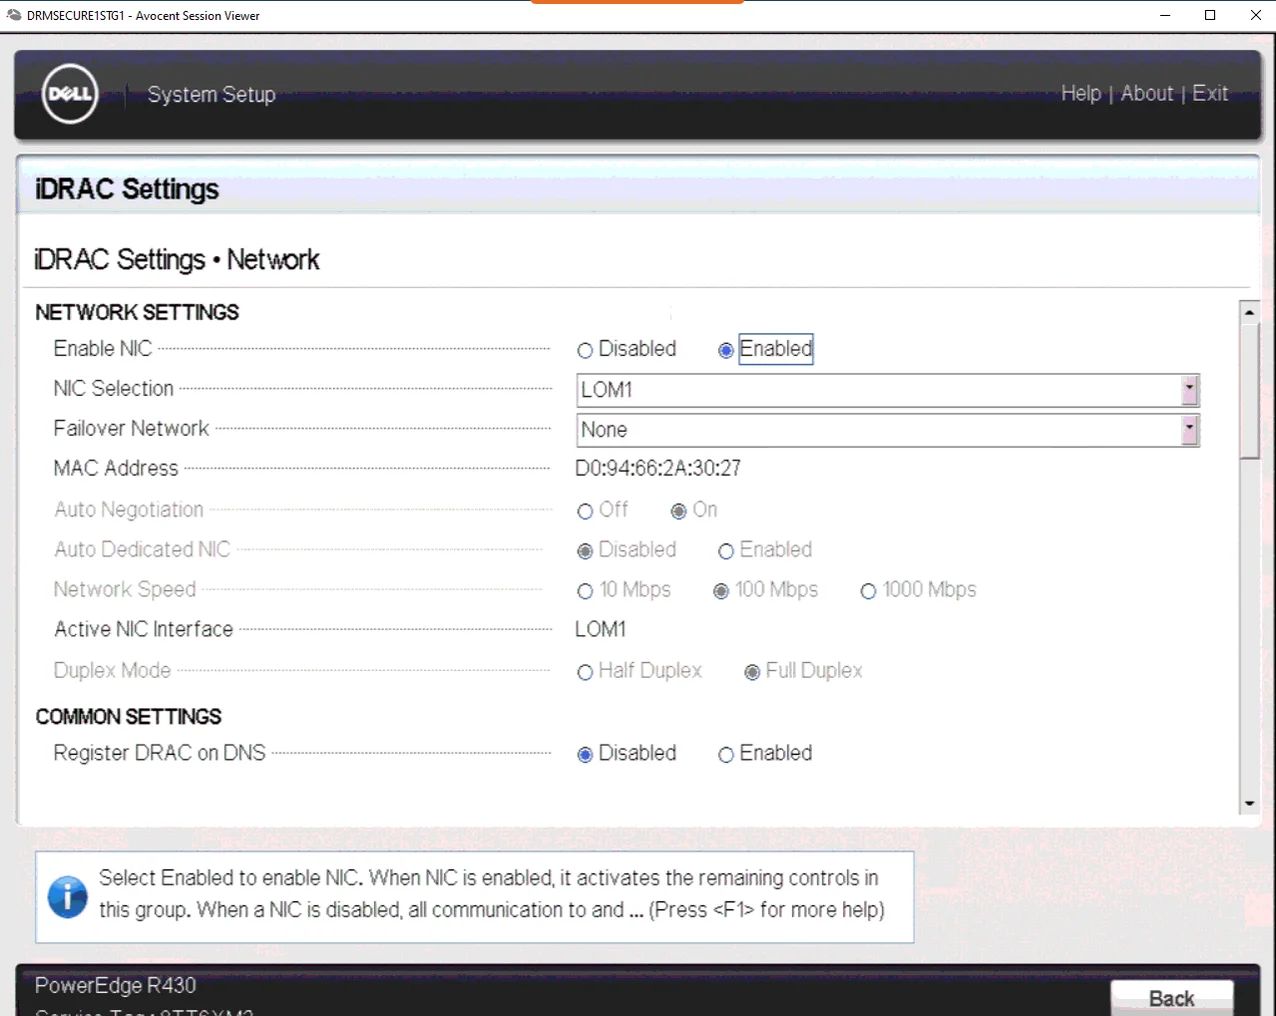
Step 5 – Select “Network” on the iDRAC Settings screen.
Step 6 – Under the iDRAC Settings > Network page. Here is where the iDRAC NIC selection, static IP address/gateway/subnet mask, and DNS servers will be set for remote iDRAC access through a browser. The NIC selection should be set to LOM1 for the shared NIC port with the hosted OS. Make sure the settings in the screenshots below match. The required settings have been listed above the images in bullets.
- Enable NIC: Enabled
- NIC Selection: LOM1