Add Privilege Secure Protect Mode Account to Windows Endpoints via GPO
Add Privilege Secure Protect Mode Account to Windows Endpoints via GPO
Add Privilege Secure Protect Mode Account to Windows Endpoints via GPO
This GPO should never be applied to domain controllers.
Creating the GPO to Add Privilege Secure
Protect Account to Local Administrators group on Window endpoint. This method uses the Group Policy Preferences (GPP). In this guide, AddLocalAdmin GPO will be created and linked at in the OU OU. In a production environment, this would be typically be linked in the appropriate OUs. Optionally, you could add the admins to an existing GPO that is applied to target endpoints.
NOTE: Please note: This GPO should never be applied to domain controllers.
Step 1 – Open Group Policy Management.
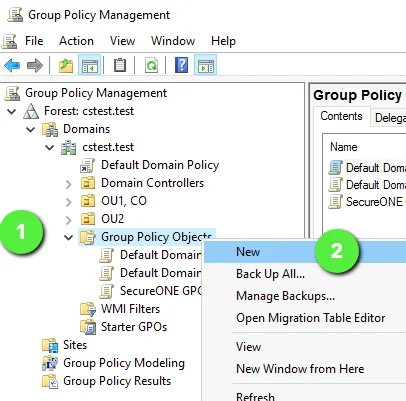
Step 2 – Add a GPO in Group Policy Management > Forest: <domain> > Domains > <domain> >
Group Policy Objects. the Group Policy Management -> Forest: <domain> -> Domains -> <domain>
-> Group Policy Objects
<domain>is a placeholder for domain name- cstest.test used in example below
Step 3 – Type in name of GPO and click OK.
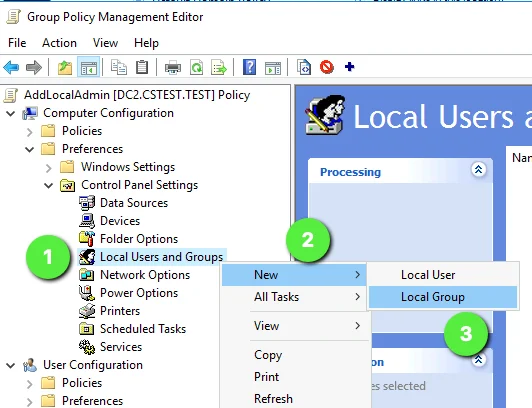
Step 4 – In the GPO, navigate to Computer Configuration > Preferences > Control Panel Settings > Local Users and Groups.
Step 5 – Right-click Local Users and Groups, then click New > Local Group.
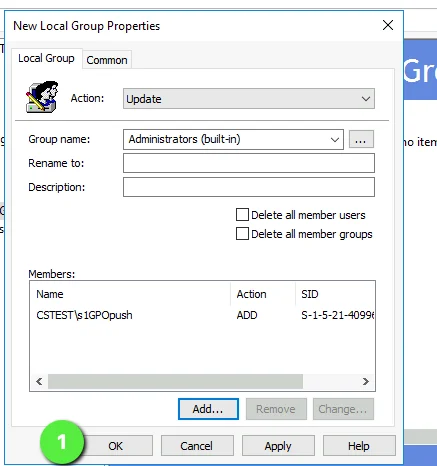
Step 6 – Make sure that Action is set to Update, and select Administrators (built-in) in the Group Name drop-down menu.
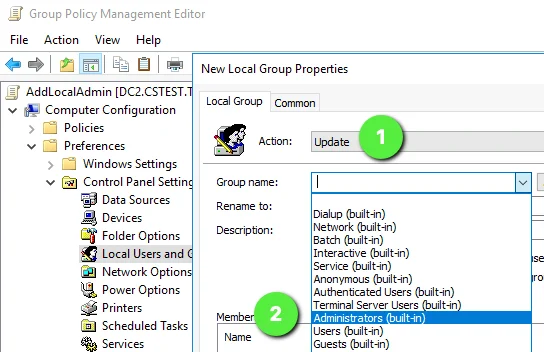
Step 7 – Add the Privilege Secure protect account, "s1GPOpush" used as and example account below:

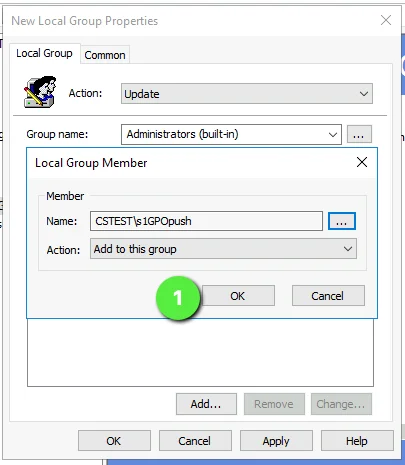
Step 8 – Ensure that the Delete boxes are not checked and then click OK.
Step 9 – Close the Group Policy Management Editor for the GPO.
Step 10 – Link GPO to appropriate OUs via drag and drop, or right-click copy and paste.
NOTE: The GPO should never be applied to the domain controllers.
Example linked into OU2:
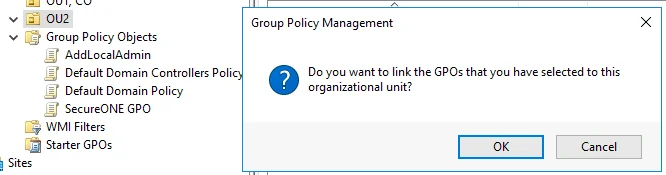
As seen linked in OU2:
![]()
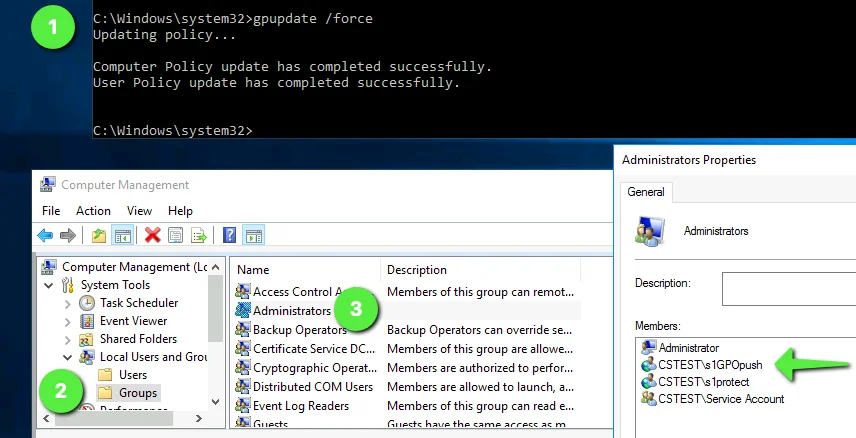
Step 11 – For testing, this can be linked into a OU with a test systems, log into test system
and run command line update of the Group Policy with: gpupdate /force