Postman: Authenticate using an API key
Postman: Authenticate using an API key
Postman: Authenticate using an API key
You will need a userID and an API Key that has been generated for that user.Ref: API Key Management
Follow the steps to authenticate using an API key.
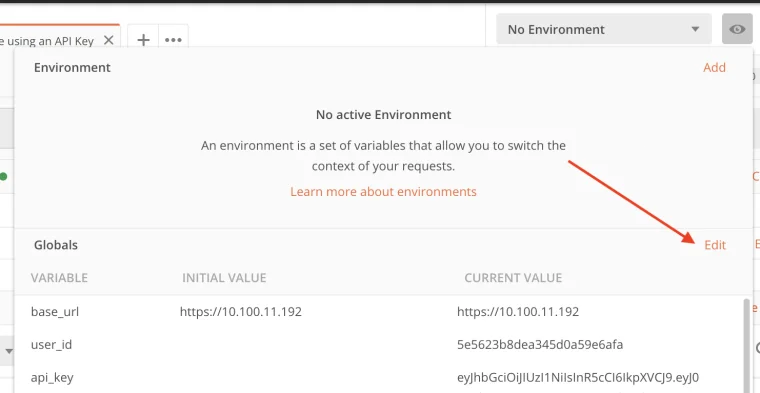
Step 1 – First, ensure the global variables are set by clicking the eye icon in the upper right corner

Step 2 – Then click Edit to the left, on the ‘Globals’ line:
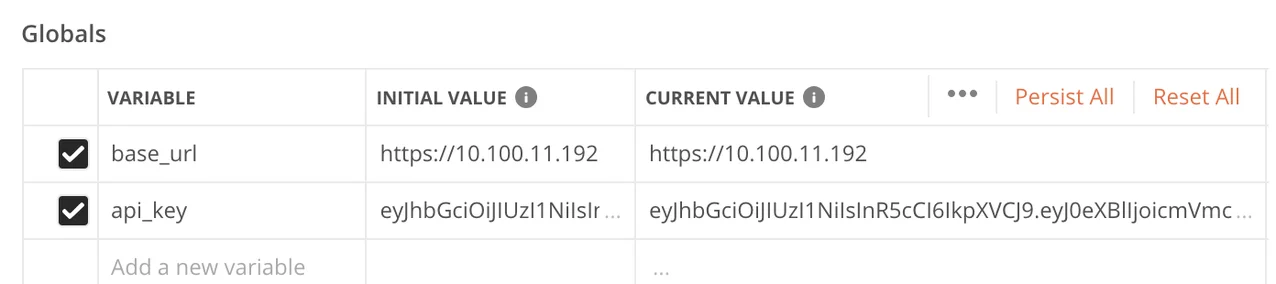
Step 3 – Enter the ‘api_key’ variable and copy-and-paste the API key for the user in the ‘Initial Value’ and ‘Current Value’ fields.
*If required, enter the ‘base_url’ variable and the URL for the Privilege Secure environment you are connecting to.
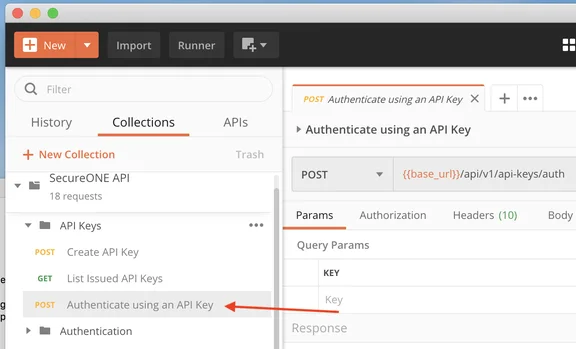
Step 4 – Go to the Privilege Secure API collection in Postman.
Step 5 – Expand the API Keys and click on Authenticate using an API key.
Step 6 – Click on Body and copy-and-paste the userId that is authorized on the API key entered in the global Variables.
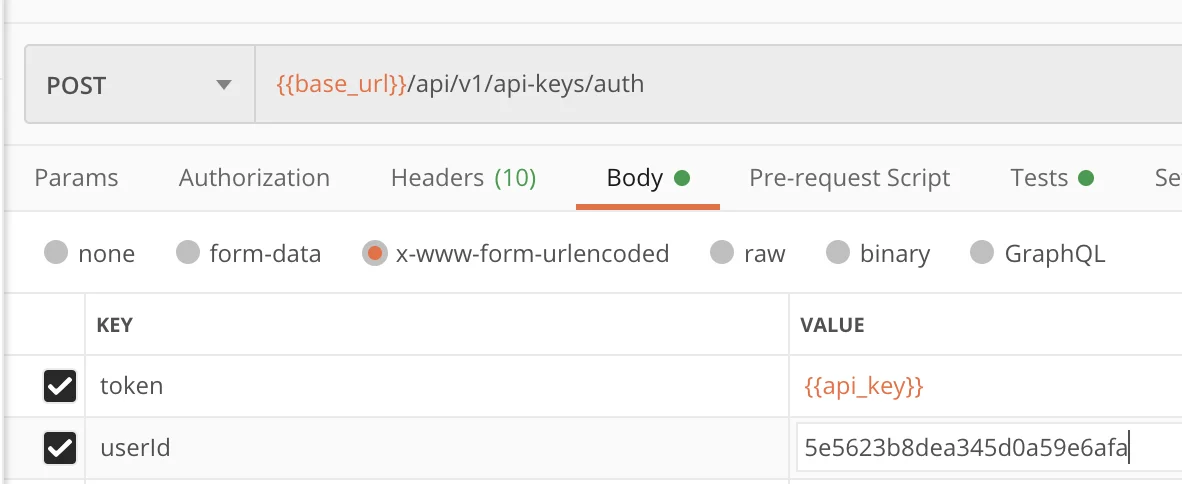
NOTE: The {{api_key}} will pull the value from the global variable.
Step 7 – Click on Tests.

Step 8 – Cut-and-paste the lines below in the large field:
postman.setGlobalVariable("current_jwt", jsonData.token);```
__Step 9 –__ In the upper left, click __Save__ or the down arrow to the left of Save and Save As to save the request.
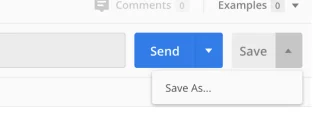
__Step 10 –__ Click __Send__, you should see an output at the botton like the example below:
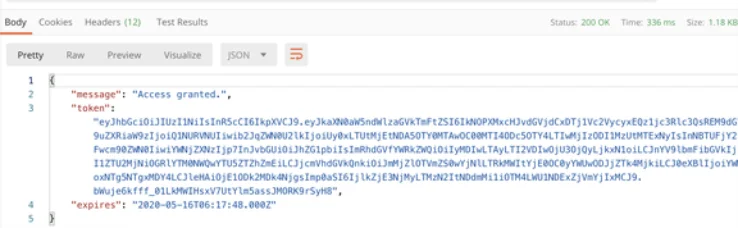
Now you can send GET and POST requests.
Each 8 hours, you will have to run the ‘Authenticate using an API key’ POST request to refresh the token.