Carbon Black
Carbon Black
Carbon Black
Overview
The Carbon Black integration is available from Privilege Secure version 2.8 and later. This allows machines to be protected and access elevated with out direct line of site. Privilege Secure integrates to the Carbon Black end point and is able to perform these tasks without the need for the end machine being on the domain.
Follow the steps to configure Carbon Black integration.
Step 1 – Login to Carbon Black Cloud.
Step 2 – Next the API access needs to be granted to Privilege Secure. This is done using the API Access under Settings within Carbon Black Cloud and click the API Access details under settings.

Note the ORG KEY at the top left.

Step 3 – Create two API Keys: One is Live Response API and one is the Device API.
Access Level Creation
Follow the steps for access level creation.
Step 1 – First, a specific access level for one of these keys must be created.
Step 2 – Click the Access Levels selection in the top left.

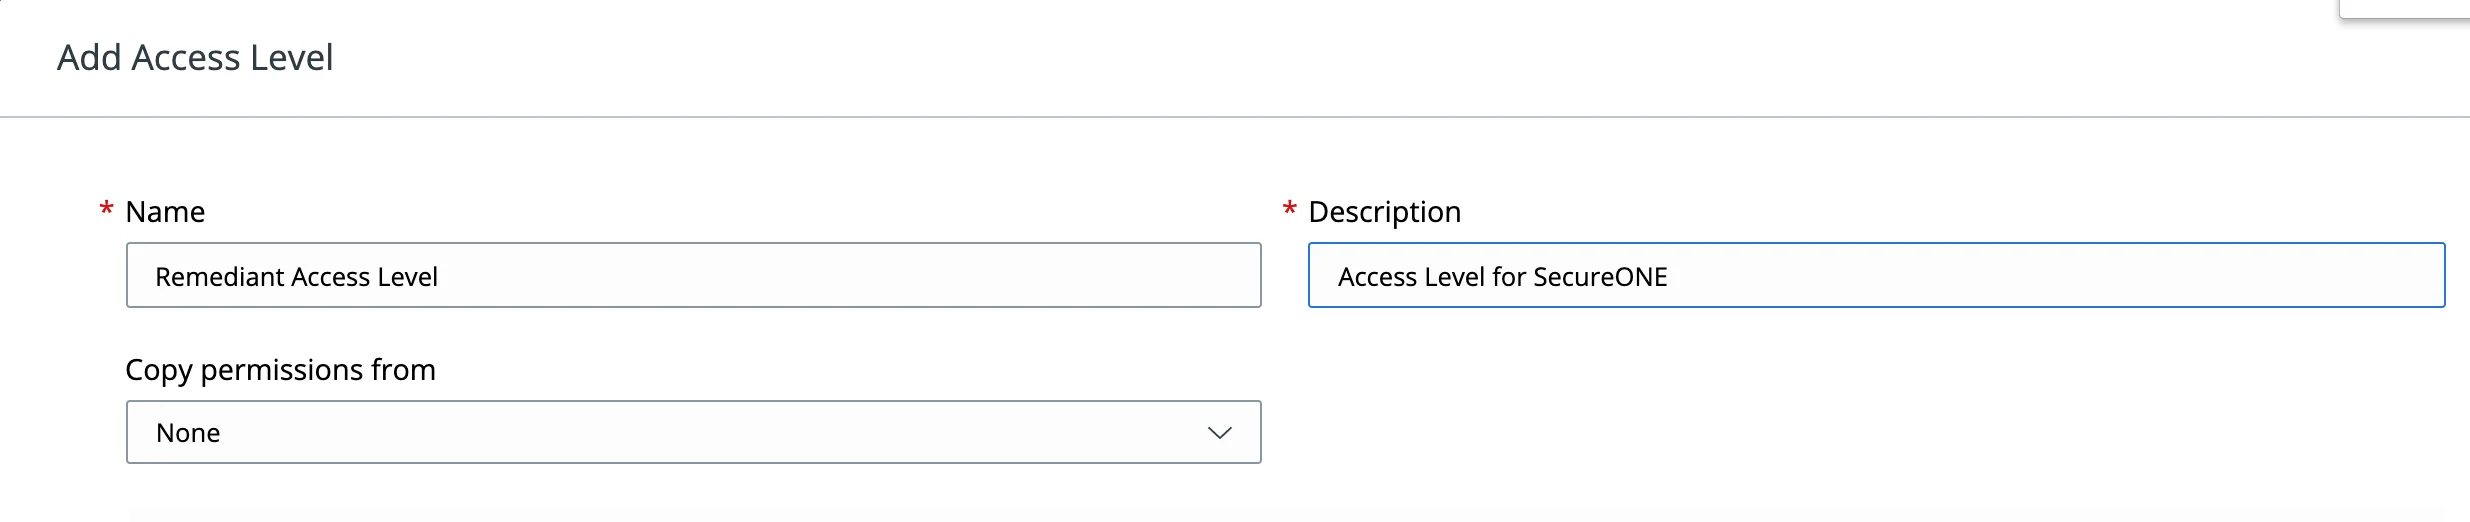
Step 3 – The Add Access Level button should be clicked to start the creation of the custom access level.

Step 4 – Enter the details to identify the new Access Level.
Step 5 – The following access level items should be selected - CHECK THE POLICY IS NEEDED OR NOT XXXX********
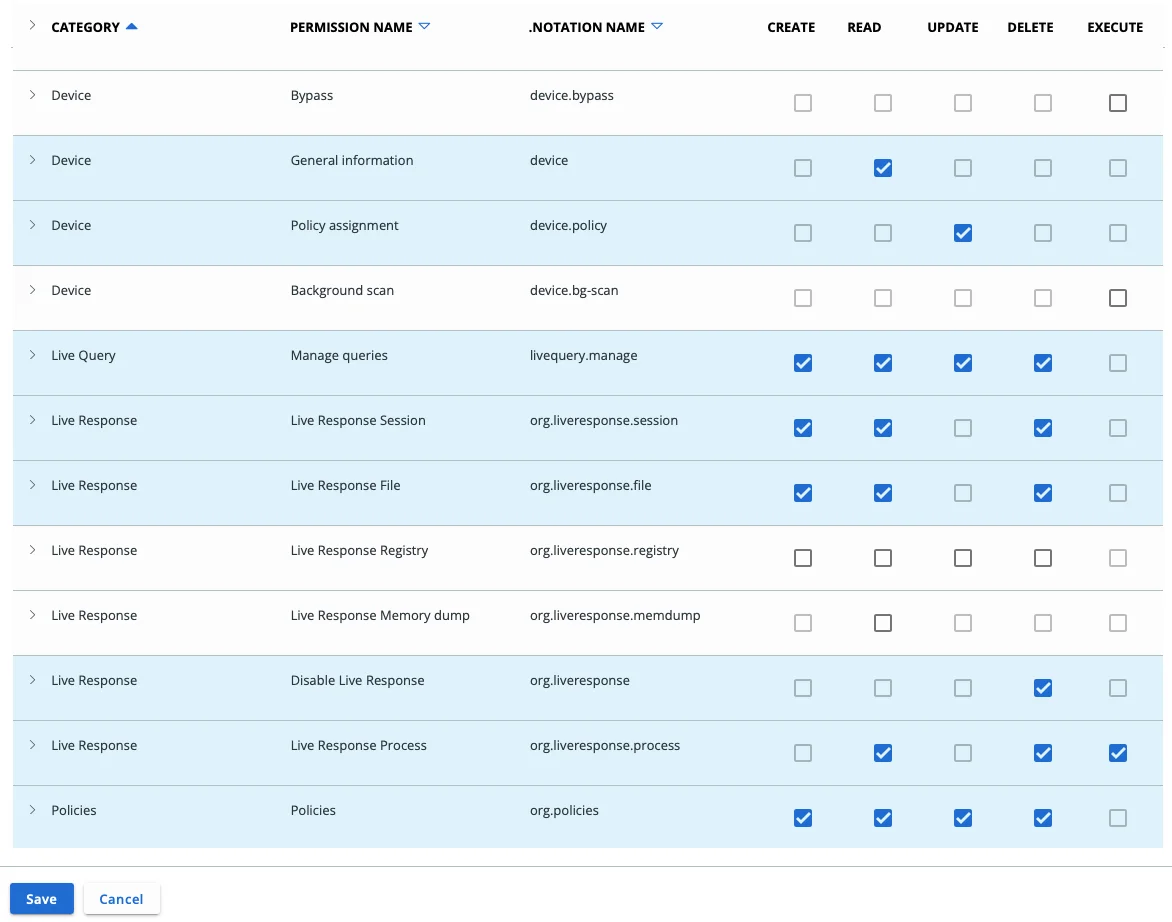
Step 6 – Click the Save button to save the custom access level.
API Keys Creation
Follow the steps to create API keys.
Step 1 – Click the Add API Key button in the top right corner.

Step 2 – Enter the details for the Live Response API.

Step 3 – Click Save and note the API ID and API Secret Key.

Step 4 – Create a second API Key using the custom access level previously created.

Step 5 – Click Save and again the API ID and Secret Key should be noted.
Privilege Secure Configuration
Follow the steps for configuration.
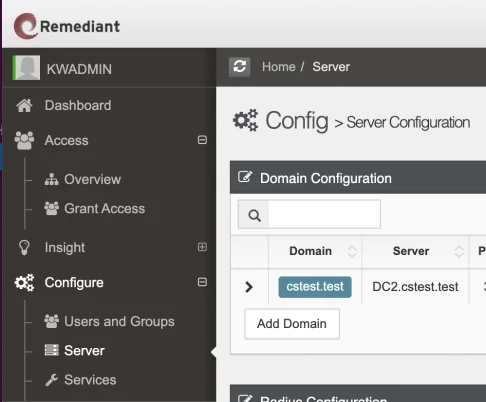
Step 1 – To set up Privilege Secure to use the integration created with Carbon Black, the Server Configuration page should be accessed within Privilege Secure.
Step 2 – Complete the Carbon Black EDR Integration panel with the details noted for the APIs created in Carbon Black Cloud.
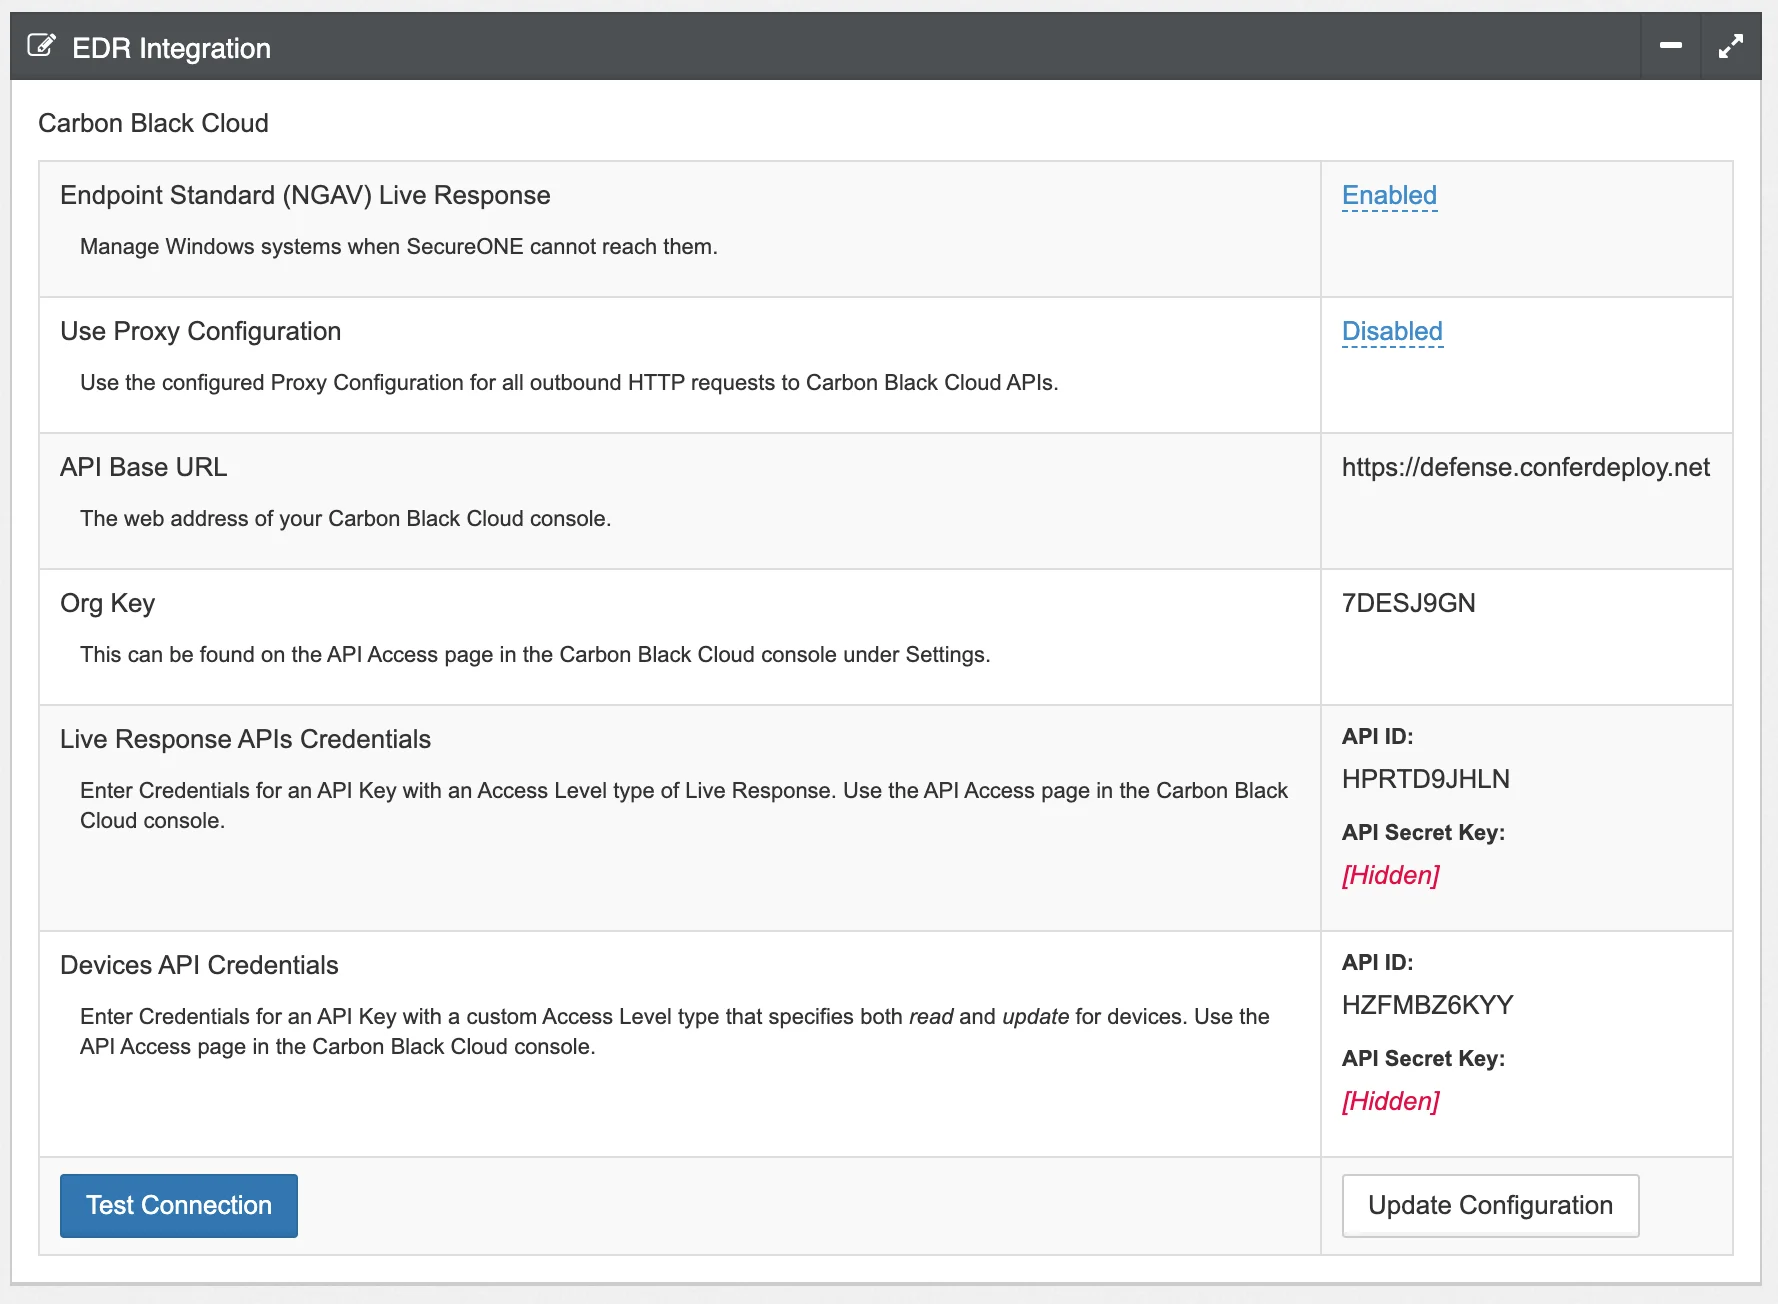
Step 3 – Test the connection and a successful response should be returned.
