Scheduler Service Install
The Scheduler Service is installed with Privilege Secure and can also be installed remotely on other servers. This provides the option to run scheduled tasks defined in the console from different locations within an organization. The Scheduler Service installer is in the zip file with the Privilege Secure Console installer. It is also available for download from the Stealthbits website if required.
NOTE: Before you begin, the Proxy Service must be installed on any server running services for Privilege Secure. See the Proxy Service Install topic for installation instructions.
Follow the steps to install the Scheduler Service.
Step 1 – Make sure that you have configured the Antivirus exclusions according to the following Netwrix knowledge base article: Exclusions for Antivirus (AV) & Endpoint Software
Step 2 – Move the NPS.SchedulerService.exe installation package to the desktop of the remote server.
Step 3 – Open the NPS.SchedulerService.exe and thePrivilege Secure Scheduler Service Setup wizard will open.
Step 4 – To install the Scheduler Service in an alternate location, click Options.
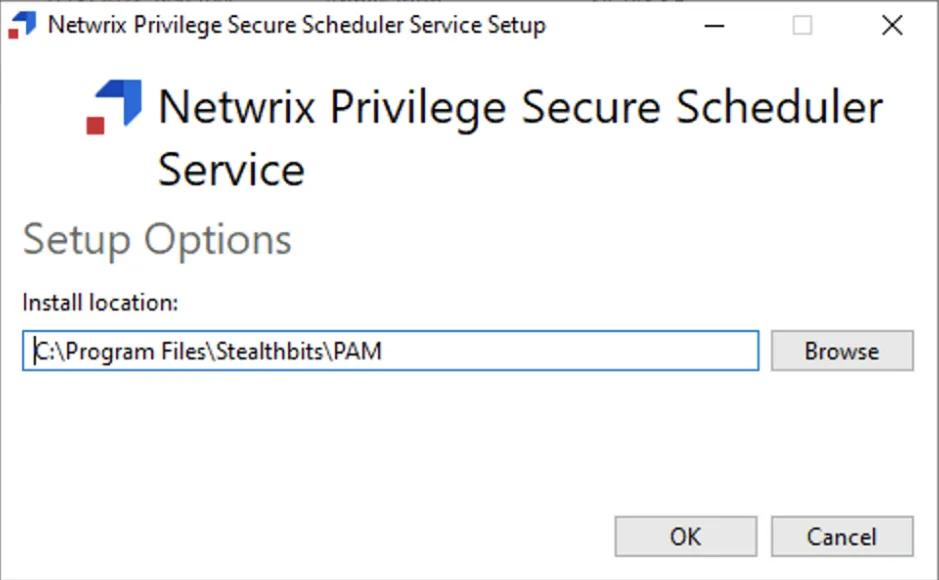
Step 5 – Enter the destination folder for installation and click OK.
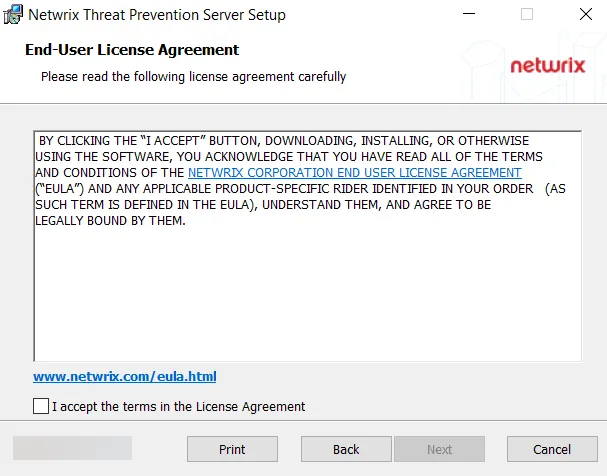
Step 6 – Read the End User License Agreement and check the I accept the terms in the License Agreement checkbox.
Step 7 – Click Install to begin the installation. The setup wizard displays the installation progress.
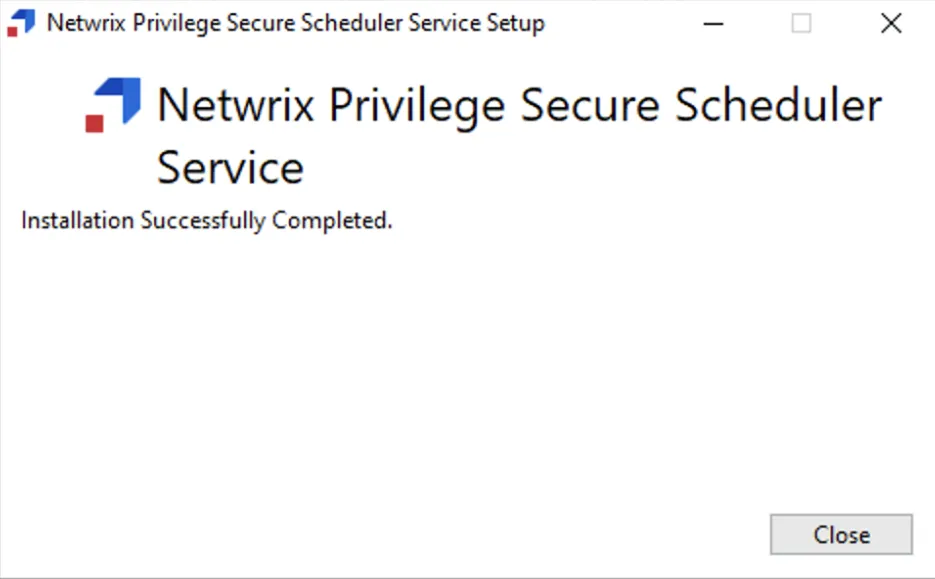
Step 8 – When the installation is complete, click Close to exit the installer.
The Privilege Secure Scheduler Service is now installed on a remote server.
Register the Remote Scheduler Service with Privilege Secure
If the Scheduler Service is installed on a remote machine, it must be configured to register with the Privilege Secure server. This configuration is done by supplying the Privilege Secure server and credentials in a command line utility. Both the key exchange and action service need to be configured.
Follow the steps to configure the key exchange.
Step 1 – On the application server, run cmd as Administrator.
Step 2 – Type the following commands to export the encryption keys for the secondary:
Encryption Key Export
cd C:\Program Files\Stealthbits\PAM\KeyTools
.\SbPAM.RotateKey.exe export -n keys.exp
Step 3 – Take note of the password for the export file.
CAUTION: This temporary password protects the NPS-AM encryption keys during copying. Do not save it to digital media or transmit it with the encryption key package.
Step 4 – Copy the export file to "C:\Program Files\Stealthbits\PAM\KeyTools" on the secondary server.
Step 5 – On the (Action/Scheduler/Siem) service server, run cmd as Administrator.
Step 6 – Type the following commands to import the encryption keys:
Encryption Key Import
cd C:\Program Files\Stealthbits\PAM\KeyTools
.\SbPAM.RotateKey.exe import -n keys.exp
Step 7 – Enter the password when prompted.
Step 8 – Delete the export file from both the primary and secondary servers.
The key exchange is now configured.
Follow the steps to configure the Action Service.
Step 1 – Open a command prompt as an administrator.
Step 2 – Change the directory path to the location of the Privilege Secure Action Service. The default path is:
C:\Program Files\Stealthbits\PAM\NPS.SchedulerService\
Step 3 – Run the following command to automatically register the scheduler service. Enter the Admin password when prompted:
-
The
[Privilege Secure]parameter is the Host Name, IP, FQDN or URL -
The default
[Port]parameter is 6500NPS.SchedulerService.exe –register -u admin [PrivilegeSecureServer:Port]
-
For installations without a trusted https certificate on the Privilege Secure server, the “-I” parameter must be added:
-
NPS.SchedulerService.exe –register -u admin -I [PrivilegeSecureServer:Port]
-
The command prompt will show if the configuration was successful.
Step 4 – Exit the command prompt.
The remote Scheduler Service is now registered with Privilege Secure.