AWS Key Management Service
AWS Key Management Service (AWS KMS) is a managed service that makes it easy for you to create and control the cryptographic keys that are used to protect your data. Organizations using AWS Key Management Service (AWS KMS) can configure Netwrix Privilege Secure to rotate security Keys. The KMS key is not used to encrypt the secret key, but will be used to encrypt the key that is used to encrypt the secret key.
See the AWS Key Management Service article for additional information.
When creating an AWS KMS protection key for Netwrix Privilege Secure, start by creating a policy in AWS. There will be multiple configuration steps needed within AWS.
- Create an AWS Policy
- Create a User
- Create a Managed Key
- Least Privilege Policy
Create an AWS Policy
Follow the steps to create a policy in AWS.
Step 1 – Log into AWS.
Step 2 – Navigate to the IAM page, and then the Policies page.
Step 3 – Select Create Policy.
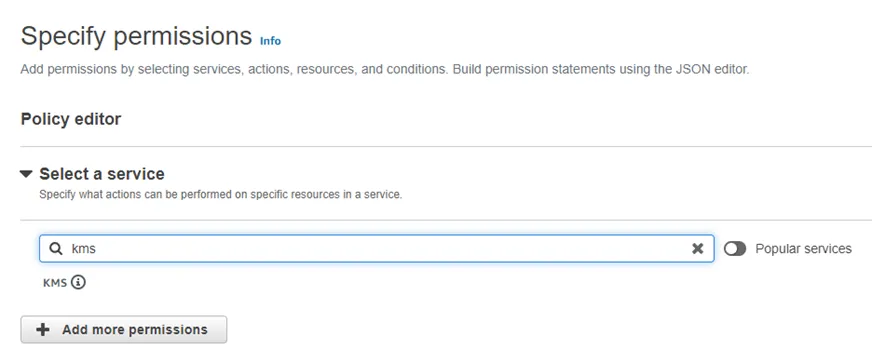
Step 4 – On the Specify permissions page, navigate to the Select a service box and search for the ‘KMS’ service.
Step 5 – Select the KMS option.
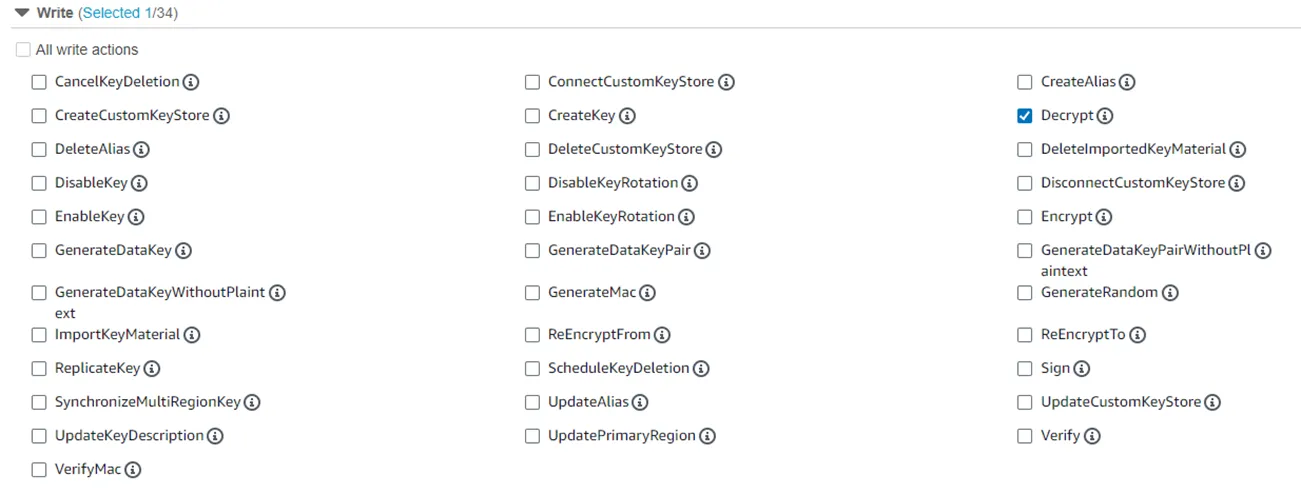
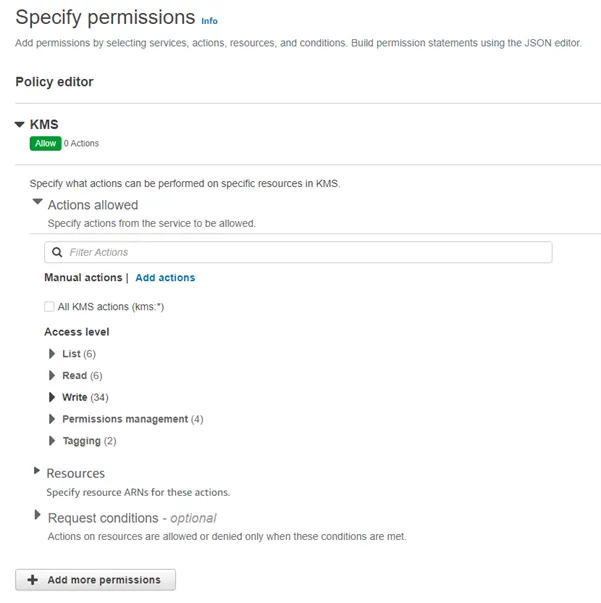
Step 6 – Under the Write dropdown menu, locate and select the Decrypt permission checkbox.

Step 7 – Under the Resources dropdown menu, select the Any in this account checkbox.
NOTE: This can be limited to a specific key when the key has been created.
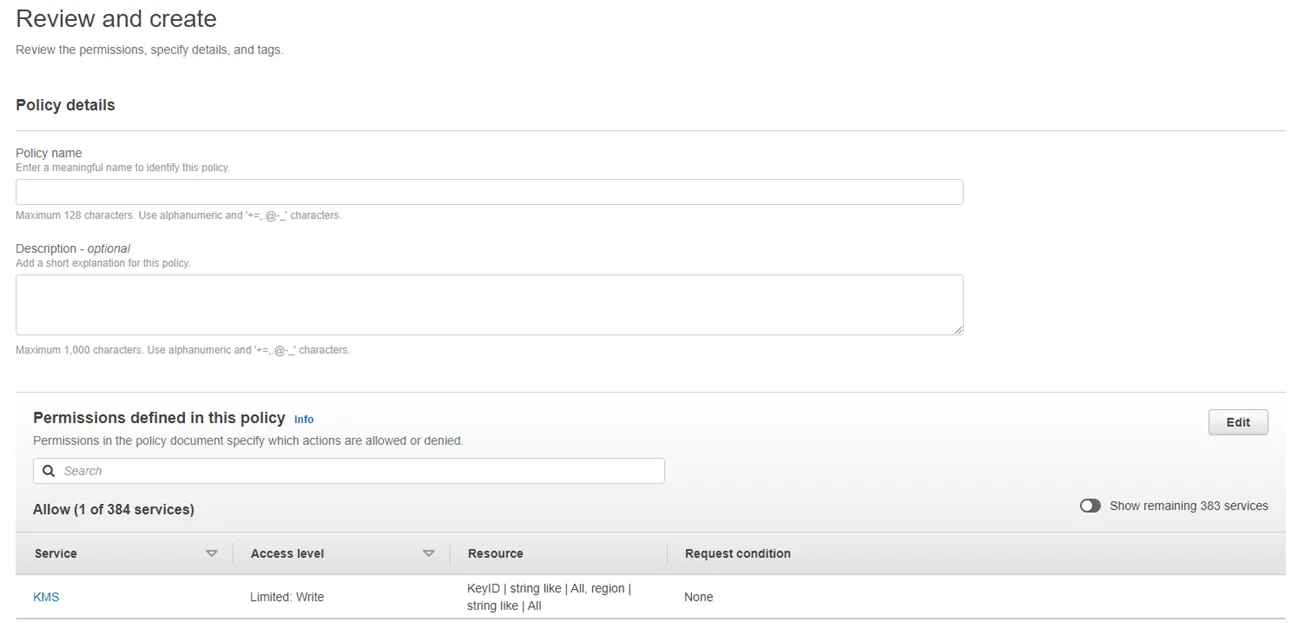
Step 8 – Enter a name for the policy and a description (optional).
Step 9 – Save the policy.
The policy is created.
Create a User
Follow the steps to create a user in AWS.
Step 1 – Navigate to the IAM page, and then the User page.
Step 2 – Select Create User.
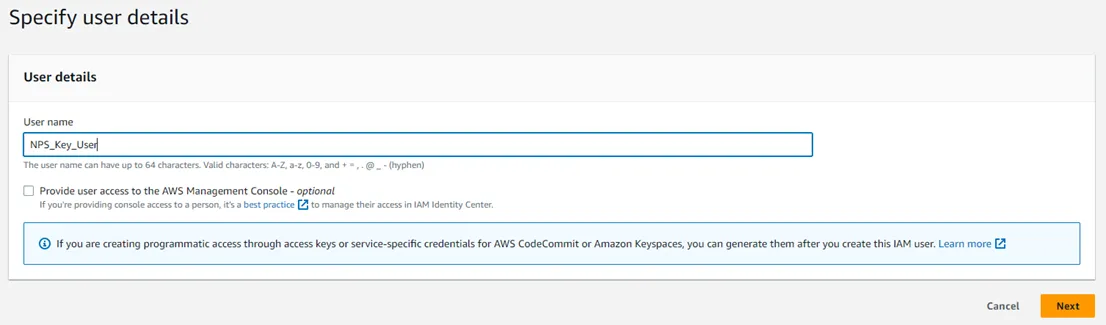
Step 3 – On the Specify user details page, enter a user name. Optionally, select the Provide user access to the AWS Management Console checkbox.
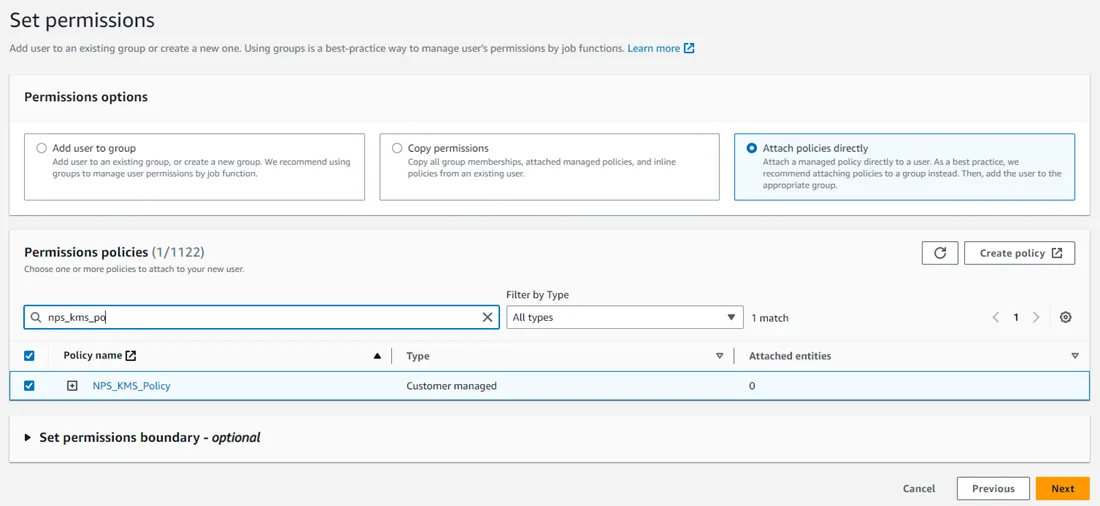
Step 4 – In the Permissions options section, select Attach policies directly in the Permission options.
Step 5 – In the Permissions policies section, search for the NPS key policy you previously created and select the checkbox to the left of the policy. Click Next.
Step 6 – On the Review and create window, review the policy configuration and click Create now.

Step 7 – Once the user has been created, select the user and navigate to the Security credentials tab.
Step 8 – Select Create access key.
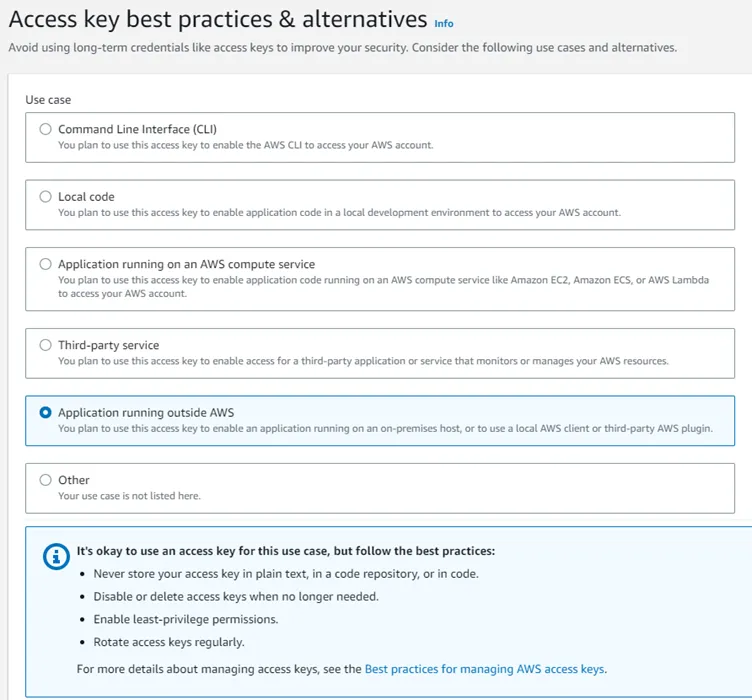
Step 9 – Once the creation window opens, select the Application running outside of AWS option.
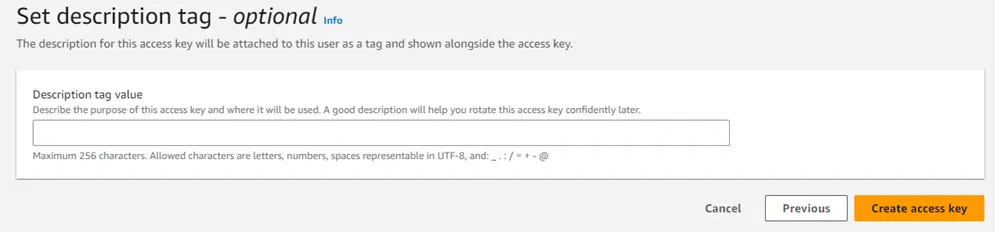
Step 10 – Set an optional description tag if required, and then select Create access key.
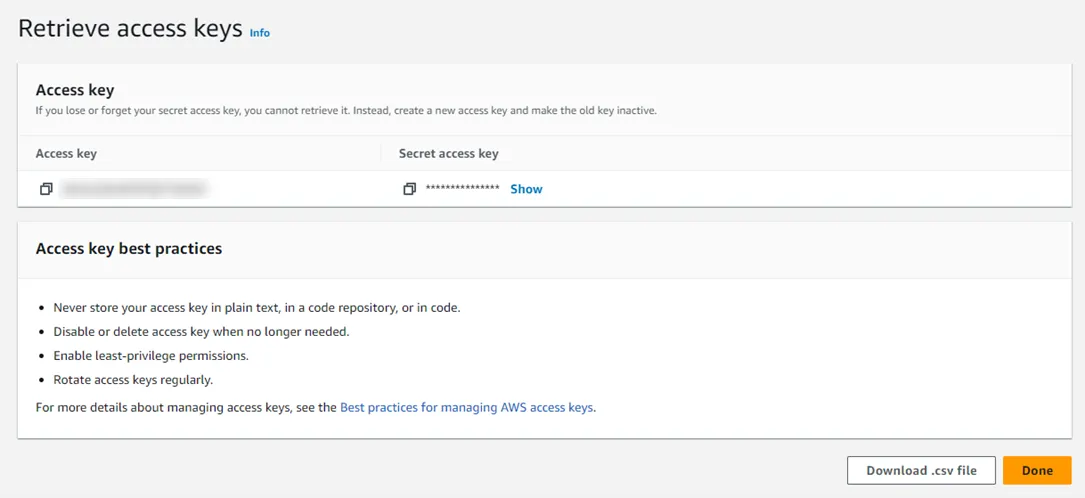
Step 11 – Once the Key has been created, copy or download the Access key and Secret access key. These keys will be used by Privilege Secure to access the AWS KMS key encryption and decryption functionality.
Step 12 – Click Done when finished.
CAUTION: Do not delete the AWS user Access Key without rotating the NPS key first.
The best practice for use of access keys is to rotate them regularly. Follow these steps when rotating access keys.
Step 1 – Create a new access key.
Step 2 – Rotate the NPS protect key to use the new access key.
Step 3 – Delete old access key.
Create a Managed Key
Follow the steps to create a managed key in AWS.
Step 1 – Navigate to the Key Management Service page.
Step 2 – Select Customer Managed Keys.

Step 3 – Select Create Key.
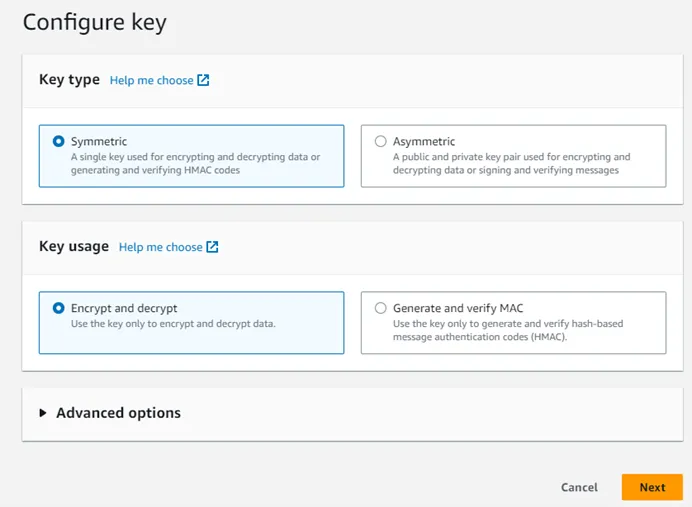
Step 4 – For Key Type, Select Symmetric. For Key Usage, select Encrypt and decrypt. Click Next to continue.
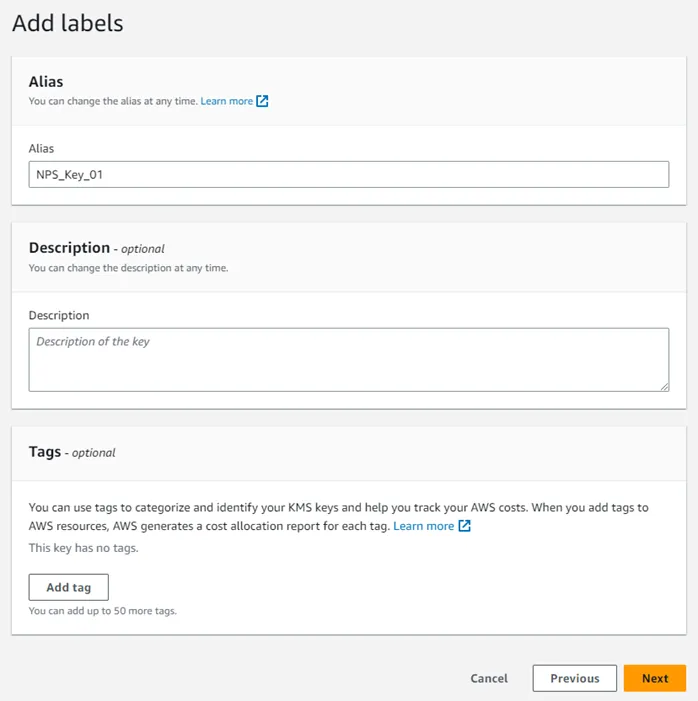
Step 5 – Add an Alias for the key. The Description and Tags are optional. Click Next to continue.
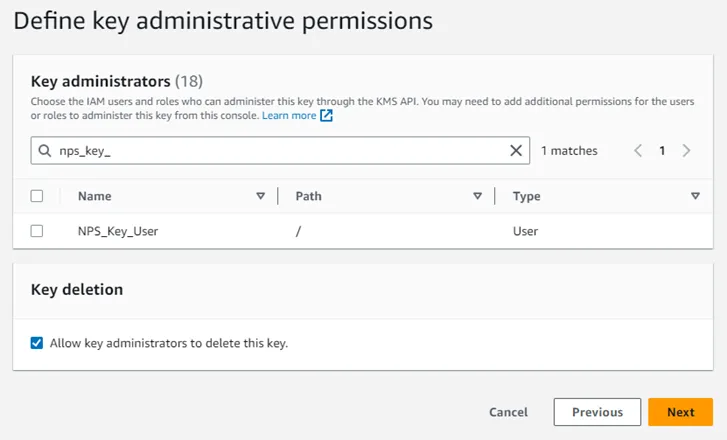
Step 6 – Add a Key Administrator if required.
NOTE: The NPS Key user created earlier does not require administrative permissions at this level.
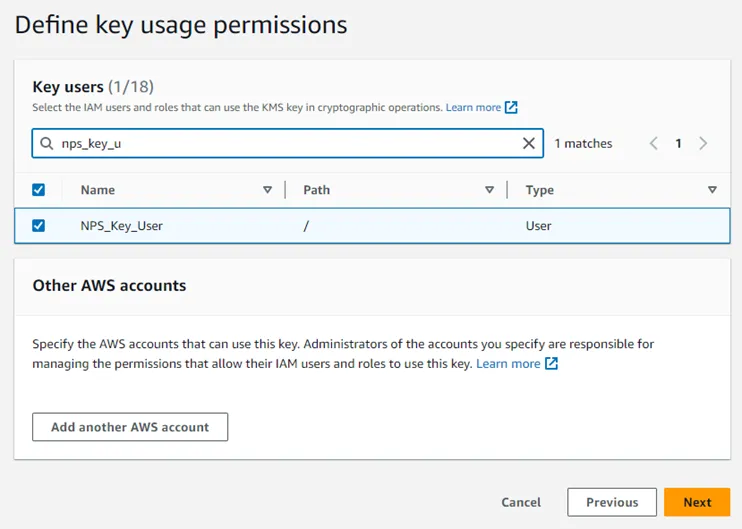
Step 7 – Select the checkbox for the Privilege Secure key user created earlier as a Key user. Click Next to continue.
Step 8 – Review the key configuration and click Create Key to continue.

Step 9 – Click the Copy button from the newly created key, and store the ARN from the details.
The ARN will be used by Privilege Secure to identify the key used for encryption.
Least Privilege Policy
The IAM policy created earlier can now be edited to limit to only the required key. Follow the steps to create a least privilege policy.
Step 1 – Navigate to the IAM Policies page and select the KMS policy created in earlier steps.
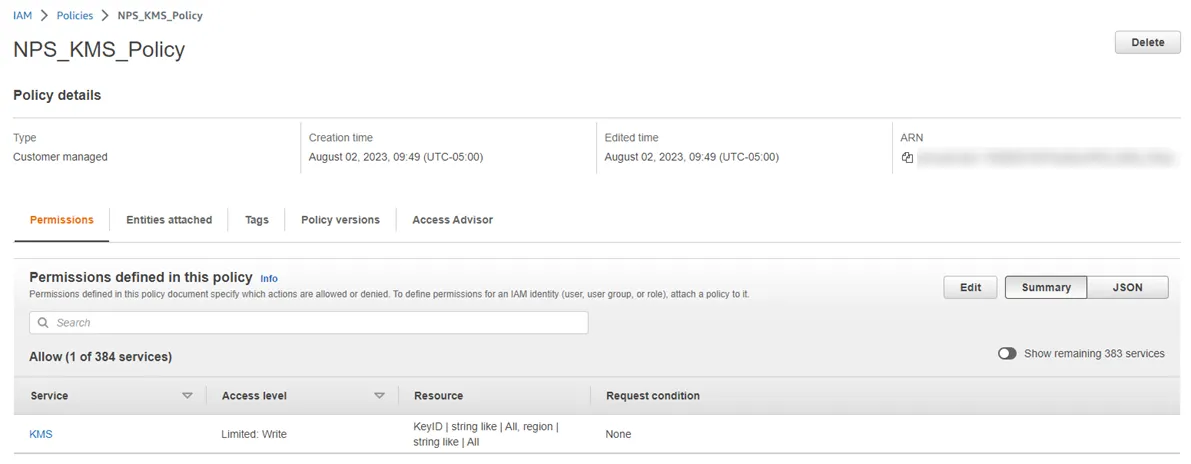
Step 2 – Select the Permissions tab.
Step 3 – Click the Edit button.
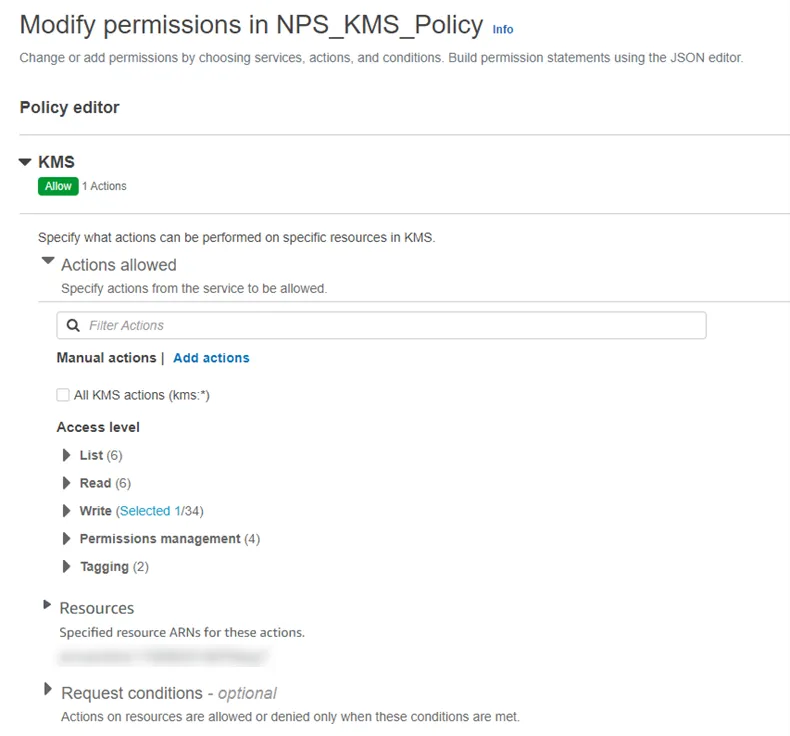
Step 4 – Once the policy editor window opens, switch to the Visual display mode and expand the KMS item dropdown.

Step 5 – Expand the Resources item and remove the selection from Any in this account checkbox.
Step 6 – Click Add Arn to restrict access.

Step 7 – Paste the copied ARN for the NPS key into the bottom box then
Step 8 – Click Add ARNs.
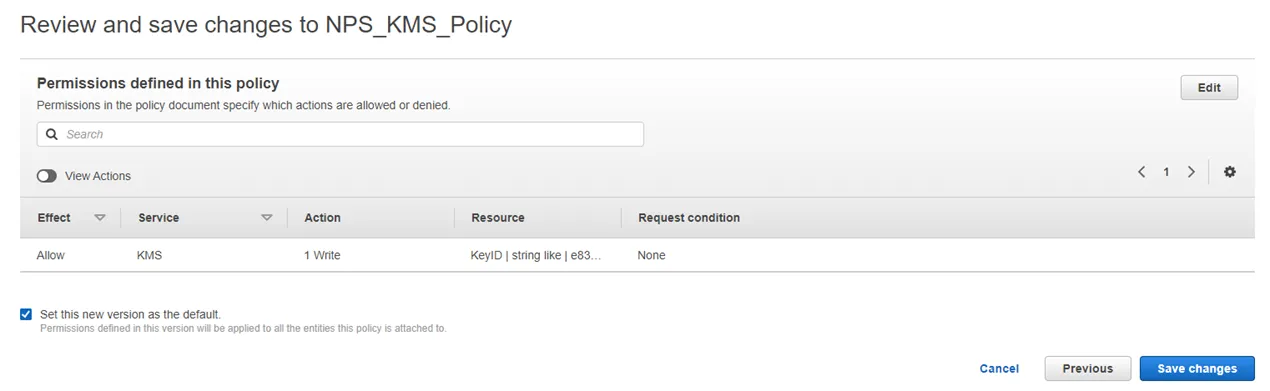
Step 9 – Review configuration and click Save changes to the NPS_KMS_Policy.
The policy will now be limited to only the specified KMS key. The KMS is ready to be roated in Privilege Secure. See the AWS KMS Key Rotation topic for additional information.