Renewing the JWT Signing Certificate
Summary
The following steps should be taken if instructed by Netwrix Support to regenerate Netwrix Privilege Secure's JWT Signing Certificate.
Instructions
IMPORTANT: While many of these steps use drive letter
C:in the path, this will differ for Program Files paths if Privilege Secure was installed to a different drive letter. All references toC:\ProgramData\Stealthbits\PAMwill use drive letterC:in all environments.
- Stop all SbPAM and IIS services by running the following in an elevated PowerShell window:
Stop-Service sbpam* -Force
Stop-Service w3svc -Force
- In Windows Explorer, navigate to the Program Data directory for Privilege Secure (for example,
C:\ProgramData\Stealthbits\PAM\). From here, open the WebService folder, and then openappsettings.jwt.jsonin Notepad. Inappsettings.jwt.json, locate the"Jwt"section (such as the following example) and delete all of it. This is the trigger to generate a new JWT Signing Certificate:
"Jwt": {
    "CertificateFile":  "C:\ProgramData\Stealthbits\PAM\Web\jwtsign.pfx",
    "CertificatePassword":  "...",
    "CertificateThumbprint":  "...",
    "Encryptionkey":  "..."
},
-
Navigate to
C:\ProgramData\Stealthbits\PAM\Weband delete thejwtsign.pfxfile. -
Navigate back up one level to the PAM folder, and then to the Webservice folder. Open
appsettings.log.jsonin Notepad and repeat step #2 if it also has a"jwt"section. -
Run the following commands in an elevated PowerShell window (changing the path to the PAM folder depending on the install path):
cd C:\Program Files\Stealthbits\PAM\KeyGen
& .\SbPAM.KeyGen.Exe
-
Open
appsettings.jwt.jsonagain from step #2, and verify the"Jwt"section has been recreated. -
Start all Privilege Secure and IIS services by running the following in an elevated PowerShell window:
Start-Service sbpam*
Start-Service w3svc
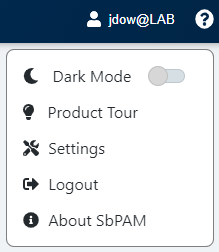
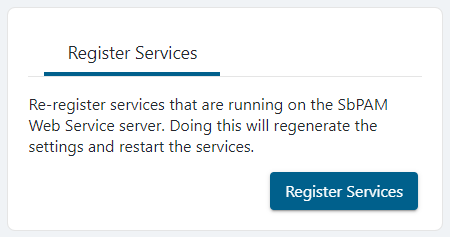
- Log in to the Privilege Secure web application as an Admin, and re-register services by clicking the logged-in user's name in the upper-right, clicking Settings, and then clicking Register Services.