Configure SAML SSO with Microsoft Entra ID
Configure a non-gallery Microsoft Entra enterprise application for service provider-initiated (SP-initiated) Security Assertion Markup Language (SAML) single sign-on (SSO) to Netwrix Privilege Secure for Discovery (NPS-D).
Complete Microsoft Graph directory synchronization first. The Graph app registration and SAML enterprise application are separate applications. The SAML application doesn't use the Graph client secret.
Keep a tested local NPS-D administrator session open throughout the configuration.
The screenshots in this procedure show a documentation lab and example values. Use the customer fully qualified domain name (FQDN) and the values from the approved implementation record.
Create a non-gallery enterprise application
-
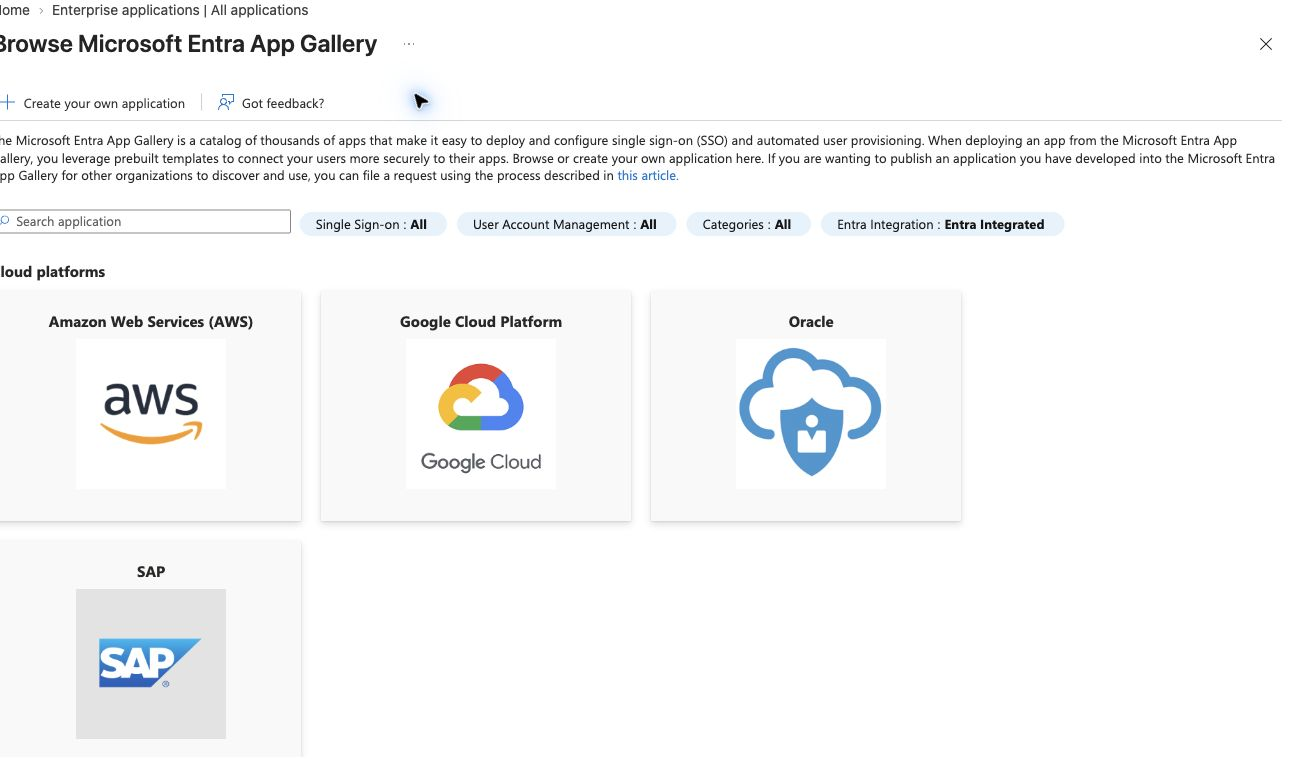
In the Microsoft Entra admin center, go to Identity > Applications > Enterprise applications > All applications.
-
Select New application > Create your own application.
-
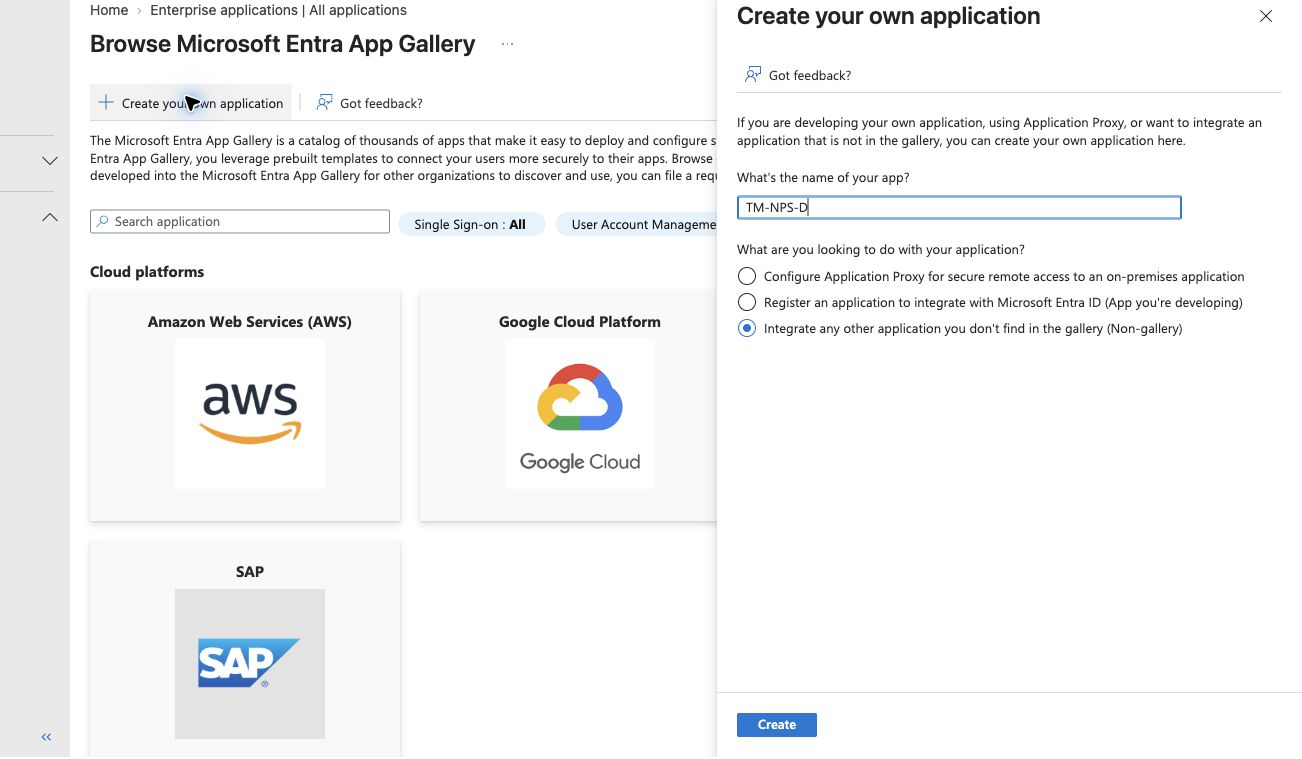
Enter a name such as
NPSD-<environment>-SAML. -
Select Integrate any other application you don't find in the gallery (Non-gallery).
-
Select Create.
-
Assign at least two accountable owners.
-
Set Assignment required? to Yes.
-
If the application already contains users or inherited configuration, keep sign-in disabled while you stage the configuration.
Configure the SAML URLs
-
Open Single sign-on > SAML > Basic SAML Configuration.
-
Enter the values from the integration worksheet.
Microsoft Entra field Value Identifier (Entity ID) https://npsd.example.comReply URL (Assertion Consumer Service URL) https://npsd.example.com/api/v1/loginSign-on URL https://npsd.example.com/api/v1/login/ssoRelay State Leave empty. Logout URL Leave empty. 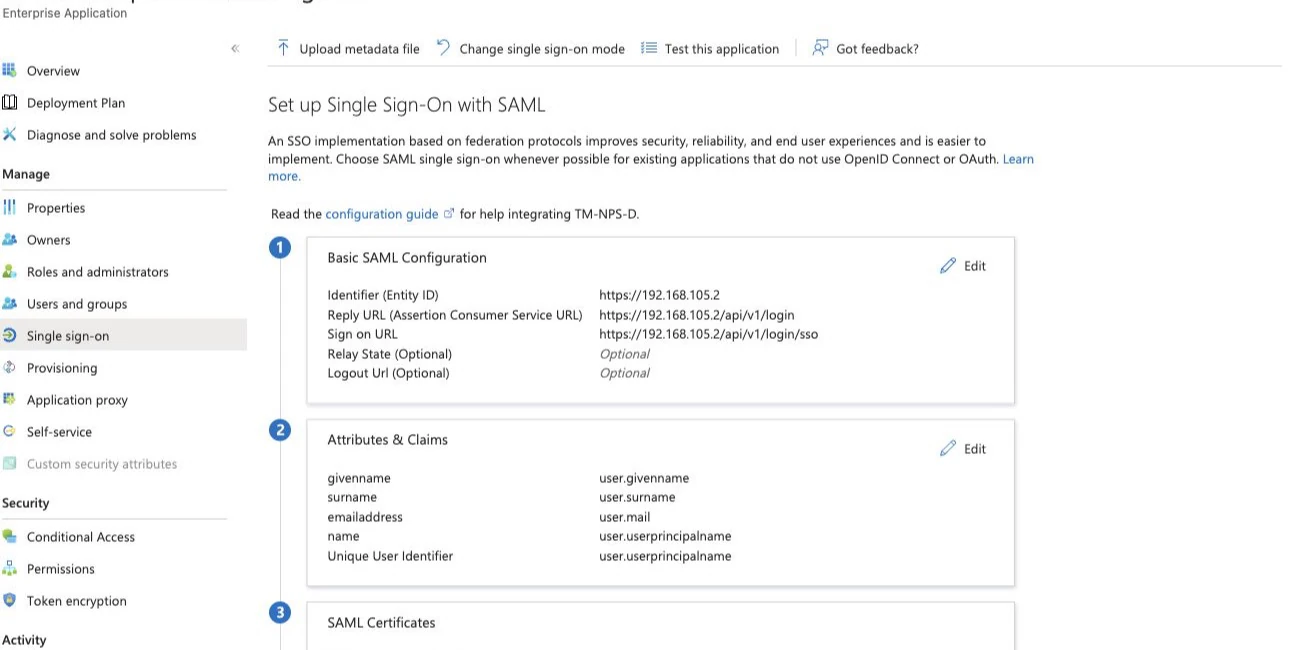
-
Confirm that the Identifier and the NPS-D Issuer are identical. Compare the scheme, host, path, case, and trailing slash before you save the configuration.
Configure NameID
-
Under Attributes & Claims, edit the unique user identifier.
-
Enter the following values.
Microsoft Entra setting Value Name Name ID Source Attribute Source attribute user.userprincipalnameName identifier format Email address 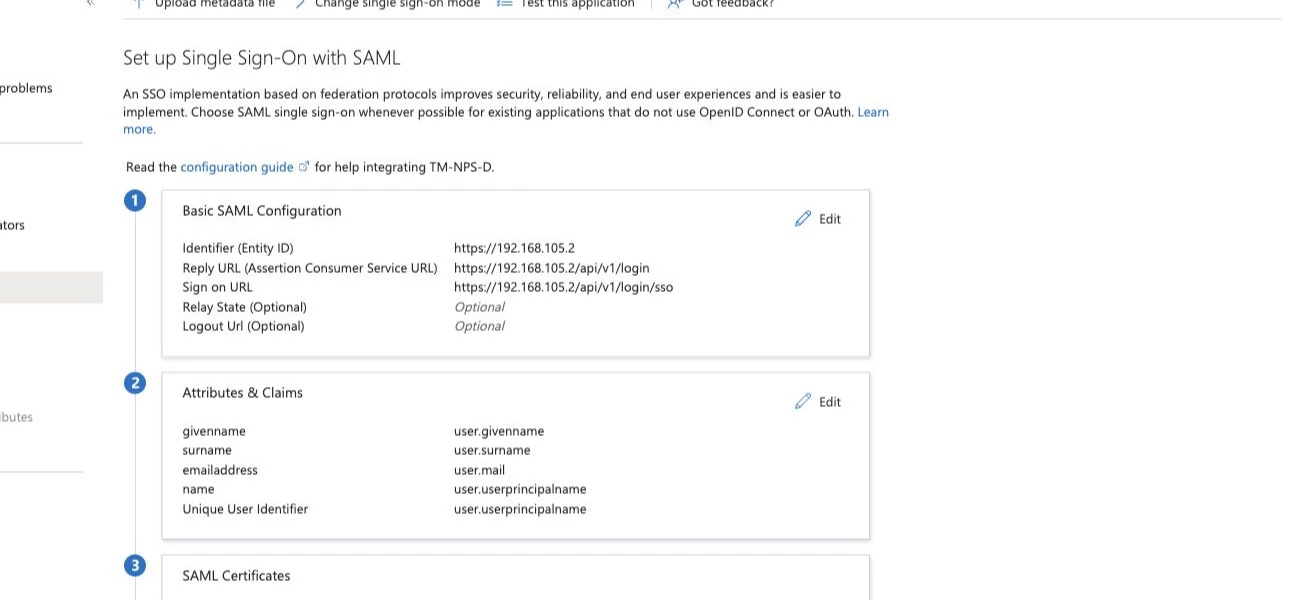
The baseline NPS-D match template is ${sAMAccountName}@${domain_fqdn}. The returned NameID must exactly match the calculated value, including case. If it doesn't match, configure a supported claim-to-field mapping that matches an existing NPS-D identity before you enable SSO.
Configure signing
- Under SAML Certificates, set Signing Option to Sign SAML response and assertion.
- Set the signing algorithm to SHA-256.
- Save the configuration.
- Download Certificate (Base64) from this enterprise application.

The certificate is application-specific. Don't reuse a certificate from another enterprise application. Record its fingerprint, expiration date, and owner in the operational inventory.
Assign a pilot identity
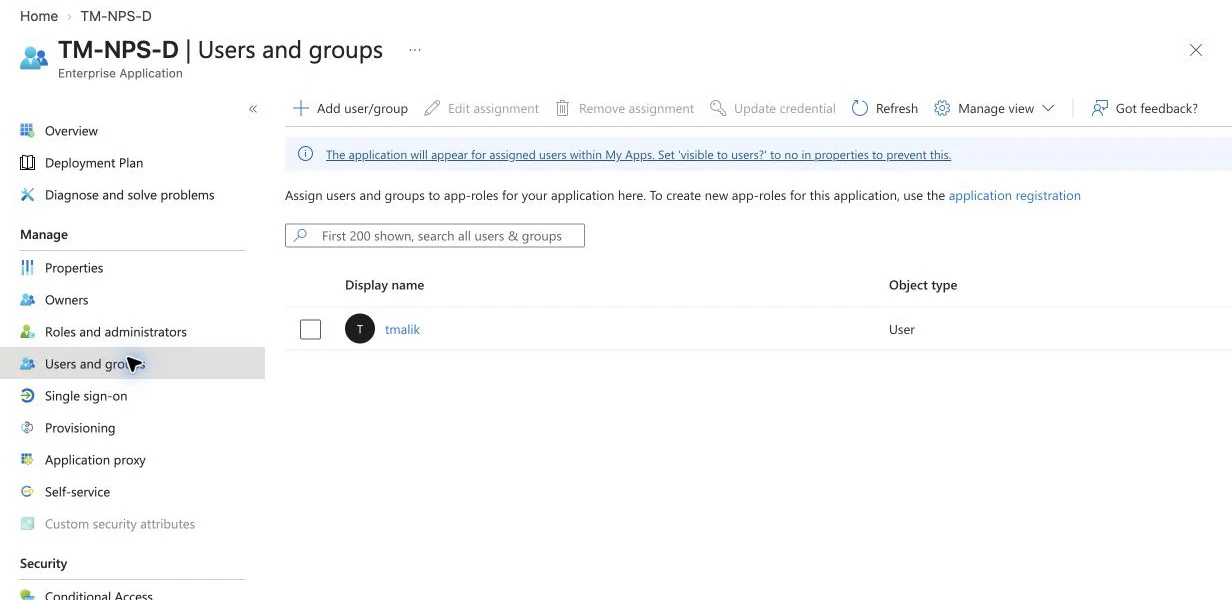
- Open Users and groups.
- Add the approved pilot user or tightly controlled pilot group.
- Keep Assignment required? set to Yes.
- Confirm that the same identity already exists in NPS-D and has an effective NPS-D role.
Configure SAML in NPS-D
-
In NPS-D, open Configure > Server > SAML Configuration.
-
Enter the required values.
NPS-D field Required value Entrypoint Enter the Microsoft Entra Login URL, normally https://login.microsoftonline.com/<tenant-id>/saml2.Issuer Enter exactly the same value as the Microsoft Entra Identifier, such as https://npsd.example.com.Issuer Cert Paste the Base64 body of the active certificate from this enterprise application. SSO Enabled Keep disabled while staging. Enable only after you review all fields. SSO Flow Select SP-Initiated. force IdP reauthentication Keep off for the baseline configuration. Auto-Redirect to IdP Keep off during initial staging and baseline validation. This option is available in NPS-D 26.09.0 and later. ID Claim Enter nameID.Match User By Enter ${sAMAccountName}@${domain_fqdn}.Non-SSO sign-in URL Enter https://npsd.example.com/#/login. -
For Issuer Cert, paste the Base64 certificate body without the
BEGIN CERTIFICATEandEND CERTIFICATEmarker lines. -
Save the configuration while SSO Enabled is off.
-
Reopen the configuration and verify the saved values.
-
Enable SSO, and save the configuration again.
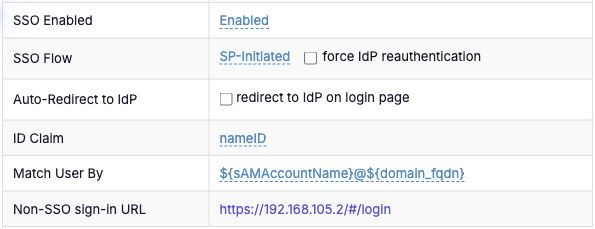
Version note: Starting with NPS-D 26.09.0, the SAML/SSO Configuration section includes an Auto-Redirect to IdP row with the redirect to IdP on login page checkbox.
Select the login behavior
Keep Auto-Redirect to IdP off until the baseline SAML flow and local recovery login pass acceptance testing.
| Setting | Login behavior |
|---|---|
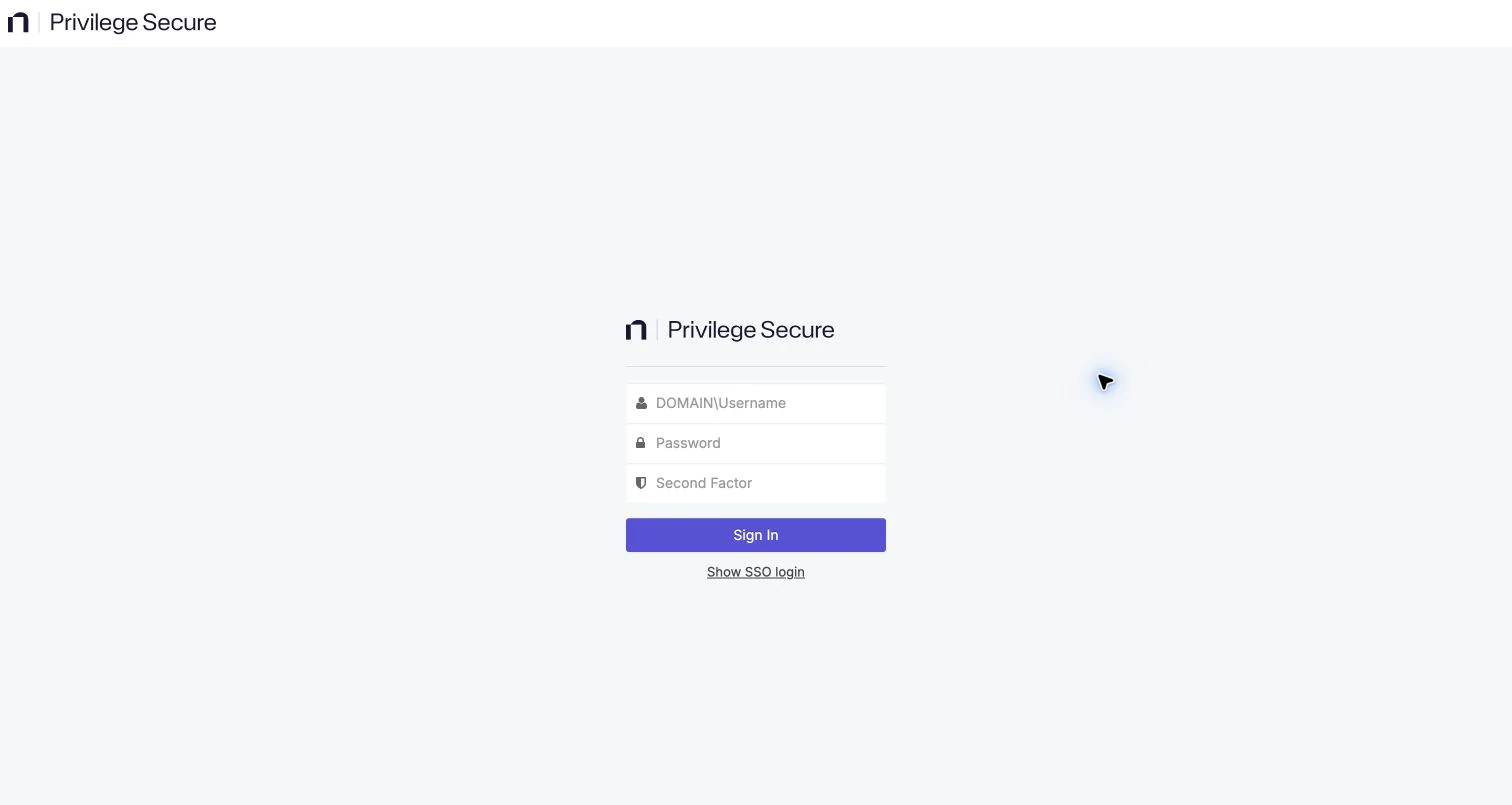
| Off (default) | The local username and password form appears first. After you enable SSO, users can select Show SSO login, then SSO Login. |
| On with SSO enabled | An unauthenticated request to a protected NPS-D route starts SSO and redirects the browser to the identity provider (IdP). A direct visit to the NPS-D login page opens the SSO view first and retains Show local login. |
| On with SSO disabled | The local login form remains available, and NPS-D doesn't start an SSO redirect. |
SAML and local username and password authentication remain available from the NPS-D login experience. Preserve and test the local recovery path after every SAML change and before you enable automatic redirection.
Validate the baseline SAML flow
Verify local login
- Open
https://npsd.example.com/#/loginin a private browser window. - Confirm that local username and password authentication works before you start the SAML test.
Start SP-initiated SSO
- Select Show SSO login.
- Select SSO Login.
- Complete Microsoft Entra authentication and any Conditional Access requirements.

NPS-D sends the browser to Microsoft Entra, receives the signed response at /api/v1/login, matches the NameID to the existing NPS-D user, and opens the NPS-D session.
Confirm the authenticated session
Confirm that:
- The expected NPS-D identity is signed in.
- The effective NPS-D role is correct.
- The browser is on the final application route.
- Local recovery still works in a separate private browser window.
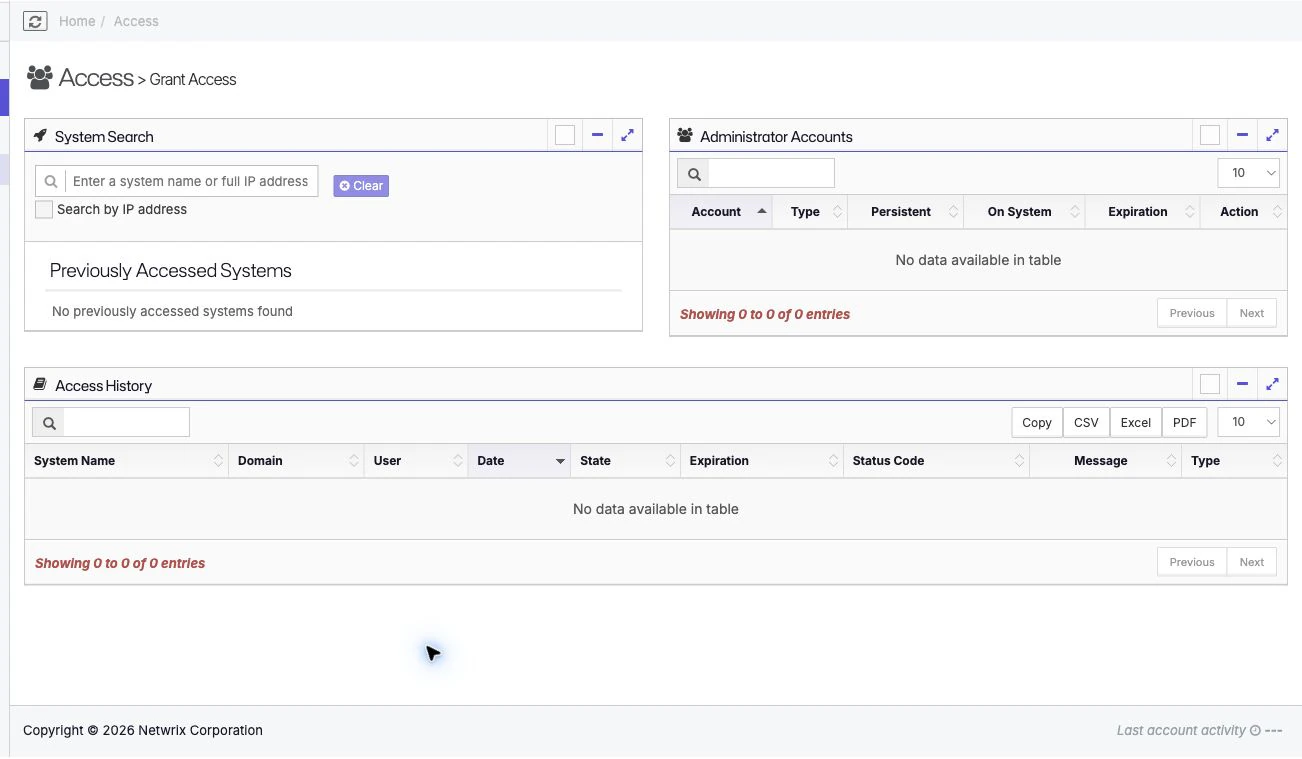
Don't capture evidence while the browser transitions through /#/login?samlAuth=<JWT>. Capture the final application page only after the token-bearing fragment disappears.
Enable automatic redirection
This option is available in NPS-D 26.09.0 and later. Complete this procedure only after the baseline SAML flow and local recovery login succeed.
- Keep the tested local administrator session open.
- Open Configure > Server > SAML Configuration.
- Under Auto-Redirect to IdP, select redirect to IdP on login page.
- Confirm that NPS-D displays Configuration successfully updated.
- In a new private browser window, request a protected NPS-D route.
- Confirm that the browser starts SSO and reaches Microsoft Entra.
- Open
https://npsd.example.com/#/logindirectly. - Confirm that the SSO view appears first and provides Show local login.
- Select Show local login, and verify the tested local administrator credentials.
If SSO or local recovery fails, use the preserved administrator session to turn Auto-Redirect to IdP off.
Acceptance tests
Record evidence for the following tests:
- An assigned, synchronized, and authorized pilot user succeeds.
- Microsoft Entra denies an unassigned user.
- NPS-D denies an assigned user who has no NPS-D account.
- NPS-D denies a user without an effective NPS-D role.
- An incorrect Reply URL fails in a controlled manner.
- A case-mismatched NameID doesn't match.
- NPS-D rejects an inactive or incorrect signing certificate.
- Local recovery login succeeds after SSO enablement.
- With Auto-Redirect to IdP off, the local login form appears first and Show SSO login works.
- With automatic redirection enabled in NPS-D 26.09.0 or later, an unauthenticated protected-route request starts SSO and the direct login page still provides Show local login.
- Distributable evidence contains no password, client secret, SAML assertion, JSON Web Token (JWT), multifactor authentication prompt, certificate body, or sensitive customer identifier.
Training video
The following English walkthrough shows Microsoft Graph synchronization and SP-initiated SAML configuration.
The video uses NPS-D 26.06 and doesn't show Auto-Redirect to IdP, which is available in NPS-D 26.09.0 and later.
For error resolution and final commissioning checks, see Validate and troubleshoot the integration.