title: First Login to Recovery Console sidebar_label: First Login description: Instructions for accessing and logging into the Recovery Console locally and remotely after installation for first-time user setup.
Log into the Recovery Console
When Recovery for Active Directory is installed, the following icon is displayed on the desktop.

Access the Recovery Console Locally
Administrator and non-administrator users can access the Recovery Console on the Recovery for Active Directory server using either of the following methods:
- Click the desktop icon
- Type
http:/localhost:3005in a web browser and press Enter
NOTE: If the port number and web protocol was changed from default during the installation process, use the port and protocol configured from the install.
Access the Recovery Console Remotely
To access the Recovery Console remotely, open a web browser. Enter the host name or IP address of the Recovery for Active Directory application server followed by web port number into the address bar. For example:
- http://[ServerName]:3005
NOTE: If the port number and web protocol was changed from default during the installation process, use the port and protocol configured from the install.
Sign In
On First Launch of the Recovery Console, the administrator must add users who can sign into the application and use it.
Follow the steps to sign into the Recovery Console.
Step 1 – Launch the Recovery Console.
NOTE: The URL may need to be added to the browser's list of trusted sites.
Step 2 – Enter your credentials in the Username and Password fields. The username must be in the following format:
- Domain\Username
Step 3 – Click Log in.
If you have enabled multi-factor authentication for your account, the following is displayed:
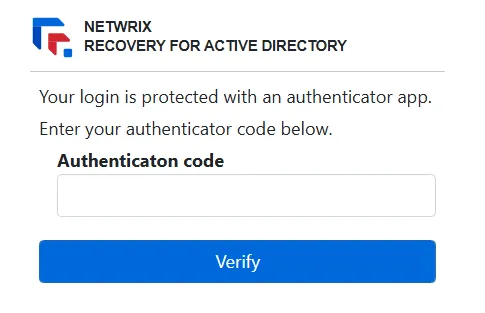
Step 4 – Launch the Authenticator app on your phone to get the verification code generated for the Recovery application account.
Step 5 – Enter the code in the Authentication code field and click Verify.
The Recovery Console opens.