Okta Page
The Okta page provides a list of the Okta tenants backed up by Identity Recovery. It displays the backup schedule settings for each added Okta tenant. You can also add and configure new Okta tenants.
Click Configuration in the left pane. Then click the Okta tab on the Configuration page to open the Okta tenants page.

The table displays the following information:
-
Tenant – Fully-qualified name of the tenant
-
Last Collection Time – The most recent time the collection (backup) occurred
-
Duration – The time the collection took to complete
-
Status – Collection state as idle, waiting, error, or success
-
Details – Information about any errors that occurred when the last backup was performed
-
Actions – Displays the icons used to collect, edit, and delete the respective domain
- Run backup – Click the Play icon to start a new collection (backup) on the respective tenant if collection is needed outside of the configured schedule
- Edit configuration – Edit the settings of the tenant. Click the Edit icon for a tenant to open the Edit Tenant Configuration wizard and edit the tenant's settings. See the Edit Tenant Configuration topic for additional information.
- Delete configuration – Click the Delete icon for a tenant to delete it
To add a tenant, click the Add tenant configuration button. See the Add a Tenant topic for additional information.
Add a Tenant
To add a tenant, provide tenant details and configure the backup schedule.
Follow the steps to add a tenant.
Step 1 – Click the Add tenant configuration button on the Okta page to launch the Add Tenant Configuration wizard.
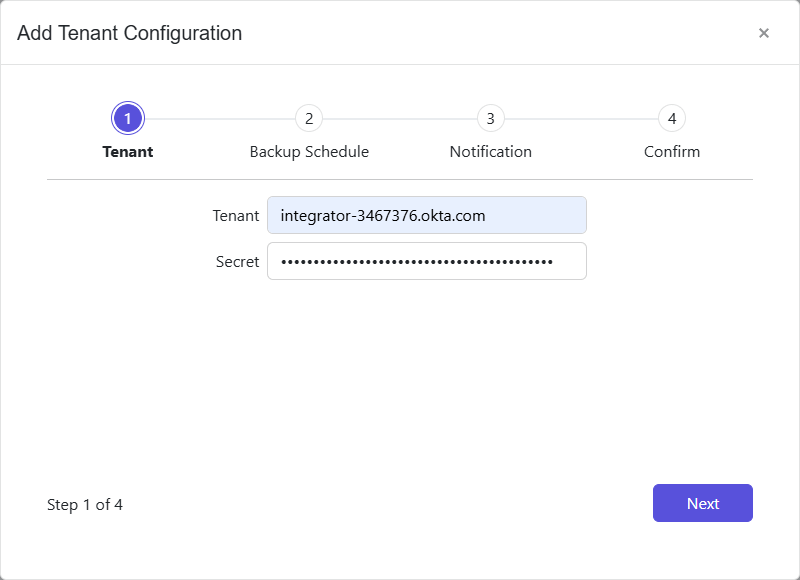
Step 2 – Enter a tenant [example.tenant.com] in the Tenant field.
Step 3 – Enter the API key in the Secret field.
Step 4 – Click Next.
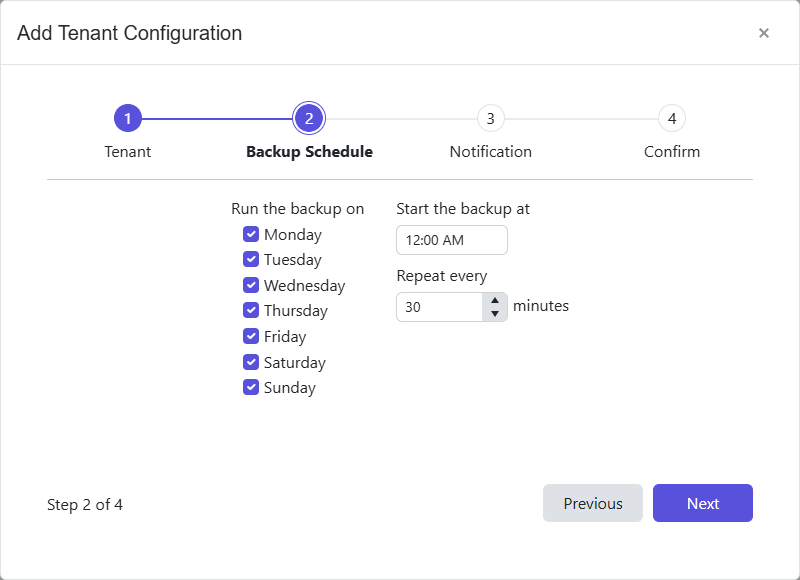
Step 5 – Select the days of the week in the Run the backup on section to indicate the days when backups will be run.
Step 6 – Select a start time (UTC) in the Start the backup at field to begin the backup. The default time is 12:00 AM.
Step 7 – In the Repeat every field, enter a frequency, in minutes, to set the time between the start of each backup. Keep in mind the size of the environment when configuring this option. Click Next.
If the start time is changed from the default and a frequency is selected (in minutes), the backups will run at the desired frequency but will skip from midnight until the selected start time.
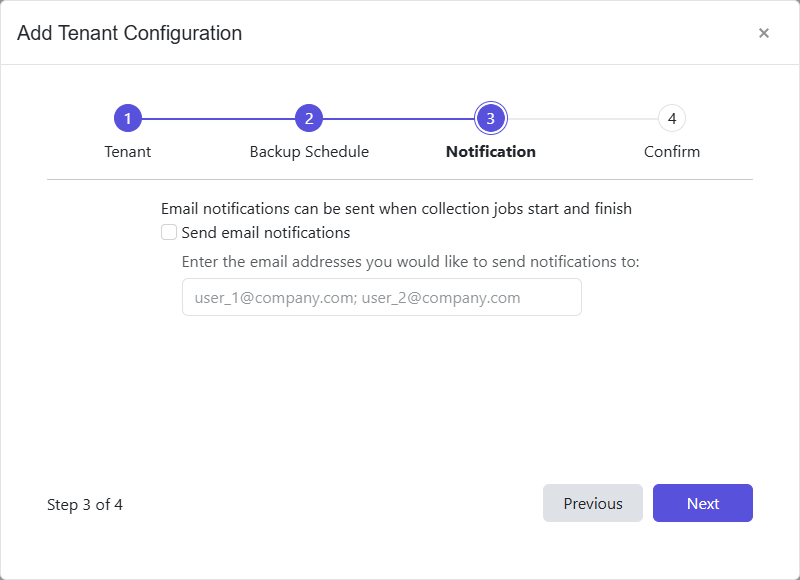
Step 8 – To set notifications, select the Send email notifications check box and enter the email address of one or more users and/or groups to receive the job start and end notifications. Use a semicolon (;) to separate multiple recipients. See the Notifications Page topic for additional information.
If notifications are not desired, skip this step.
Step 9 – Click Next.
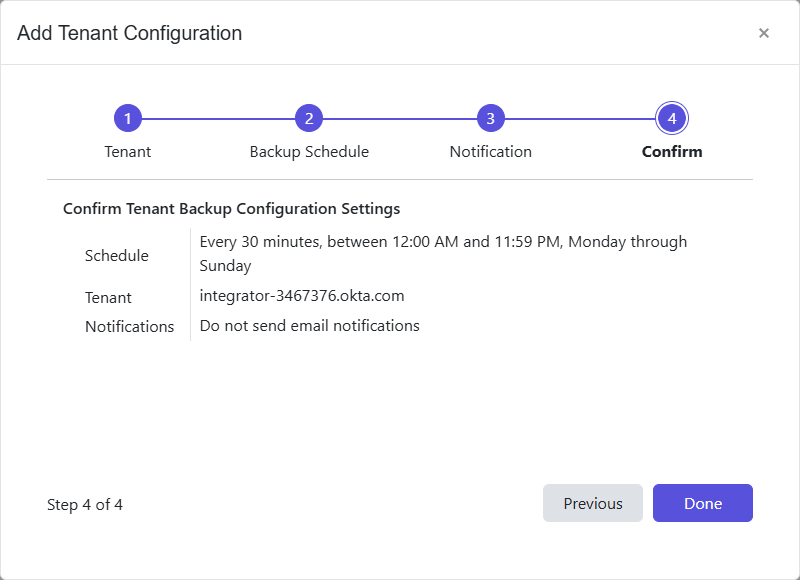
Step 10 – The Confirm page displays a summary of the settings you provided on the pages of the wizard. Use the Back button to return to a previous page and change any setting. Click Done to finish the wizard.
A new tenant is added and displayed on the Okta page.
Backups will begin as scheduled. On the first scheduled instance, a complete backup of the tenant is performed. Then, subsequent backups only include the incremental changes that occurred since the previous backup.
Edit Tenant Configuration
Follow the steps to edit a tenant.
Step 1 – On the Okta page, click the Edit configuration icon for a tenant. The Edit Tenant Configuration wizard opens.
Step 2 – Modify the desired settings for the tenant configuration
Step 3 – The Confirm page displays a summary of the settings you provided on the pages of the wizard. Use the Back button to return to a previous page and change any setting. Click Done to finish the wizard.
The tenant configuration is updated and backups will resume as scheduled.