Policies Page
The Policies Page provides an overview of the policies added to the Policies box and their deployment history. It also provides the ability to add new polices and configure them.

The Polices table displays the following information:
- Name – The policy name
- Enabled – A green checkmark indicates that the policy is enabled. A red x indicates that the policy is disabled
- Hosts – The number of hosts on which the policy is applied
- Last Deployed – The date and timestamp of the last policy deployment
- Schedule – The interval at which the policy will deploy
The Deployment History table displays the following information:
- Created – When the policy was applied to a host
- Host – The host on which the policy was applied. If the host exists in the Threat Manager database, click on the host link to go to the Host Details Page
- User Name – The user account associated with the policy. (In the case of a Honeytoken policy, the user account created by the Honeytoken policy.)
- Policy – The policy name. Click on the policy link to go to the Configuration tab for that policy.
The Policies page also provides the ability to click on a policy and view information and configuration options for that policy. See Policy Configuration for additional information.
Add a Policy for a Honeytoken
A Honeytoken-type policy adds Honeytokens, which are fake credentials stored in memory. When an attack scans memory they may try to authenticate or query the domain for information about the account. Policies for Honeytokens are added on the Policies page.
NOTE: When a Honeytoken name is specified and the policy is enabled, this policy becomes immediately valid for Honeytoken threat detection. Please refer to Configure Honeytoken Threats for Honeytoken naming best practices.
Follow the steps to add a policy.

Step 1 – In the Policies box, click Add New Policy. The Add Profile window opens.
Step 2 – In the Type drop-down list, select Honeytoken.
Step 3 – Enter the following information:
-
Name – The name for the policy
NOTE: See Configure Honeytoken Threats for best practices for naming a Honeytoken.
-
Description – The description for the policy
-
Enabled – The policy is set to OFF or disabled by default. Click the red X to set the Honeytoken to ON and enable it.
Step 4 – Click Add.
The Honeytoken policy is listed in the Policies box. Repeat the process to add additional policies for Honeytokens.
Policy Configuration
The Policy Details page displays information about the Honeytoken configuration.
NOTE: Policies for Honeytokens must be enabled by configuring the settings on the Configuration tab.
The Policies box displays the name of the Honeytoken policy. The Policy Information box displays the Honeytoken policy and a description if specified. Click the Edit button to change the name of the Honeytoken policy. If the policy name is changed, click the Save button to save the new name. Click the Delete button to delete the Honeytoken policy.
The Tabs box contains the following tabs:
- Configuration Tab
- Hosts Tab
- Deployment Tab
- History Tab
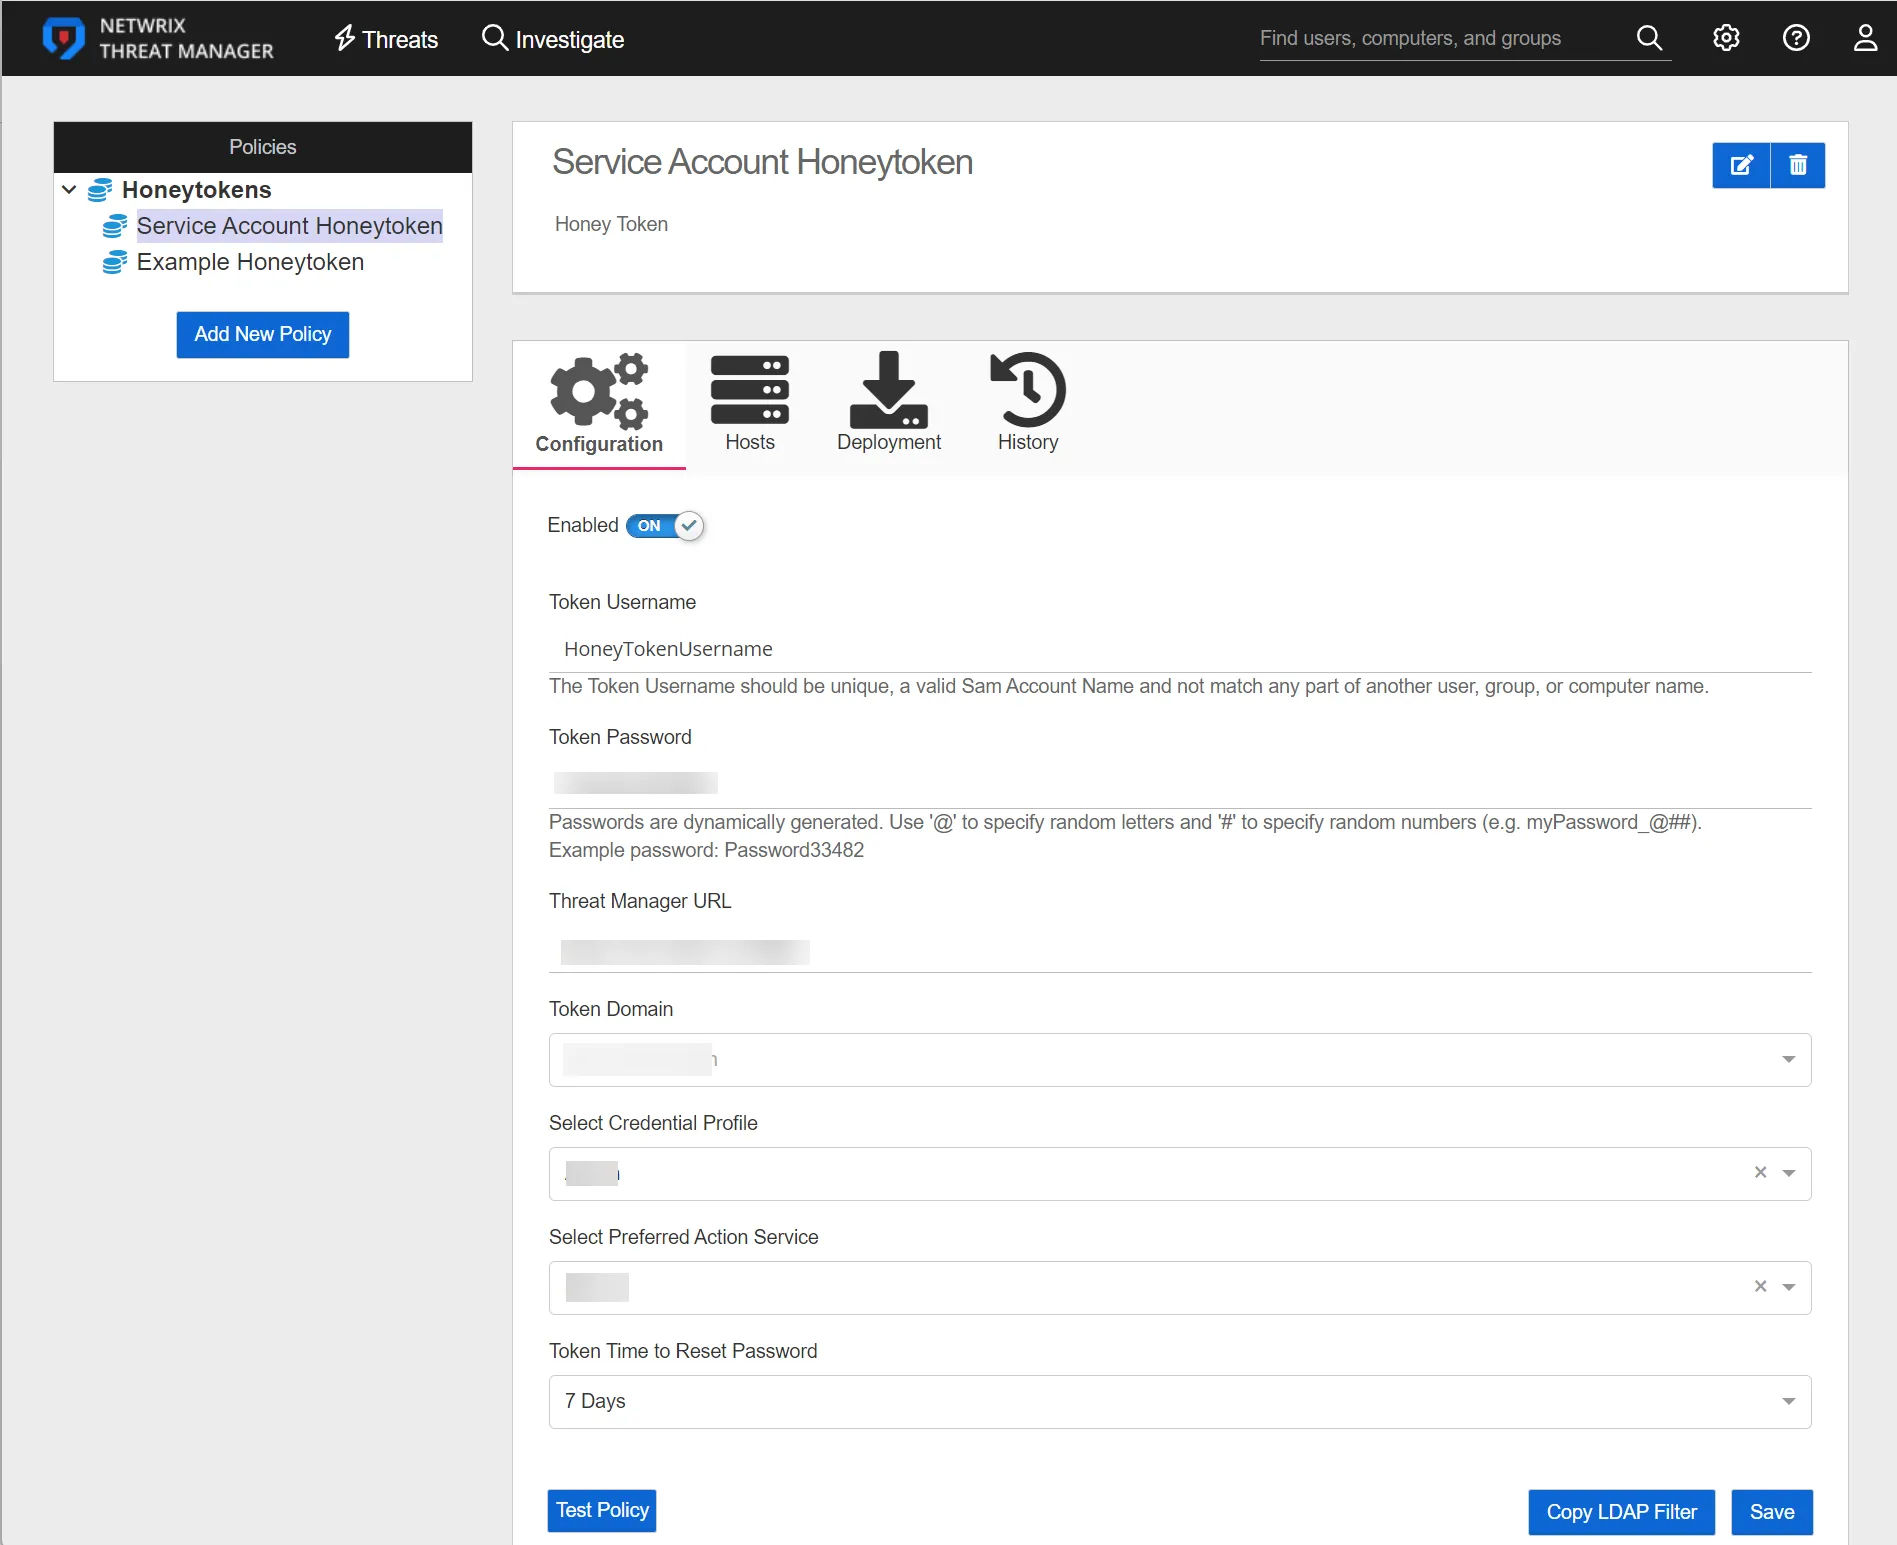
Configuration Tab
The Configuration tab provides information on the selected policy for a Honeytoken.
The Configuration tab contains the following configuration options:
-
Enabled – This option is set to ON or enabled by default. Click the checkmark to set to OFF or disabled.
-
Token Username – The username that is used by the Honeytoken deployment process and threat detection. This is a static username that will be used for all deployments for this policy.
NOTE: The token username can be changed post-deployment, however tokens under the previous username will no longer bedetected.
RECOMMENDED: Do not change the username of a Honeytoken after a successful deployment of the token to a host.
-
Token Password – Specify a password string to be used for the Honeytoken deployment. Passwords require at minimum one wildcard character. Use '@' to specify random letters and '#" to specify random numbers.
NOTE: If the Honeytoken script cannot reach the Threat Manager URL, the Honeytoken will still be deployed but Threat Manager will be unaware of the Honeytoken deployment status.
-
Threat Manager URL – Specify the Threat Manager address to be used by the Honeytoken script to communicate with Threat Manager. Honeytoken hosts must be able to communicate via HTTP REST to this address in order to report Honeytoken deployment status
-
Token Domain – The domain to be used for the deployed Honeytoken. This can be selected from existing, known domains or a custom domain can be specified.
-
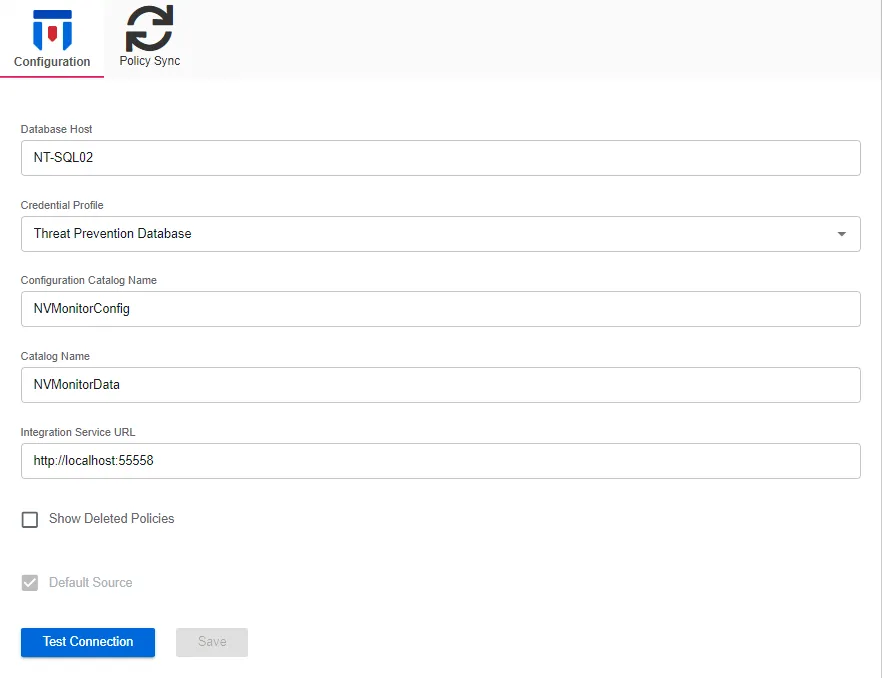
Select Credential Profile – Lists Credential Profiles added on the Integrations Interface. Select a Credential Profile from the drop-down list.
-
Select Preferrred Action Service – Select the Action Service to be used for Honeytoken deployment.
-
Token Time to Reset Password – All Honeytokens for a policy will share common password. This value specifies how frequently a new password will be generated for the Honeytoken policy. Select a value using the drop-down menu from the following options:
- 1 Day
- 7 Days
- 14 Days
- 30 Days
- 90 Days
-
Test Policy Button– Click the Test Policy button to run an LDAP query for the token username specified. This generates an event that will be detected by an Active Directory monitoring agent and sent to Threat Manager. If the event is received by Threat Manager within three minutes, the button displays Test Succeeded.
NOTE: If Threat Prevention is used for Active Directory event monitoring, then an LDAP monitoring policy must be enabled and configured to capture LDAP events for Honeytoken users for the test to be successful. See the Netwrix Threat Prevention Documentation for additional information. If Activity Monitor is used for Active Directory event monitoring, then the LDAP Monitor tab in the AD Monitoring Configuration Window must be configured to capture LDAP events for Honeytoken users for the test to be successful. See the Netwrix Activity Monitor Documentation for additional information.
RECOMMENDED: Use the Copy LDAP Filter button to ensure that the LDAP Filter Policy string is properly configured to capture LDAP events for the Honeytoken policy.
-
Copy LDAP Filter Button– Clicking the Copy LDAP Filter button will automatically copy to the clipboard the exact string that is required for Activity Monitor or Threat Prevention to configure the LDAP events for this Honeytoken. The copied string should then be pasted into the LDAP filter policy settings for Activity Monitor or Threat Prevention.
NOTE: This is a required configuration in order to detect LDAP-based Honeytoken threats.
Click Save to update the policy settings. Once saved, threats are detected for this Honeytoken user.
Hosts Tab
The Hosts tab provides information on hosts that have policies deployed. The Hosts tab displays the following information:
- Host – The host where the policy was deployed to create Honeytokens
- Token Name – The name of the Honeytoken user
- Token Status:
- Active – The token is currently deployed to the host and has an active process
- Decommissioned – The token is no longer valid and does not have an active process
- Process – The process ID of the process launched for the Honeytoken
- Last Deployed – When the policy was last run and deployed a new token on the host
- Created – The creation date and timestamp for the Honeytoken
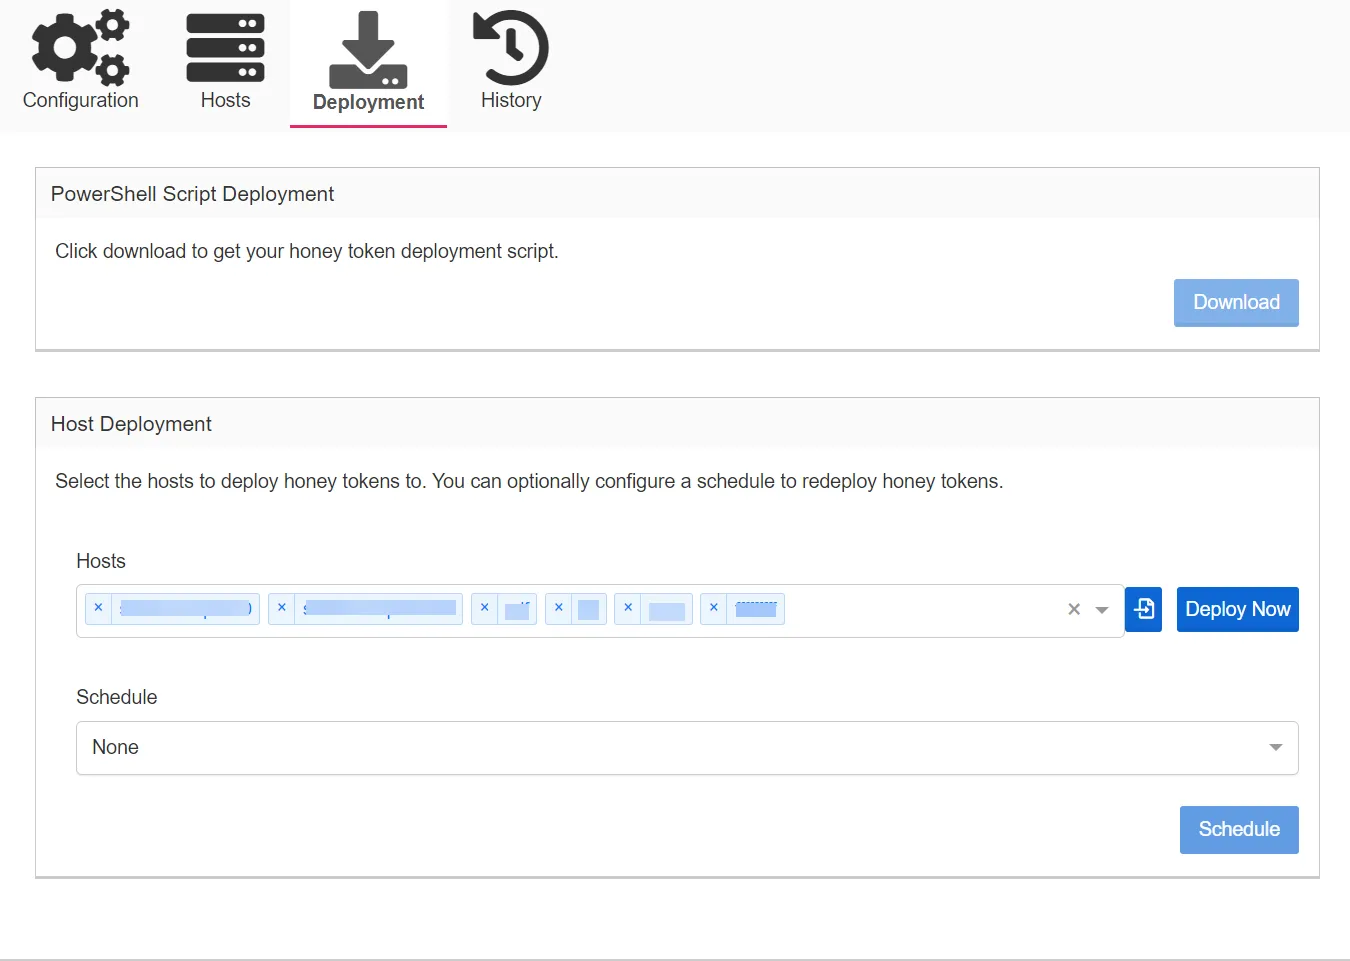
Deployment Tab
The Deployment tab provides a variety of methods to deploy Honeytokens to computers. Threat Manager Action Service can be used to deploy Honeytokens to remote computers, or a PowerShell script can be downloaded to allow either an external mechanism to deploy Honeytokens or for manual deployment of the Honeytokens.
-
PowerShell Script Deployment:
-
Download – Click the Download button to download the Honeytoken deployment script. Running this script will deploy a Honeytoken and report the status of the deployment to Threat Manager.
NOTE: The token's current username, domain, and password are automatically injected into the script as a backup in case the Threat Manager address cannot be accessed by the Honeytoken script.
-
-
Host Deployment:
- Hosts – Type in the box to search for and select a host. Alternatively, a comma-separated list can be pasted to this field to import a list of hosts.
- CSV Import Button – Click to open a file explorer window to select a single-column CSV file containing the host names of computers to add to the host list.
- Deploy Now Button– Click Deploy Now to open the Deployment Status Window and immediately deploy to all hosts specified in the Hosts list, using the Honeytoken policy preferred Action Service.
- Schedule – Select a schedule to automatically enable automatic deployment of Honeytokens. Once
a schedule is designated, deployment will be queued immediately and will then follow the
specified schedule. The default schedule is None.
- Hourly
- Daily
- Weekly
-
Click Schedule to apply the Honeytoken deployment schedule to the policy.
Deployment Status Window
When the Deploy Now button is clicked, Threat Manager will immediately deploy the Honeytoken to all hosts specified in the Hosts lists, utilizing the preferred action service selected for the Honeytoken policy on the Configuration tab.
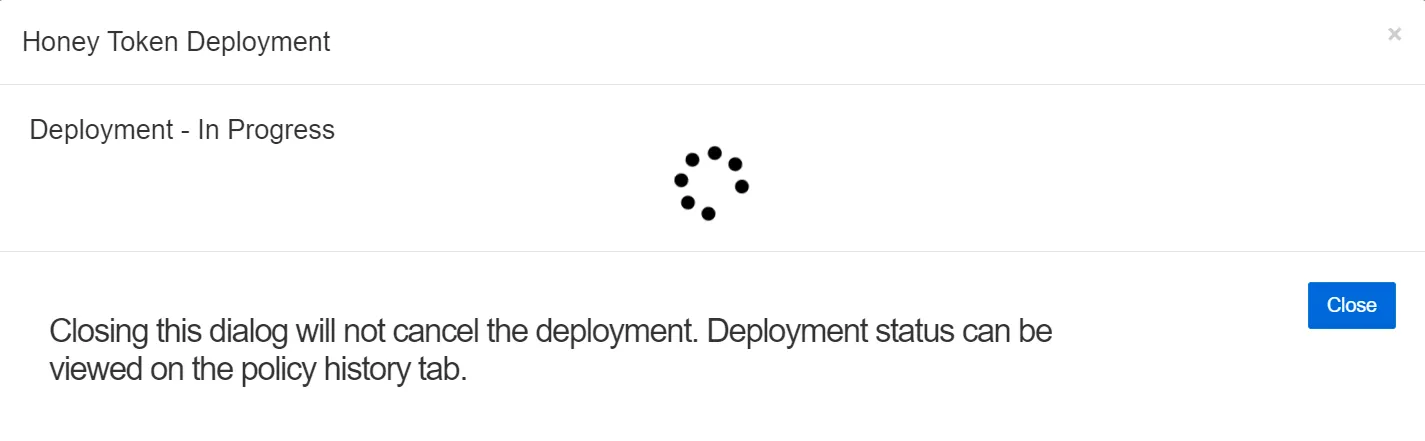
Closing this window will not cancel the deployment.

The window will update when the deployment is complete. The hosts and statuses will be listed, viewable by clicking the caret. Deployment status for each host may also be viewed on the Policy History tab. When finished, click Close or the gray x to exit the window.
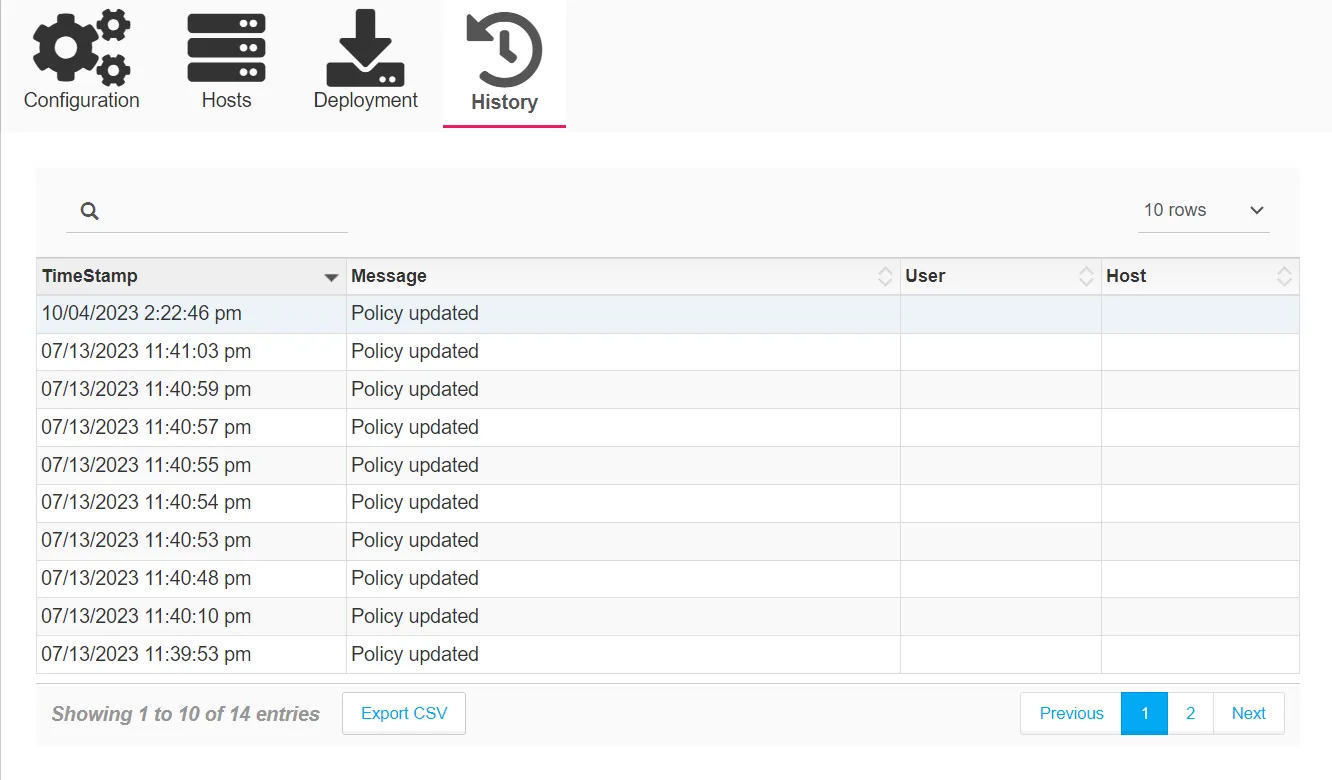
History Tab
The History tab displays audit history for changes to this policy. It contains a table with the following columns:
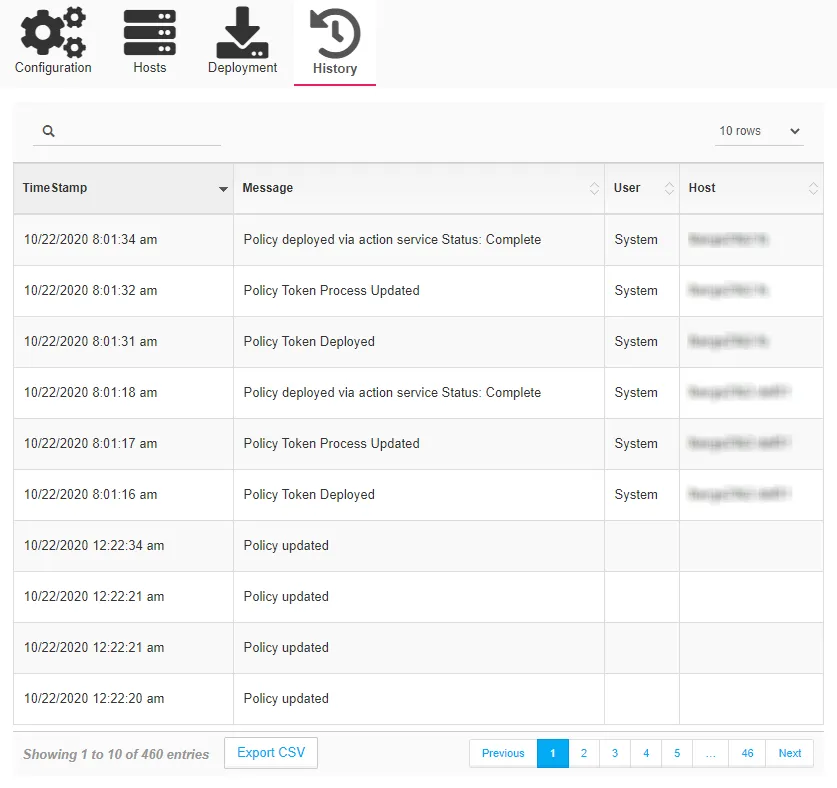
- TimeStamp – The timestamp for when the activity occurred
- Message – A description of the activity that occurred
- User – The user associated with the activity
- Host – The host associated with the activity