Playbooks
The first step in designating steps to run in response to a threat is to add a playbook. A playbook is used to tie a threat or "trigger type" to the desired step(s) to take in response to that threat. A threat response can be assigned to a playbook on the Threat Detection Page. Once a playbook has been created, steps that specify the desired action for the threat response are then added.
RECOMMENDED: Execute playbooks in a test environment and review the results prior to executing them in the production environment.
When testing or just getting started with playbooks in Threat Manager, trigger playbooks manually instead of automatically. Once the playbooks have been manually tested and you have familiarity with Threat Manager threats and threat responses, automatic triggering of playbooks can be enabled.
Add a Playbook
Follow the steps to add a playbook.
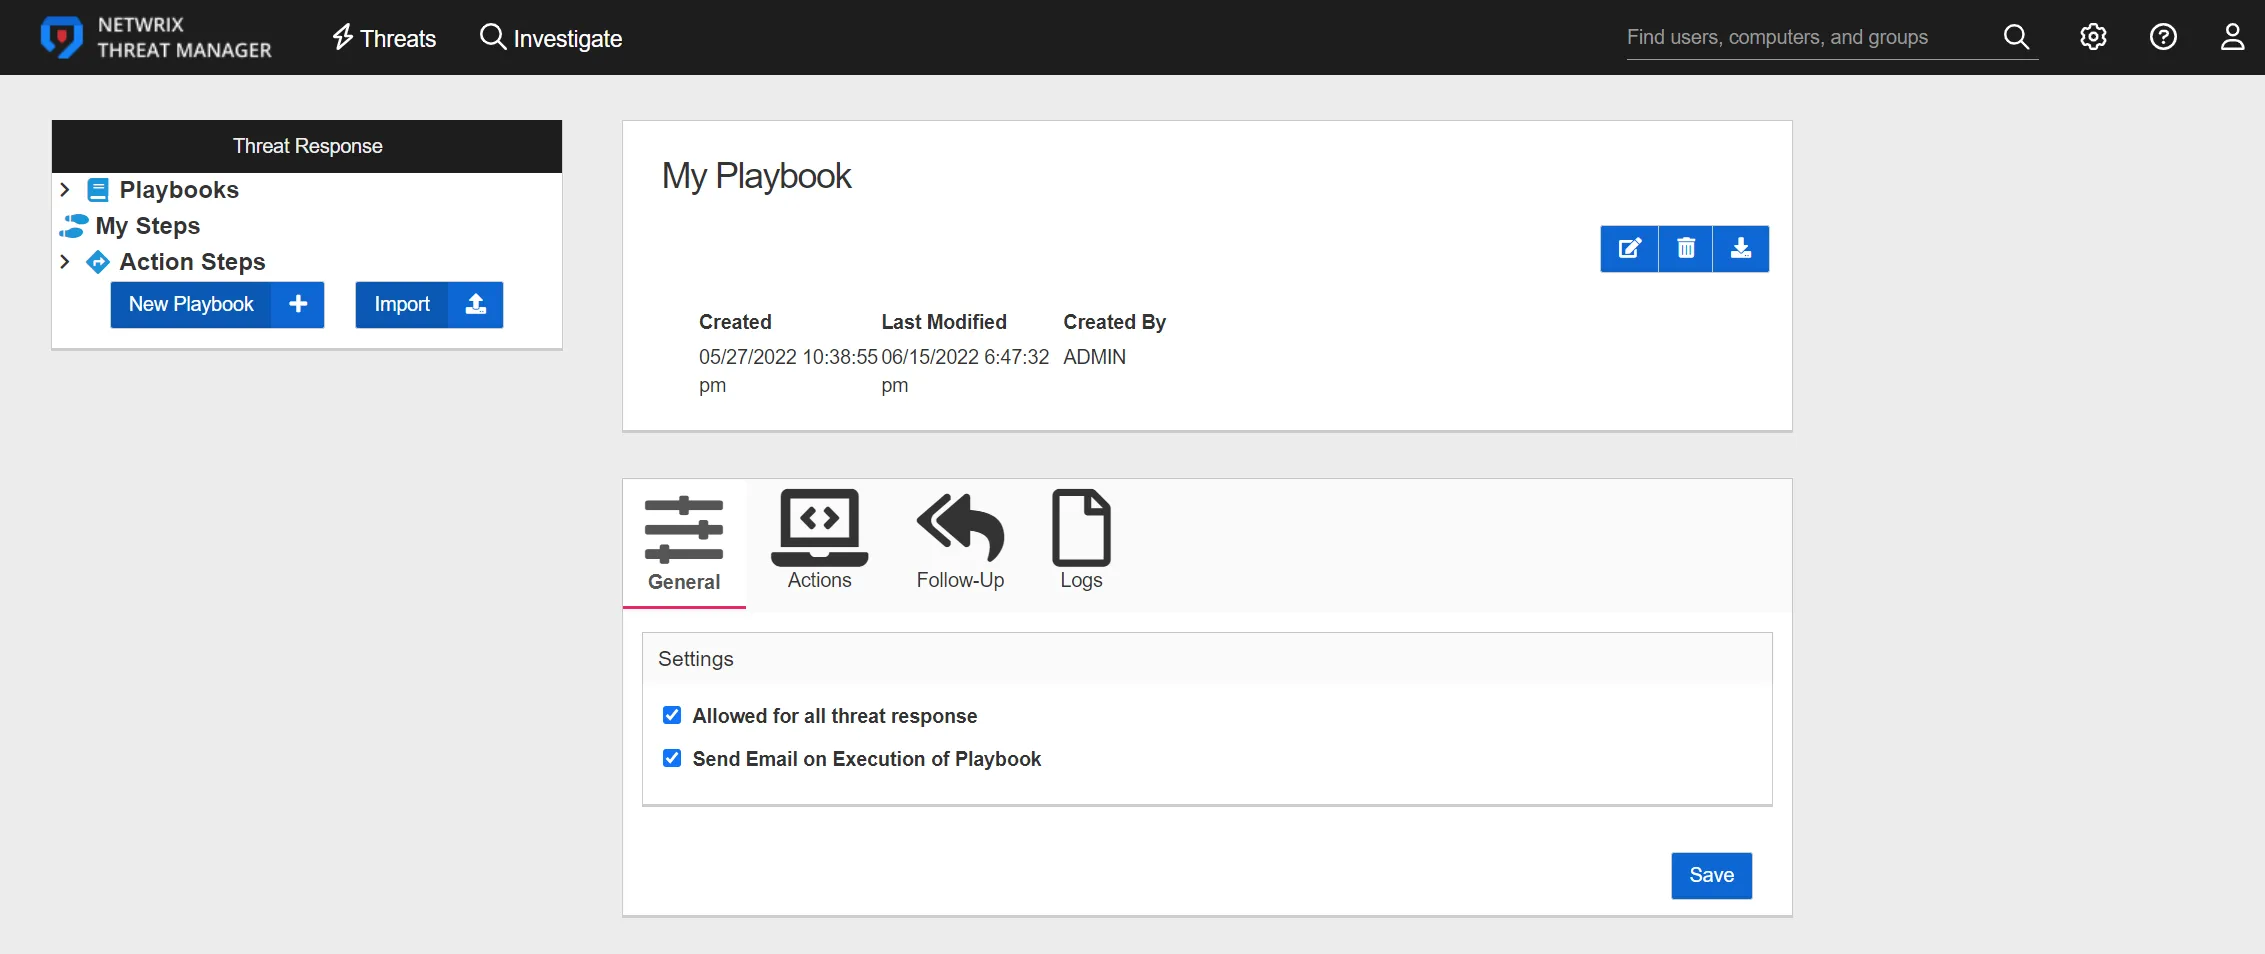
Step 1 – In the Threat Response box, click New Playbook. A new playbook called "My Playbook 1" is created. As additional Playbooks are added, sequential numbers are appended to My Playbook.
It is recommend to change the name of the playbook immediately after creation for organizational purposes.
Step 2 – Select the newly-created playbook from the Playbooks tab and click the Edit button. Rename My Playbook with the desired name and optionally enter a description for the playbook in the Description field.
Step 3 – Configure the Playbook using the configuration tabs.
Step 4 – Click the Save button.
The new playbook now has the desired name and steps can be added to the playbook. See the Actions Tab topic for additional information.
Configure a Playbook
Playbooks are configured using the tabs on the Threat Response page.
The Threat Response page contains the following configuration tabs:
- General Tab
- Actions Tab
- Follow-Up Tab
- Logs Tab
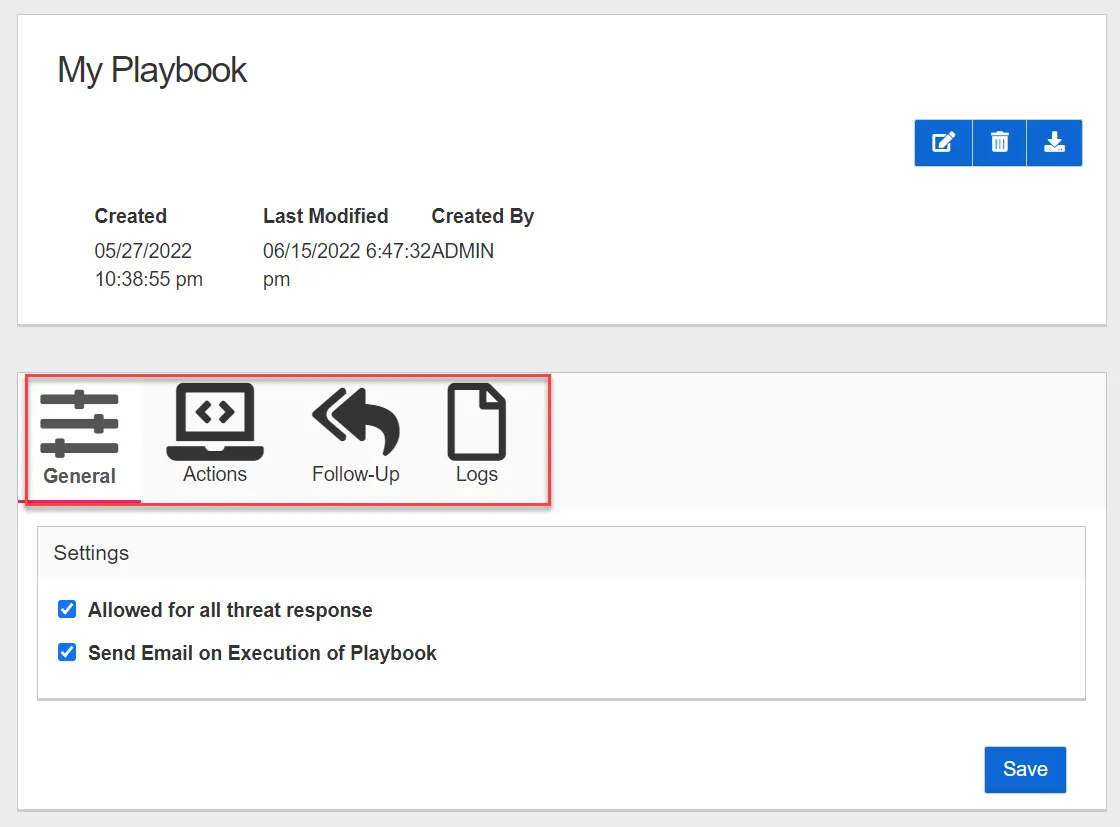
General Tab
The General Tab contains the Allowed Threats box which allows customization of which threats are applicable for the selected playbook.
The General tab has the following configuration options:
- Allowed for all threat response – Allows customization of which threats are applicable for this playbook. (All threats are allowed by default). If a threat is excluded from Allowed Threats, it will not be available to run ad hoc on the Threat Details page nor available for automated threat response.
- Send Email on Execution of Playbook – An email notification will be sent after the playbook has been executed.
- Search Threats – Select the threats that are allowed to be used as a threat response for this playbook from the drop-down list.
Actions Tab
Once a playbook is created or imported, add steps to the playbook using the Actions tab. Steps are actions that are taken in response to a threat. See the Preconfigured Actions topic for additional information.
Follow the instructions to add steps to a Playbook.
Step 1 – Select the playbook from the Playbooks list in the Threat Response box or on the Playbooks overview.
Step 2 – Click the Actions tab and then click Add Step to open a box to add a step to the playbook.
Step 3 – Enter the following information in the box:

- Display Name – The desired name for the step
- Action Type – The type of action to take for the threat response. Select the desired action from the drop-down list. Additional configuration information is required depending upon the type of action selected. See the Action Configuration for Playbook Steps topic for additional information.
- Continue on Error – Select this checkbox to execute the next step if the current step fails
Step 4 – Click Add to add the step to the playbook.
The step is added to the playbook.
Follow-Up Tab
Follow-Up Playbooks can be configured on the Follow-Up tab. Follow-Up playbooks allow additional playbooks to run once the playbook has completed. This allows a (Undefined variable: SD.Product Short Name) administrator to sequence a series of playbooks together as part of a threat response.

The Follow-Up tab has the following configuration options:
- Send Email on Follow-up – Send an email notification when a follow-up playbook runs
- On Fail – If the current playbook fails, run the selected playbook from the drop-down list
- On Success – If the current playbook runs successfully, run the selected playbook from the drop-down list
Click Save to save the configured settings.
Logs Tab
Click the Logs tab to access the Playbook Execution History table. The table lists all playbook executions and also provides the ability to search the table.
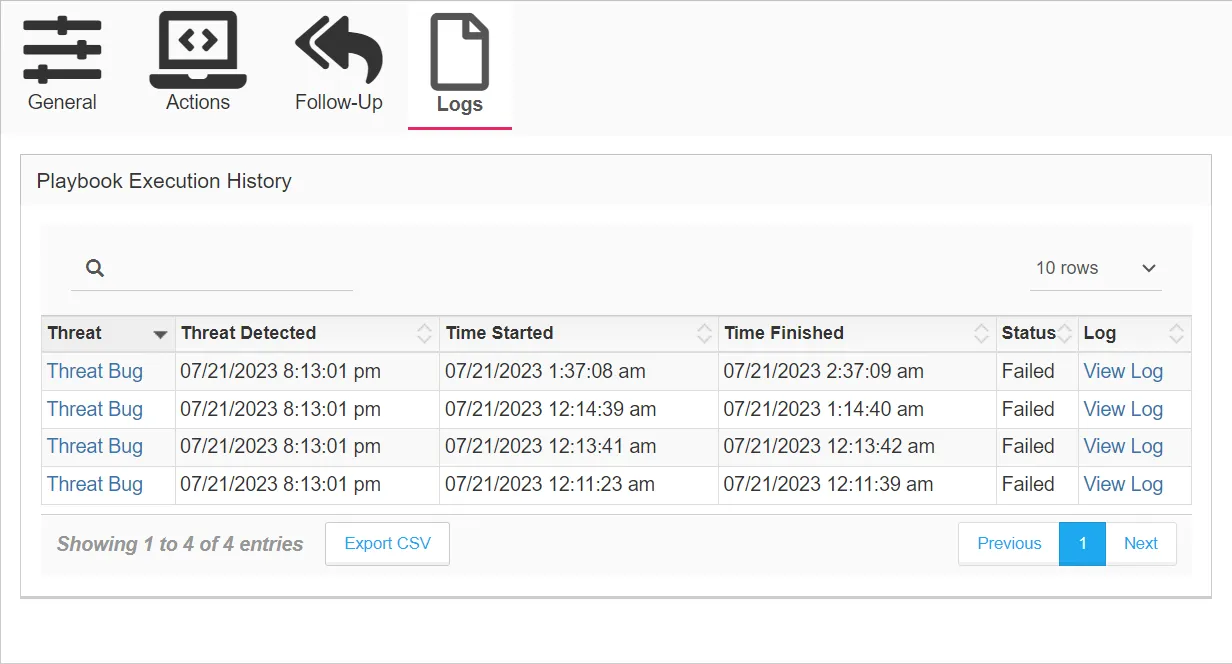
The table provides the following information:
- Threat – The threat type that triggered the playbook
- Click the threat link to open the Threat Details Page and view information about the threat.
- Threat Detected – The time that the threat was detected
- Time Started – The time that the playbook was executed
- Time Finished – The time that the playbook completed execution
- Status – The status of the playbook execution:
- Queued
- Running
- Complete
- Completed with Errors
- Canceled
- Failed
- View Log – View the log file for the playbook execution. Clicking View Log opens the Action Log window.
Action Log Window
The Action Log window contains a Logs tab and a Step Details tab.
Logs Tab
The Logs tab displays logs for the playbook execution.
The Logs tab displays a table with the following columns:
- Time – The timestamp for the log
- Level – Type of log message displayed, which indicates the severity of the log message
- Message – Informational text displayed for the log
Step Details Tab
The Step Details tab displays information about the action steps in the playbook execution.
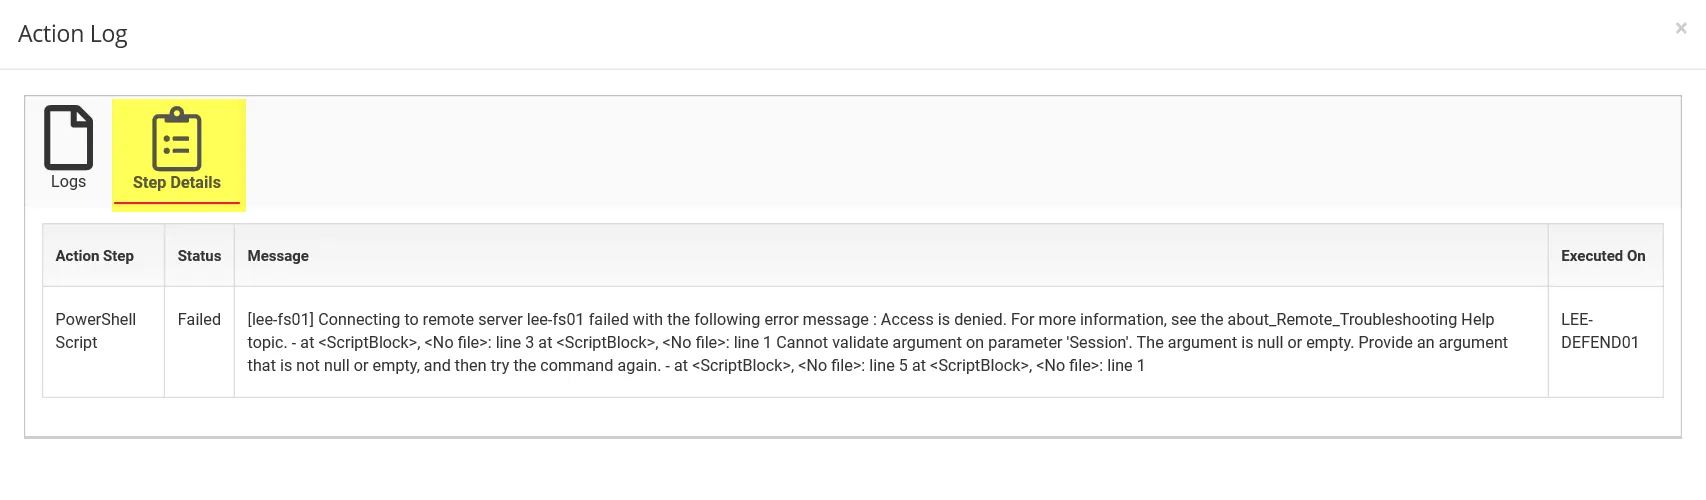
The Step Details tab contains a table with the following columns:
- Action Step – The name of the action step in the playbook
- Status – The status of the action step
- Message – Any informational or output messages from the action step
- Executed On – The host where the playbook ran the action step