Custom Threats
In additional to pre-configured threats, Threat Manager provides the ability to create custom threats. A user can create a custom threat if they consider certain events to be dangerous in their environment. For example, when one of the privileged users makes file changes.
Custom threats can be created in one of the following ways:
- Custom Option on the Threat Detection Page
- Create Threat Option on the Investigation Page
Custom Option on the Threat Detection Page
Follow the steps to create a custom threat.
Step 1 – Click on the gear icon at the top right of the screen.
Step 2 – Select Threat Detection. This opens the Threat Detection page.
Step 3 – In the Threats box on the left, click Custom . This opens the Investigate page.
Step 4 – On the Investigate page, do one of the following:
- Select an existing investigation, or
- Save a new one. See the New Investigation Page for additional information.
Step 5 – In the selected investigation, click the Create Threat option.
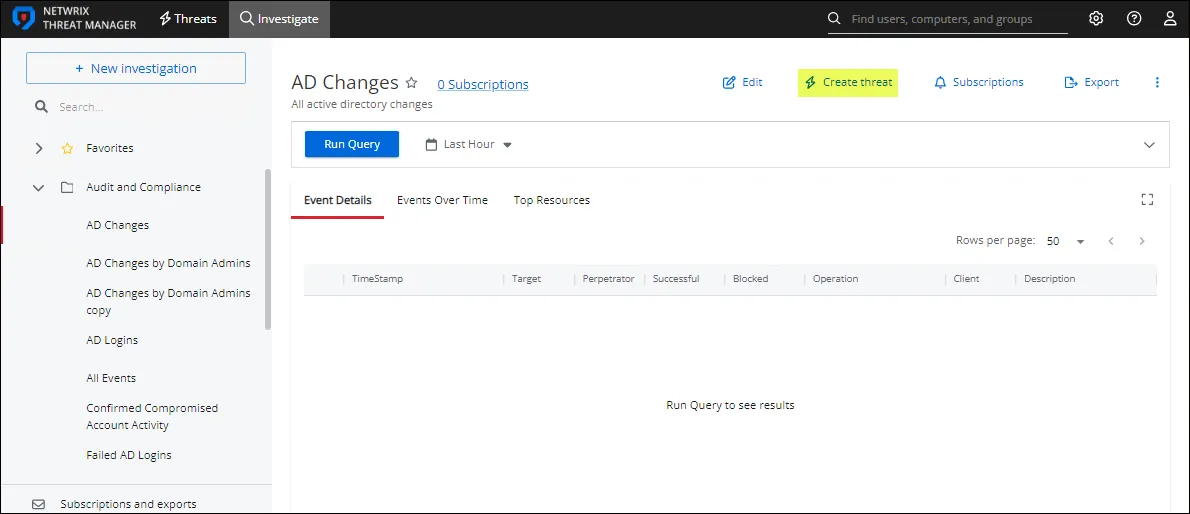
The Custom Threat page opens.

Step 6 – Severity – The relative severity level, or risk level, of the threat. See the Fine Tune a Threat topic for additional information.
Step 7 – Description – Description of the threat.
NOTE: Click the + sign in the description box to insert the {{userName}} macro. The macro will
associate the user that committed the threat.
Step 8 – Definition – The threat definition is a detailed explanation of the threat providing insight into why the incident is a potential risk. It appears at the top of the Threat Details page. See the Threat Details Page topic for additional information.
Step 9 – The Custom Threat page has two tabs for threat configuration:
-
Threat Response – Assigning a threat response includes the following:
- SIEM Alert – Check the box to forward threat information to a SIEM service when the threat is detected. Uncheck it to turn off forwarding threat information to a SIEM service.
- Email Alert – Check the box to send email notifications when the threat is detected. Uncheck it to turn off email notifications.
- Run Playbook – Select the playbook that will be used to respond to the threat.
-
Threat Settings – Select the Threshold check-box to enable configuration options i.e. the minimum number of events during a specific time frame which will trigger a threat.
- Count –The number of times that an event must occur before a threat is generated
- Time – The time period over which the count must occur to generate a threat. Enter a value and set the units for the time period in the next field.
- Units – The time period units. Options in the drop-down menu include Minutes, Hours, or Days.
- Group By Perpetrator – When checked, the threat criteria is evaluated on a per-user basis. This means that each perpetrating user's individual activity must match the investigation criteria in order to generate a threat. The default is unchecked.
Exclusions Tab
The Exclusions tab lists existing exclusions for the threat. Exclusions allow rule-based definitions to be defined for specific criteria to be excluded from threat detection for the threat type.

Step 10 – Click Save. The investigation is now saved as a custom threat.
Create Threat Option on the Investigation Page
For creating a custom threat from an Investigation page, the steps are as follows:
- Click Investigate in the application's header bar.
- select an investigation and follow the steps from the Step 5 in the Custom Option on the Threat Detection Page section above.