Custom Threats
In addition to pre-configured threats, Threat Manager lets you create custom threats. Create a custom threat when you consider certain events to be dangerous in your environment. For example, when a privileged user makes file changes.
Custom threats can be created in one of the following ways:
- Custom Option on the Threat Detection Page
- Create Threat Option on the Investigation Page
Custom Option on the Threat Detection Page
create a custom threat.
Step 1 – Click the gear icon at the top right of the screen.
Step 2 – Select Threat Detection. This opens the Threat Detection page.
Step 3 – In the Threats box on the left, click Custom . This opens the Investigate page.
Step 4 – On the Investigate page, do one of the following:
- Select an existing investigation, or
- Save a new one. See the New Investigation Page for additional information.
Step 5 – In the selected investigation, click the Create Threat option.
The Custom Threat page opens.

Step 6 – Severity – The relative severity level, or risk level, of the threat. See the Fine Tune a Threat topic for additional information.
Step 7 – Description – Description of the threat.
Click the + sign in the description box to insert the {{userName}} macro. The macro associates the user that committed the threat.
Step 8 – Definition – The threat definition is a detailed explanation of the threat providing insight into why the incident is a potential risk. It appears at the top of the Threat Details page. See the Threat Details Page topic for additional information.
Step 9 – The Custom Threat page has two tabs for threat configuration:
-
Threat Response – Assigning a threat response includes the following:
- SIEM Alert – Check the box to forward threat information to a SIEM service when the threat is detected. Uncheck it to turn off forwarding threat information to a SIEM service.
- Email Alert – Check the box to send email notifications when the threat is detected. Uncheck it to turn off email notifications.
- Run Playbook – Select the playbook to use when responding to the threat.
-
Threat Settings – Select the Threshold check-box to enable configuration options i.e. the minimum number of events during a specific time frame that triggers a threat.
- Count –The number of times that an event must occur before a threat is generated
- Time – The time period over which the count must occur to generate a threat. Enter a value and set the units for the time period in the next field.
- Units – The time period units. Options in the dropdown menu include Minutes, Hours, or Days.
- Group By Perpetrator – When checked, the threat criteria is evaluated on a per-user basis. This means that each perpetrating user's individual activity must match the investigation criteria to generate a threat. The default is unchecked.
Exclusions Tab
The Exclusions tab lists existing exclusions for the threat. Exclusions use rule-based definitions to specify criteria excluded from threat detection for the threat type.

Step 10 – Click Save. The investigation is now saved as a custom threat.
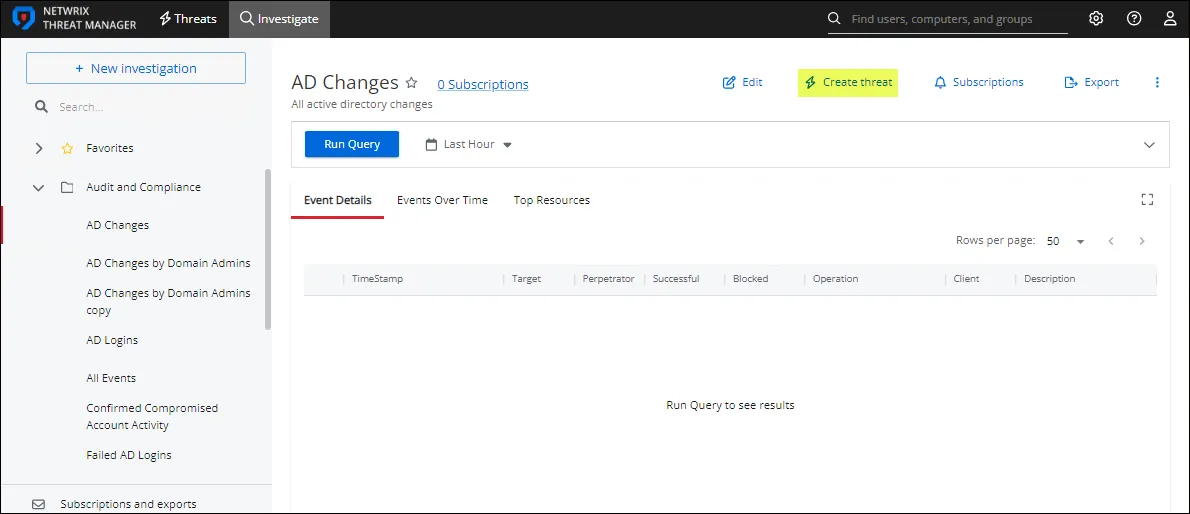
Create Threat Option on the Investigation Page
To create a custom threat from an Investigation page:
- Click Investigate in the application's header bar.
- Select an investigation and follow the steps from Step 5 in the Custom Option on the Threat Detection Page section.