Upgrade Threat Manager from 3.0 to 3.1
The upgrade process from Threat Manager 3.0 to 3.1 involves the following steps:
-
Upgrade PostgreSQL
-
Install Threat Manager 3.1
Upgrade PostgreSQL
Follow the steps to upgrade from PostgreSQL 14.13.x to 14.20.x.
Step 1 – Run Netwrix_Setup.exe as an administrator. The Netwrix Setup Launcher window is
displayed.
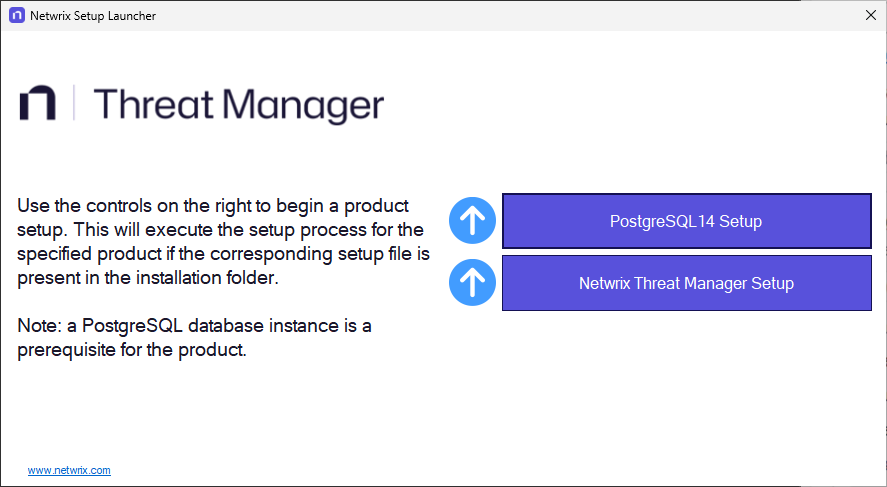
Step 2 – Click PostgreSQL Setup to upgrade the PostgreSQL version. The Netwrix PostgreSQL Setup wizard opens.

Step 3 – Click PostgreSQL Setup to upgrade the PostgreSQL version. The Netwrix PostgreSQL Setup wizard opens.
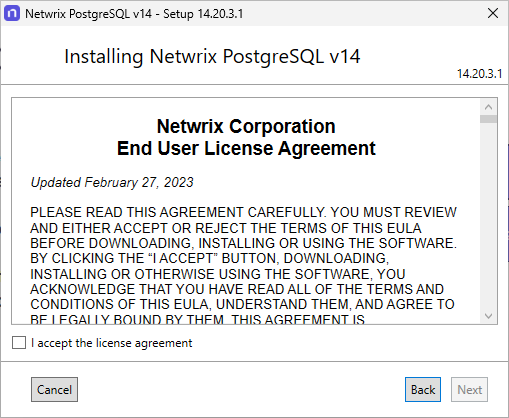
Step 4 – Read the End User License Agreement and select the I accept the license agreement checkbox. Click Next.
Step 5 – The installation begins and the installer displays a Setup Progress window. Click Exit when the installation is successful to close the wizard.
PostgreSQL has been upgraded.
If you have any antivirus or Endpoint Detection and Response (EDR) software installed on your machine, make sure you have excluded all of the files from the following directories from all antivirus scans:
- \Program Files\Stealthbits\PostgreSQL14
- \ProgramData\Stealthbits\PostgreSQL14
- \Program Files\Stealthbits\StealthDEFEND
PostgreSQL may fail to start or behave unexpectedly when monitored by any tool.
Install Threat Manager 3.1
Step 1 – Click the Netwrix Threat Manager Setup button on the Netwrix Threat Manager setup window. The following window is displayed:

Step 2 – Click Install.
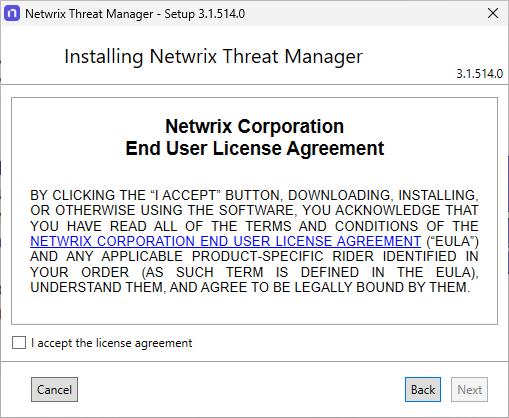
Step 3 – On the End User License Agreement page, review and accept the licensing agreement and then click Next.

Step 4 – By default, the installation directory is set to:
*C:\Program Files\STEALTHbits\StealthDEFEND*
Enter a new path or use the Browse button to modify as desired. Click Next.

Step 5 – On the database page, ensure the host and port are set correctly.
If installing on the same server where the PostgreSQL database application was installed, this information will be accurate by default. The default database name is stealthdefend; however, it can be modified as desired.
Step 6 – Click Test to validate the connection information.
Step 7 – After successful validation, click Next.

Step 8 – By default, the installer will Create Inbound Windows Firewall Rules. Deselect the checkbox if you do not want the installer to automatically create these rules, because you have already created them. The installer will also by default install AD and Entra PowerShell modules. Click Next.
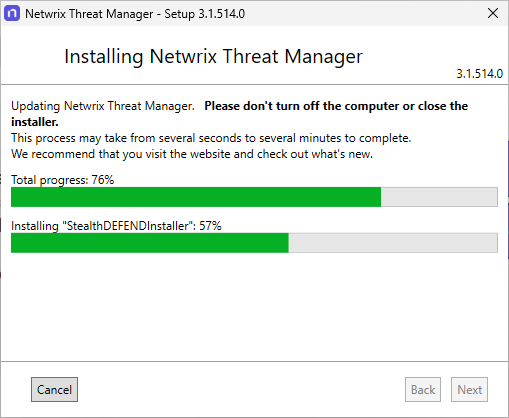
Step 9 – The installation process will begin and the Setup wizard will display the progress.

Step 10 – Click Exit when the installation completes successfully. The Netwrix Threat Manager Setup wizard closes.
Step 11 – Now that both components have been installed, close the Netwrix Threat Manager Setup Launcher.
Threat Manager 3.1 is now installed, and the database has been upgraded.
After successfully upgrading to the latest Threat Manager version, clear your browser cache for better performance and user experience.