Select Computers Window
The Deploy Agents wizard's Select Computer window is the first in a sequence of four windows to deploy the Agent on a computer. It provides three methods for selecting computers where Agent(s) can be deployed:
- Add Single Host
- Add from AD
- Add from File
Any combination of these three methods can be used to select computers.
Add Single Host Tab
The Add Single Host tab is displayed by default when the Select Computer window opens.

Manually enter and select the host name or IP address of a computer. Use the double-arrow button to add it to the Deploy Agents to These Computers box.
Add From AD Tab
Click the Add From AD tab.
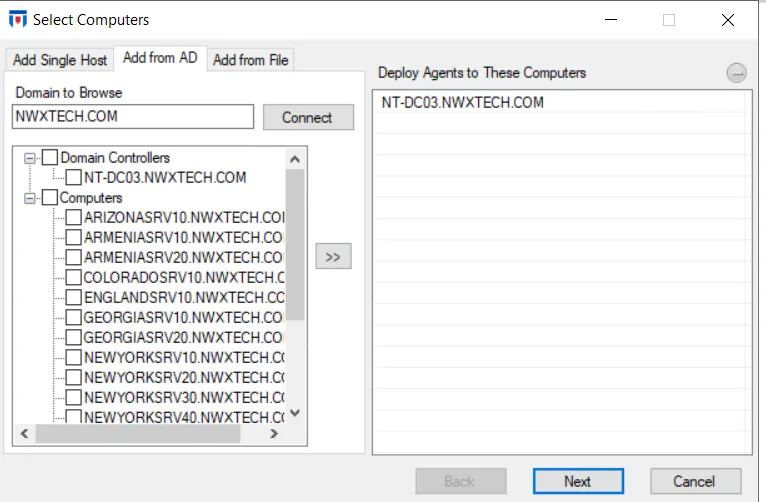
Browse the domain's computer objects (Domain Controllers and Computers) to select those where you want to deploy the Agent.
- Domain to Browse – Displays the domain where the Enterprise Manager resides. If unpopulated, type the desired domain in the textbox. Click Connect to connect to the domain.
- List of Domain Controllers/Computers – Populates with computers found in Active Directory
- Add (>) button – Adds the selected computer(s) to the Deploy Agents to These Computers box
NOTE: Multiple computers can be selected and moved to the Deploy Agents to These Computers box. Checking a top-level node automatically selects all child objects.
Add From File Tab
Click the Add From File tab.

You can import a text file with a list of computer names or IP addresses with carriage returns, or a CSV file with comma-separated values.
- Text File to Read – Click Open to browse and select the required file. The box displays the path to the file.
- List of Hosts/IP Addresses – Populates with computers from the text/CSV file
- Add (>) button – Adds the selected computer(s) to the Deploy Agents to These Computers box
Once the list in the Deploy Agents to These Computers box is complete, you can continue through the wizard to deploy the Agent. See the Set Options Window topic for the next step.