Actions Tab
The Actions tab is for configuring various responses, or event consumers, to the event data a policy captures.
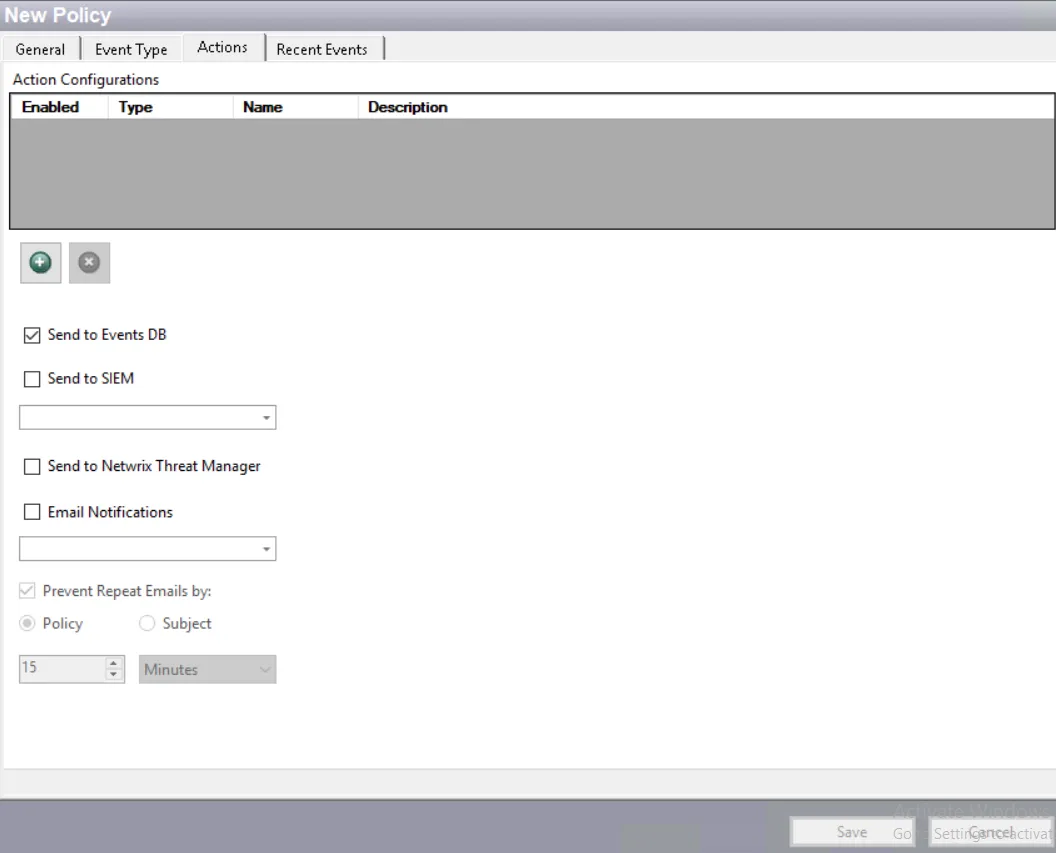
The following types of actions are available:
-
Send to Events DB – Logs events to the event database for reporting, using the built-in database event consumer
-
Send to SIEM – Sends formatted messages to a SIEM server as configured in a profile
-
Send to Netwrix Threat Manager – Sends data for this policy to Netwrix Threat Manager, formerly StealthDEFEND
-
Email Notifications – Sends formatted email notifications to the selected message profile
-
Add Custom Scripts
- File Actions – Records the events to a log (text) file in XML or Comma Delimited (CSV) format
- .NET Script Actions – Runs a user‐supplied script that implements an automated action in response to the event. Scripts can be written in Visual Basic or C#
- PowerShell 4.0 Actions – Runs a user-supplied PowerShell script that implements an automated action in response to the event
Multiple event consumers can be configured for a single policy, even multiple event consumers of the same type. However, only one database event consumer can be added per policy.
Actions are configured to run on a separate thread from the policy’s event processing thread. Incoming events have a dedicated thread/queue for processing. Email notification has a dedicated thread/queue for processing. Custom Script actions has a dedicated thread/queue for processing. This allows the action to process without blocking new events from going into the database while the action completes.
You can enable or disable an action in any of the following ways:
- Check or uncheck the Enabled checkbox for an action in the Action Configurations list
- On selecting an action in the Action Configurations list, its details are displayed on the Actions tab. You can check or uncheck the Enabled checkbox for the action here.
Save all changes made to a policy or a template before leaving the configuration interface.
Send to Events DB
This is the primary action and is enabled by default in new policies. It saves the event data a policy monitors and captures to the NVMonitorData database. Typically this option is only unchecked by Netwrix Support during a troubleshooting session or when the only desired output is a file for an alert. Reporting uses the events database.
Send to SIEM
This action is added by selecting the desired SIEM profile to be the recipient of the SIEM notifications from the drop-down menu. Only SIEM profiles previously created are available for selection. This action can also be assigned on the SIEM Tab of the System Alerting Window.
All notifications sent to SIEM are also displayed on the SIEM Output Viewer window.
NOTE: To enable this feature, a Threat Prevention administrator must first establish a connection with the SIEM server and configure the mapping file through the System Alerting Window.
Send to Netwrix Threat Manager
This action can be checked to send event data for the policy to Netwrix Threat Manager. This is specific to integration with a full version deployment of Netwrix Threat Manager. The Netwrix Threat Manager Reporting Module uses the NVMonitorData database (Send to Events DB option) for reporting purposes.
NOTE: To enable this feature, the Web Request Action Module (Netwrix Threat Manager URI) must be created and configured by a Threat Prevention administrator through the Event Sink Tab on the Netwrix Threat Manager Configuration window.
Email Notifications
CAUTION: Email notifications should not be used on highly active policies. Please reserve this feature for policies where immediate notification of an event is needed.
To enable email notifications, select the desired message profile to be recipient of the email notifications from the drop-down menu. Only message profiles previously created are available for selection. This action can also be assigned on the System Alerting Window.
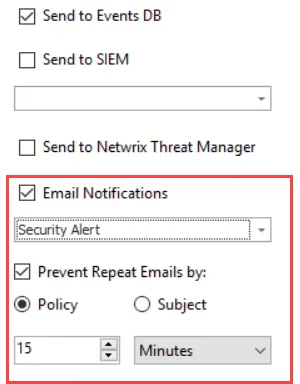
Enable the Email Notifications checkbox, select a message profile and then choose to enable the Prevent Repeat Emails by option. If enabled:
-
Select the radio button for either Policy or Subject:
- Policy – Threat Prevention will send an email notification for the first event only, and skip notifications for any other events captured by the same policy during the duration you specify in the boxes below.
- Subject – Threat Prevention will send an email notification (say, Notification1) for the first event only, and skip notifications for any other events whose email notification will have the same subject line as Notification1. It will skip sending notifications for the duration you specify in the boxes below. Note that the subject line is configured within the message profile.
-
Set the duration (in minutes or hours) for which emails notifications are skipped after an email is sent for a policy/subject line.
Example:
In the following example, let’s assume you have the following settings for Prevent Repeat Emails by:
- Option selected: Policy
- Duration set: 5 minutes
In a situation where Threat Prevention captures 15 events in 5 minutes against a policy, an email notification will be sent in real time for the first event only. The remaining events will be logged in the application but email notifications will not be generated.
Two hours later, when another event is captured against that same policy, Threat Prevention will send an email notification for it. If more events are captured within the next five minutes, email notifications will not be generated.
NOTE: To enable email notifications, the SMTP gateway must first be configured and message profiles created by a Threat Prevention administrator, which is done through the System Alerting Window.
Custom Scripts
In the Actions Configurations area at the top of the tab, assigned File, .NET Script, or PowerShell 4.0 actions are listed with their name, type, description, and whether they are enabled or disabled.
- Click Add (+) to open the Add Action window. Choose the type of action and configure the script.
- Use the Remove (x) button to delete a custom script action from a policy.
See the following topics for additional information:
-
- Optionally, custom scripts can be provided through a Netwrix Statement of Work.
-
- Optionally, custom scripts can be provided through a Netwrix Statement of Work.
NOTE: There are custom scripts created by Netwrix Engineers that execute the notification emails. See the Custom Scripts topic for additional information.