Policies Interface
The Policies interface lists all policies that you have defined in Threat Prevention.
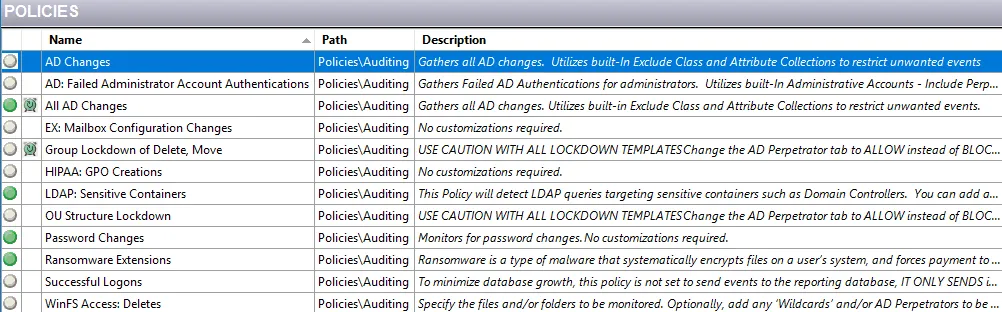
Click Policies in the Navigation pane to open the Policies interface.
You can sort the list of policies alphanumerically ascending or descending by clicking on a column header. An arrow appears in the right corner of the column header indicating the type of sorting. There is also a right-click menu for each policy row.
The columns are (left to right):
-
Policy State – Indicates whether the policy is enabled (green) or disabled (gray)
noteThis only displays the state of the policy. It does not change its state.
-
Customized Schedule Icon – A clock symbol displays when the policy has been customized
-
Name – Name of the policy
-
Path – Folder and sub-folder location of the policy within the Navigation pane
-
Description – The description provided on the General tab of the policy
Policies Node
Under the Policies node in the Navigation pane, folders are used to organize the policies. Folders can be created at the top level or as sub-folders. Threat Prevention supports unlimited levels for organizing policies. A user with administrator rights can apply protection on a folder node. See the Data Protection topic for additional information.
- Click a policy to open it and view its configuration and recent event data.
- Use drag-and-drop to move policies from one folder to another, unless restricted by policy protections.
- Templates can also be dragged from a template folder and dropped into a policy folder, which copies the template into a policy. See the Templates Interface topic for additional information.
- An enabled policy is identified within the Navigation pane by the green dot over the policy icon.

See the Policy Configuration topic for additional information on creating policies.
Right-Click Menu
Each policy listed in the Policies interface has a right-click menu. Select a policy and right-click to open this menu.

It contains the following options:
| Right-Click Command | Description |
|---|---|
| Enable | Enables disabled policies. Nothing happens if selected for an enabled policy. |
| Disable | Disables enabled policies. Nothing happens if selected for a disabled policy. |
| Export | Exports the selected policy’s configuration to an XML file through the Export Policies and Templates Window |
| Remove | Deletes the selected policy |
If the selected policy is protected and the current user does not have the Manage Policies permission for it, these options are grayed-out. See the Data Protection topic for additional information on protection.