EPE Rest Site Install
The EPE Rest Site is an optional web server that third parties can use to integrate with the Threat Prevention Enterprise Password Enforcer (EPE) solution. It allows third-party applications to submit a candidate password to check whether it complies with the current EPE rules defined on the EPE Settings Window.
This interface does not change the password; it only validates it against the EPE rules.
Follow the steps to install the EPE Rest Site.
Install the EPE Rest Site on a server with IIS installed and accessible to third-party applications that have to use the REST API.
Step 1 – From the Threat Prevention Installer package, run the server executable (threatprevention-server-7.5.x.xxx.msi). The Netwrix Threat Prevention Server Setup wizard opens.
Step 2 – On the Welcome page, click Next to begin the installation.
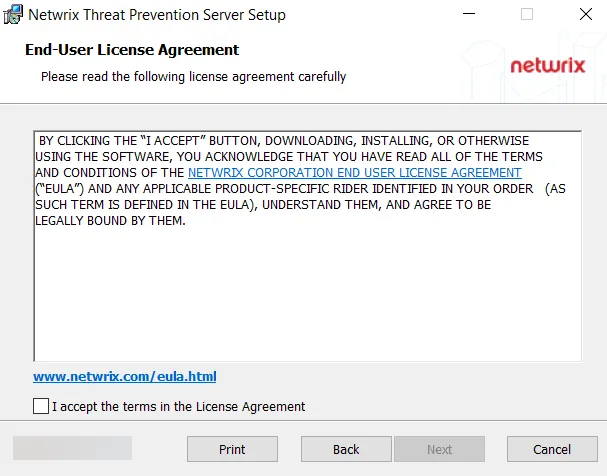
Step 3 – On the End-User License Agreement page, select the I accept the terms in the License Agreement checkbox and click Next.
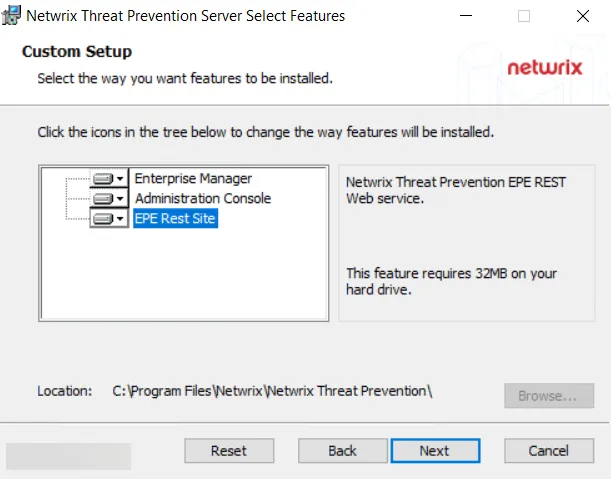
Step 4 – The Custom Setup page displays the Threat Prevention components that are available to install.
EPE Rest Site is available if Internet Information Services (IIS) is installed on the machine.
By default, Enterprise Manager and Administration Console are selected for installation. However, you can choose to select or deselect a component for installation.
- To select a component – Click on the red cross next to a component name and select the Entire feature will be installed on local hard drive option. An icon representing a hard drive appears for the component.
- To deselect a component – Click on the icon next to a component name and select the Entire feature will be unavailable option. A red cross appears for the component.
As you have to install the EPE Rest Site only, deselect the Enterprise Manager and Administration Console components.
Step 5 – On selecting the EPE Rest Site option, the page displays the location where the EPE
Rest Site will be installed. By default, the Threat Prevention infrastructure components are
installed to the C:\Program Files\Netwrix\Netwrix Threat Prevention\ directory.
(Optional) Click Browse… to change the installation location. The Change destination folder page opens.
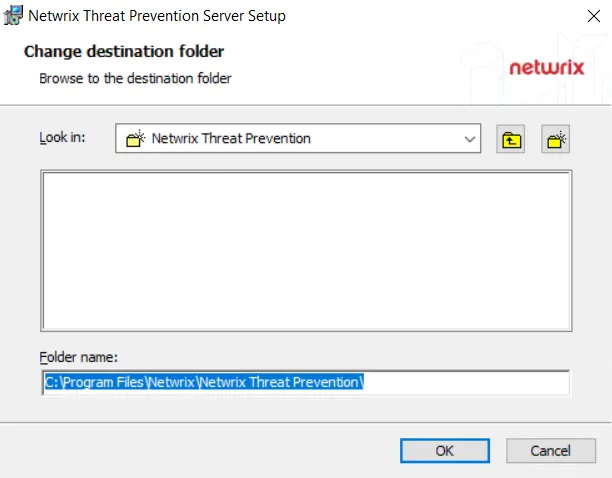
- Use the Look in field to select the desired installation folder.
- When the Folder name box is set as desired, click OK.
The wizard returns to the Custom Setup page. You can use the Reset button to revert to the default settings on the Custom Setup page. Click Next to proceed.
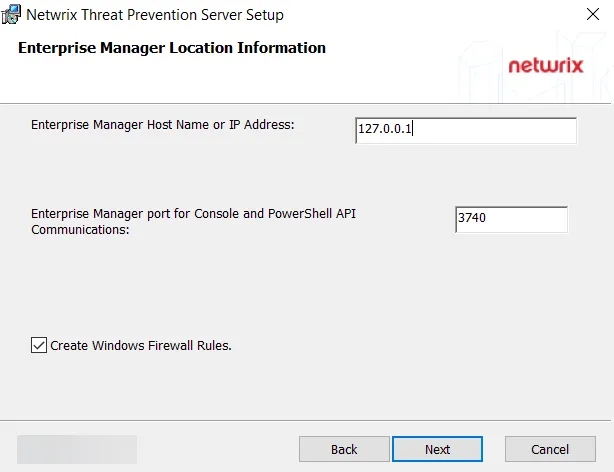
Step 6 – On the Enterprise Manager Location Information page, the host name or IP address for the Enterprise Manager server is pre-populated. Enter the ports for the Enterprise Manager service to communicate with the other Threat Prevention components.
- Enterprise Manager port for Console and PowerShell API Communications – 3740
Checking the Create Windows Firewall Rules box automatically sets the Windows firewall rules needed to open these ports on the server during the installation process. If using a third party firewall, uncheck this option and manually create the necessary firewall rules. See the Firewall Ports topic for additional information.
When the settings are configured, click Next.
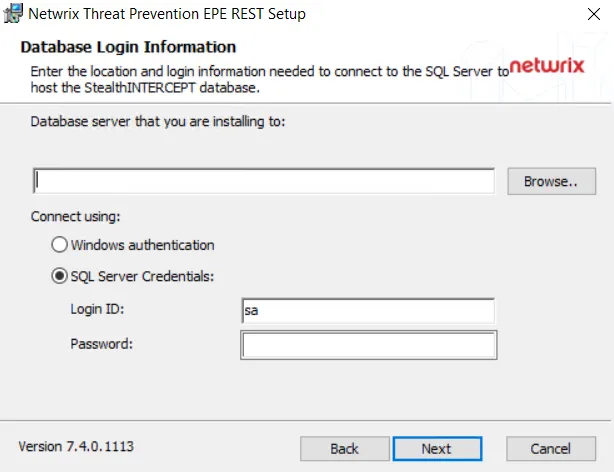
Step 7 – On the Database Login Information page, provide information for the SQL Server where the installer will create a database for the EPE Rest Site.
-
In the first box, enter the IP address (may need instance port number, e.g. 192.168.189.152,1433) or the server name (Server\Instance) of the SQL server where the Threat Prevention database resides. Click Browse to select the server.
-
Select the Windows authentication or SQL Server Credentials option button (for SQL Server authentication) and enter the credentials:
- Windows authentication uses the credentials provided on the Logon page, which is displayed if this option is selected.
- For SQL Server authentication, provide SQL credentials in the Login ID and Password boxes.
noteThe account used for authentication, either a Windows or SQL account, requires a minimum of the following permissions on the SQL Server:
- Create schema
- Read
- Write
-
Click Next.
-
If using Windows authentication, continue with the next step.
-
If using SQL Server authentication, skip the next step.
noteIn case of SQL Server authentication, the credentials are tested on clicking Next. If the credential authentication fails, the setup does not proceed and a pop-up window displays failure details.
-
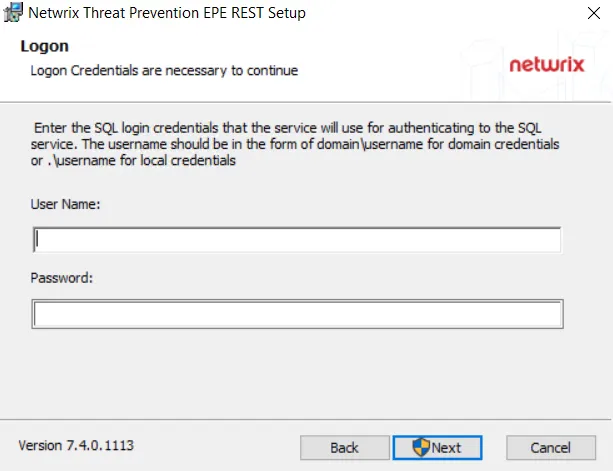
Step 8 – If Windows authentication is selected, the Logon page is displayed.
-
Provide the username (Domain\User format) and password. The EPE Rest website would run under this account and the credentials will also be used to connect to the EPE Rest Site database. These credentials must have elevated privileges with rights to create and modify the database.
-
Click Next.
noteFor Windows authentication,the credentials are tested on clicking Next. If the credential authentication fails, the setup does not proceed and a pop-up window displays failure details.
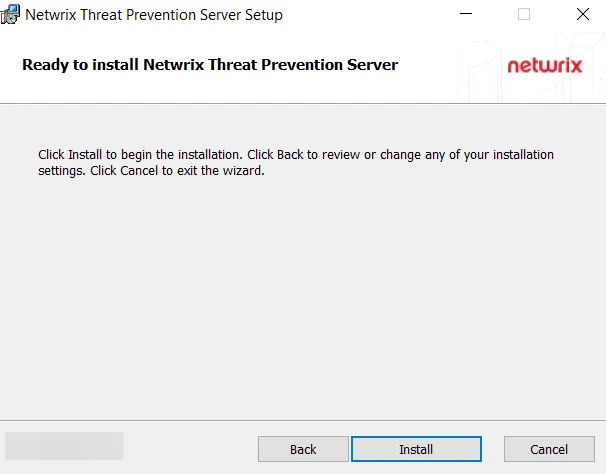
Step 9 – On the Ready to Install Netwrix Threat Prevention Server page, click Install. When finished, the Completed the Netwrix Threat Prevention Server Setup Wizard page is displayed.
Step 10 – Click Finish.
EPE Rest Site components have been installed. You will notice that:
- The installer has copied the EPE Rest Site files to the Threat Prevention file system on the physical machine
- It has created the "EPE_REST" site in IIS
See the EPE Rest Site topic for additional information.