General Tab
The General tab is for editing the basic attributes of the template.
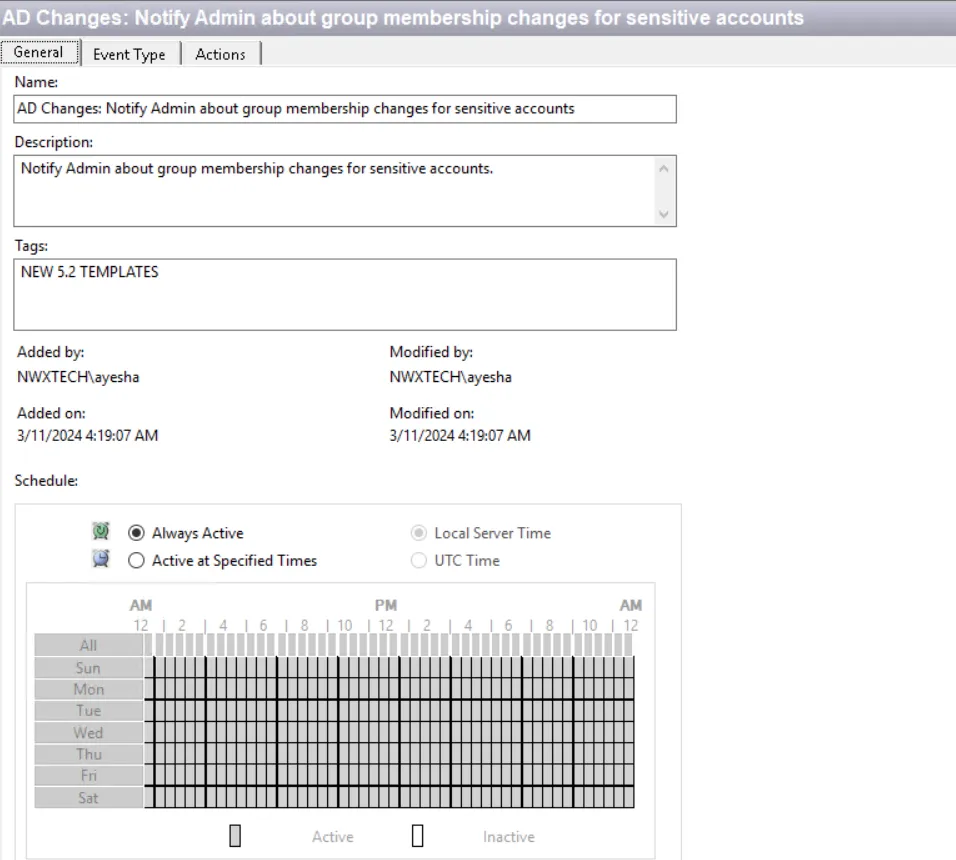
Name
The name should be unique and descriptive. The list on the Templates Interface displays this name for a template.
Description
The description is optional but recommended. Since you can configure each policy to be as broad or narrow as you need, the name combined with the description should clearly explain what objects and events it monitors/blocks, where in the network it looks, and when it is active. The list on the Templates Interface displays this description for a template.
Save all changes you make to a template before leaving the configuration interface.
Tags
Threat Prevention enables tags as an organizational tool for templates only. Many preconfigured templates have tags, so users can find a template through various groupings. Rather than creating a duplicate template, tags display the template in different folders under the TAGS node. You can identify multiple tags for a template with a comma-separated list. You can create new tags, which create a new folder under the TAGS node. Use the right-click Refresh option on the TAGS node in the Navigation pane to display new tags and/or display template-tag modifications. See the Tags Node topic for additional information.
History
Threat Prevention automatically populates the History details in the center of the General tab on creation or modification.

It contains read-only information on who created the template (Added by), when they created it (Added on), who made the latest modification (Modified by), and when the latest modification occurred (Modified on).
Schedule
The schedule is for setting the time period for an enabled policy to monitor or block events.
| Icon | Label | Represents |
|---|---|---|
 | Always Active | Indicates the policy will be active at all times when enabled. This is the default setting |
 | Active at Specified Times | Indicates the policy will be active only at the specified times when enabled. There are two options for setting the specified times:
|
Any new policy created from a template automatically applies the template’s setting, which you can then modify. The list on the Templates Interface displays schedule details for a template. A clock icon represents Active at Specified Times, and no icon (or blank) represents Always Active.
Weekly Calendar
Set the schedule in the weekly calendar at the bottom of the schedule section.
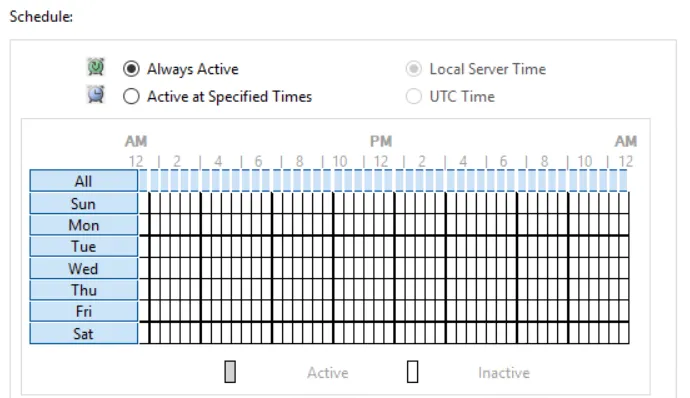
When you set the schedule to Always Active, the weekly calendar is grayed-out.
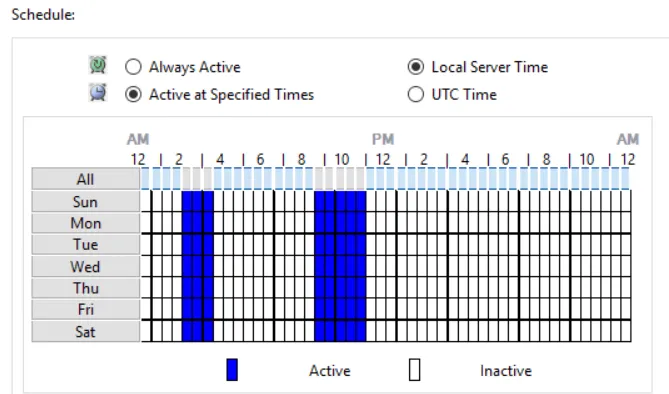
When you set the schedule to Active at Specified Times, the weekly calendar is enabled. Each block of time on the calendar represents a 30-minute period.
- Blue blocks – Active times for the enabled policy
- White blocks– Inactive times for the enabled policy
You can set or modify the schedule in one of the following ways:
- Click an individual time-block to toggle between active and inactive for a single 30-minute period.
- Click a time-block in the All row to toggle between active and inactive for an entire column (for all days of the week).
- Click the name of a day to toggle between active and inactive for an entire row (for a full day).