Install the Netwrix Threat Manager Reporting Module
You can install the application on the same server as the PostgreSQL databases or a different server. If you install it on a different server, you must provide the location of the database server while installing the application.
To install the application:
You must install the PostgreSQL database application before you install the application.
These steps assume you have launched the installer through the Netwrix Setup Launcher
(Netwrix_Setup.exe). If you aren't using it, right-click NetwrixThreatManagerReporting.exe
and select Run as administrator. Then skip to Step 2.
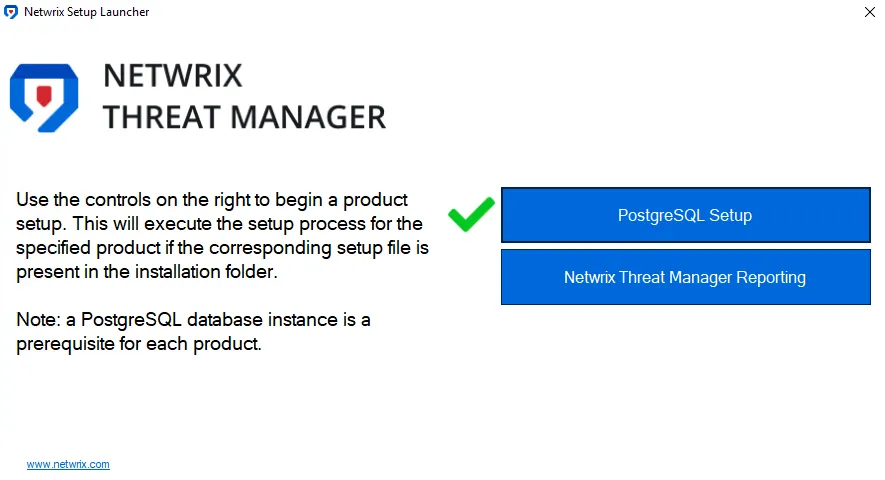
Step 1 – Click Netwrix Threat Manager Reporting. The Netwrix Threat Manager Reporting Setup wizard opens.
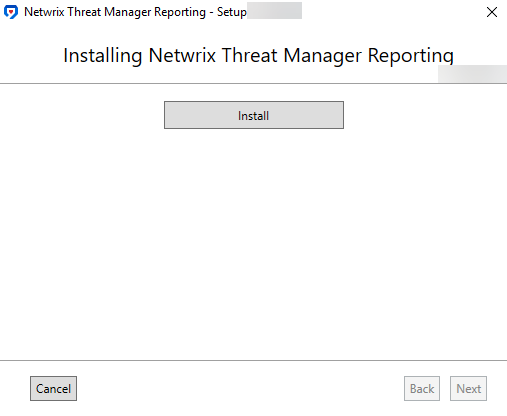
Step 2 – Click Install.
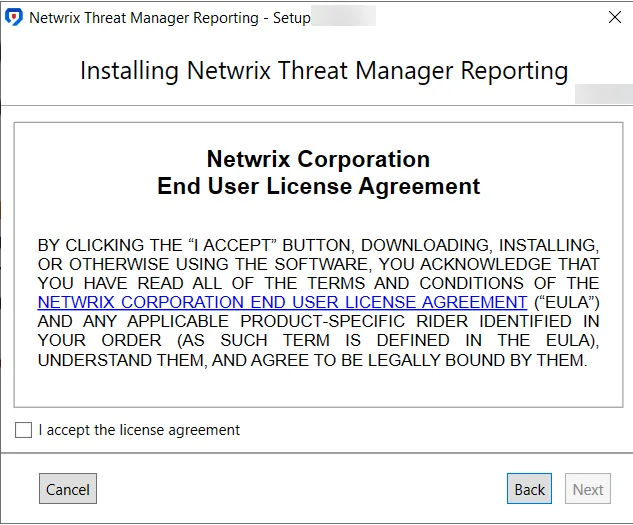
Step 3 – Read the End User License Agreement and select the I accept the license agreement checkbox. Click Next.

Step 4 – By default, the wizard sets the installation directory to:
- Install Folder – C:\Program Files\STEALTHbits\StealthDEFEND
Optionally, enter a new path or use the Browse button to modify as desired. Click Next.
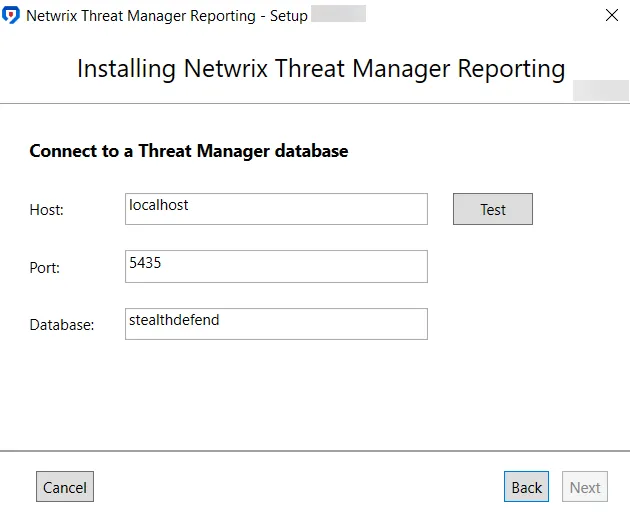
Step 5 – On the Database page, ensure the host and port are set correctly. If you install on the same server where you installed the PostgreSQL database application, this information is accurate by default. The default database name is stealthdefend; however, you can modify it as desired. Click Test to validate the connection information.

Step 6 – If the connection succeeds, a message window displays confirming that the database doesn't exist and that you want to create it. Click OK and the window closes.
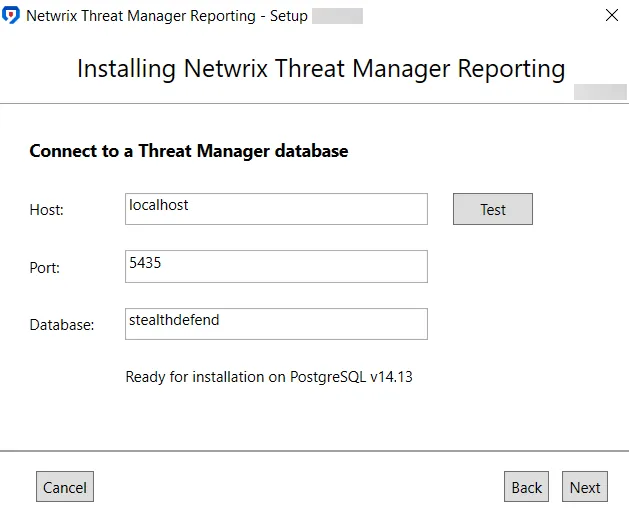
Step 7 – A "Ready for installation" message appears on the Database page of the wizard and the Next button is enabled. Click Next.

Step 8 – By default, the Create Inbound Windows Firewall Rules checkbox is selected, indicating that the installer will create these. Deselect the checkbox if you don't want the installer to automatically create these rules because you have already created them. Click Next.
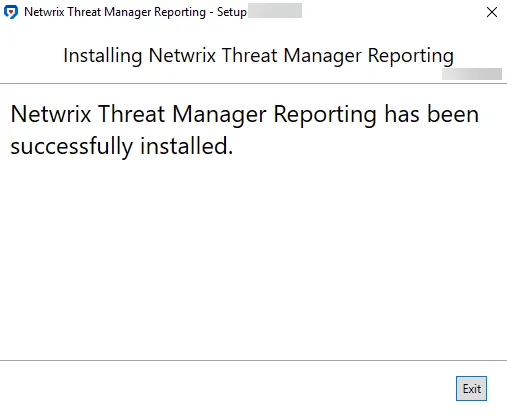
Step 9 – The installation process begins and the Setup wizard displays the progress. Click Exit when the installation completes successfully. The Netwrix Threat Manager Reporting Setup wizard closes.
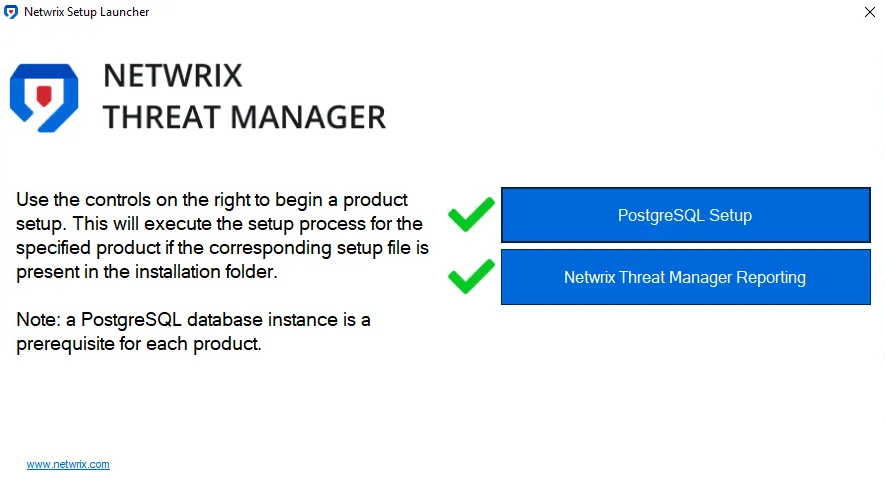
Step 10 – Now that you have installed both components, close the Netwrix Setup Launcher.
You have now installed the Netwrix Threat Manager Reporting Module application and created the database. There are several post-installation tasks that you may need to complete, depending on your environment.
- Secure the Reporting Module Console
- During the first launch, you will set up the built-in Administrator account. See the First Launch topic for additional information.